How To Safely Jack Up A Car: A Detailed Step-By-Step Guide
Many occasions may warrant you to work under the vehicle. It could be changing a tire, checking the brakes, or inspecting any leak or damage. Whatever the reason is, using the proper equipment and following the correct procedure is necessary in this regard. After all, you will be working underneath the car so even a little mistake can cause a severe accident. But how to safely jack up a car?
Jacking up a car sounds simple, a preparation for doing the actual tasks. However, trying to take shortcuts or using low-grade equipment may cause a life-threatening accident. This process is all about using the right equipment and following instructions carefully.
Why Do You Need to Jack up a Car?
There could be various reasons. The most common ones are changing the engine oil, removing a wheel, and replacing a flat tire. You will need to lift the car to reach any parts on the undercarriage.
Some shady repair shops may rip you off while doing the repair work. They may just top off without draining the dirty oil, use second-rate products, and charge more for some parts. If you know some mechanic work along with jacking up a car, you can save lots of money.
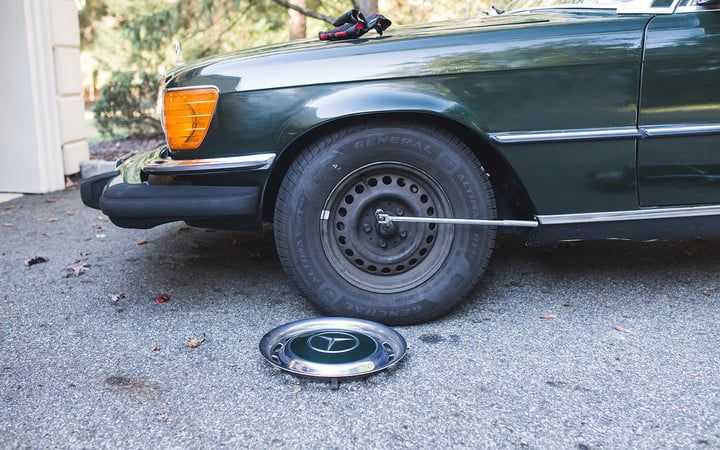
Knowing how to use a car jack may save you in an emergency when outside help is unavailable. However, never try to replace a flat tire on a highway. It is dangerous for you and other drivers. The right thing to do is to call road service. If that is not available, you have to catch the attention of highway patrol by hanging something white (a piece of cloth or paper) out of the driver’s side window.
Never try to change a flat tire or do something else by jacking a car on the slope of a hill. If coasting to the bottom poses the risk of killing the tire completely, you have to park the car near the curb. To prevent the car from rolling down, turn the wheels to the curb’s direction and lock the downside wheels.
How To Safely Jack Up A Car: Follow the Step-by-Step Instructions
Lifting a vehicle with a jack is simple but the process warrants utmost caution. Safety should be the priority while doing this laboring task. This detailed guide will teach how to jack up a car most safely and effectively.
Tools you need
To get done any repair or maintenance work for a vehicle, you will need the right tools. Before starting the process, make sure that you have these items at hand:
- A jack
- Jack stands (for added safety and stability)
- A few pieces of woodblocks, which can work similarly to jack stands
- Cinder blocks or something similar/chocks
- Lights like wireless LED lights (if the place is not well-lighted)
- Utility gloves
- Owner’s manual
How to Jack up a Car: Steps to Follow
If you want to finish the jacking up with no hitch, do exactly as mentioned in the following steps. Don’t try to improvise unless you are sure that it won’t cause an accident.
Park the car properly.
The first thing to do is to park the car on a plain ground made of asphalt or concrete. An uneven surface may cause the jack to change position or tilt, leading to serious injury. If you have a garage, choose a flush area to do this.
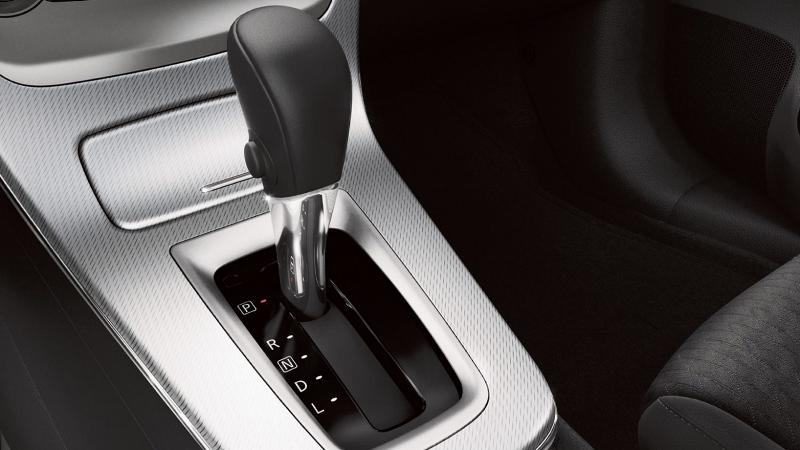
Engage the parking brake and keep the gear in the ‘Park’ position. Set it to the ‘First’ gear in case of a manual transmission. Turn the ignition off and pull out the ignition key.
Place the chock.
A chock is a wedge made of strong materials. A wheel chock prevents wheels from unexpected rolling. Its bottom is rubber-coated for having better traction and gripping the ground firmly.
You need to place the chock behind the wheels opposite to the ones when you put the jack. For example, the rear right wheel needs to be choked if you are going to jack up the left wheel. When you are lifting the left side of the car, use two chocks against the front and rear right wheels.
Prepare the floor jack.
This part of how to jack up a car involves preparing the floor jack for the task. The pressure relief valve of the jack should be closed. If it is open, you have to close it by twiddling the jack lever clockwise. Also, examine if there is a fluid leak or any damaged part. You should never use a jack that shows any sign of disrepair.
A hydraulic floor jack is the right tool to lift a vehicle. Some people might be tempted to use the car’s emergency jack instead of spending money for another jack. Don’t do that. The emergency jack is changing flat tires when there is no other option. A floor jack is stronger, more stable, and can carry more weight.
See more:
Mark secure jack points.
Mark a point where you will set up the jack. It should be in the part of the car that you want to uplift.
Vehicles are likely to have selected areas where you can place the jack. A jack settled on those points makes sure that it can bear the weight of the entire vehicle without breaking up.
There are some places where you should never put the jack like under the body panel. Putting it in the wrong place can lead to a life-threatening accident.
Place the jack under the vehicle.
Where to put jack under vehicle? This is important because they may not carry the weight for long if the placement is wrong. Position it just behind or in front of the wheel for raising a front or rear wheel, respectively. Place it somewhere in the mid-area between the two wheels when you want to raise the entire front or rear part.
Some vehicles have dedicated points for placing the jack. There should be one near each wheel and another extra point could be between the front and rear wheels each. Look into the owner’s manual if you cannot find them. The points are likely to be marked by a small arrow.
If there is none, calculate the midpoint on the subframe and position the jack underneath that point. There are some non-structural components including the steering rack, radiator, and oil pan on which you should never place the jack.
The rear differential in some vehicles is strong enough to be used as a jack point. But you should check the owner’s manual to be sure about that.
Adjust the jack’s position.
After putting the jack in the right place, the next step is to adjust its position because the car’s angle may change after being lifted. Readjusting the position will make sure that the jack won’t get slipped off.
Raise the vehicle.
After taking all the preparation of how to jack up a car, this is the stage where you will finally lift the car. Do that by pushing the jack handle down and pulling up quickly.
Keep pushing and pulling the handle until the vehicle reaches the desired height. After it is done, watch closely to see if the vehicle is stable. The jack needs to stay exactly on its designated point. If it needs readjustment, lower the vehicle by releasing the jack’s valve and then lift it again after the re-positioning.
Place the jack stand.
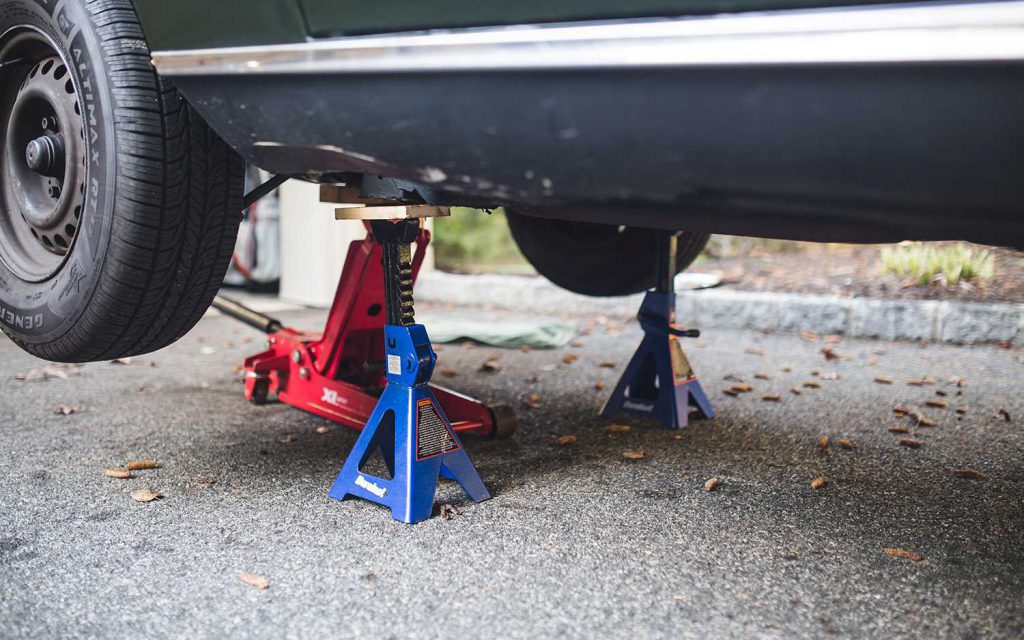
This is the time to place the jack stand (one or more than one, as required) underneath the vehicle. Set the stand near the jack so it can securely hold the vehicle. Its placement should be beneath the secure part mentioned above. When you raise both ends of the wheels, you should place the stands on either side.
Then, you can remove the jack. Just open its release valve and lower it until the car touches the stand. Let it rest on the stand while you can take the jack away. However, if you don’t need to use the jack for another task, leave it underneath the vehicle for added safety.
Remove the jack.
The last step is about taking the jack off when you are done with the maintenance or repair work. You have to push and pull the jack lever to elevate the car a few inches to remove the jack stands. After that, open the release valve of the jack at a slow pace to lower the car down to the ground. Then, pull out the jack carefully.
This is how to safely jack up a car when you need to perform a repair, upkeep work, or checkup. After doing the task and removing the jack safely, you can go back to driving the car.
Watch more:


