Quality tires like the Westlake sl369 tire can ensure an outstanding driving experience. And on the other hand, a cheap quality tire might even cost your life.
Owning a car and knowing how to change a tire by hand complete each other. It is the most essential skill ever. Because a punctured tire is a driver’s worst nightmare, especially on a busy day.
To get you out of this fear, we are here today to help you learn this must-know skill. So, if you’re willing to offer us a fragment of your time, we assure you that you won’t regret it.
So, let’s not waste any second and get right to it:
Contents
Essential to Grab First
Even though you’ll be changing the tire by hand, you definitely need a few tools. You don’t expect to take care of the screw by hand only, do you?
Then, here are the stuff you’ll need-
- Jack
- Lug wrench

How to Change a Tire by Hand: 9 Steps That’ll Save Your Today
About seven tires puncture every second in the USA. It means that over the year, about 220 million tire punctures. That’s certainly not a small number.
Five tire punctures are the least number of times that a driver will experience in their whole life.
So, it goes without saying that you need to learn how to change a tire. Let’s see the steps to make a tire changing successful.
Step 1: Pullover Safely
If you’re on the road and the tire gets flat, you need to find a safe place first. Pullover by the side of the road and make sure that you’re safe from the ongoing traffic on the road.
Turn the cars’ emergency flashers or hazard lights on. Ensure that it is safe for you to get out of the car to work on your wheels.
Step 2: Apply the Parking Brake
After you put your car in a safe place, make sure that you apply your parking brake.
It doesn’t matter if your car is on level ground, you must make sure that your car doesn’t start moving while you work on it. Because you might even cause injuries or damage by not doing so.
Step 3: Stop Rolling of the Car
In order to stop the car from rolling, you can use any heavy stuff like a huge rock or brick. You can place them in front of the tires.
Step 4: Place the Jack
Now that everything is secure, it’s time to pull out the jack and your spare tire. Then, you need to place your jack down the frame.
You’ll notice a particular place where you can set your jack. Make sure that your jack is touching the metal part of the frame of your car.
You see, placing the jack in the wrong place can be quite deadly for your car frame. It might crack the plastic portion of your car when you start the lifting.
For most of the modern cars, there’s a small marked part behind the wheels. That is where the jack needs to be placed.
If you’ve placed the jack right, now you need to raise your jack to the supporting point. Raise it until you see it touching the car.
Make sure that it’s firmly placed against the underside and perpendicular to the ground.
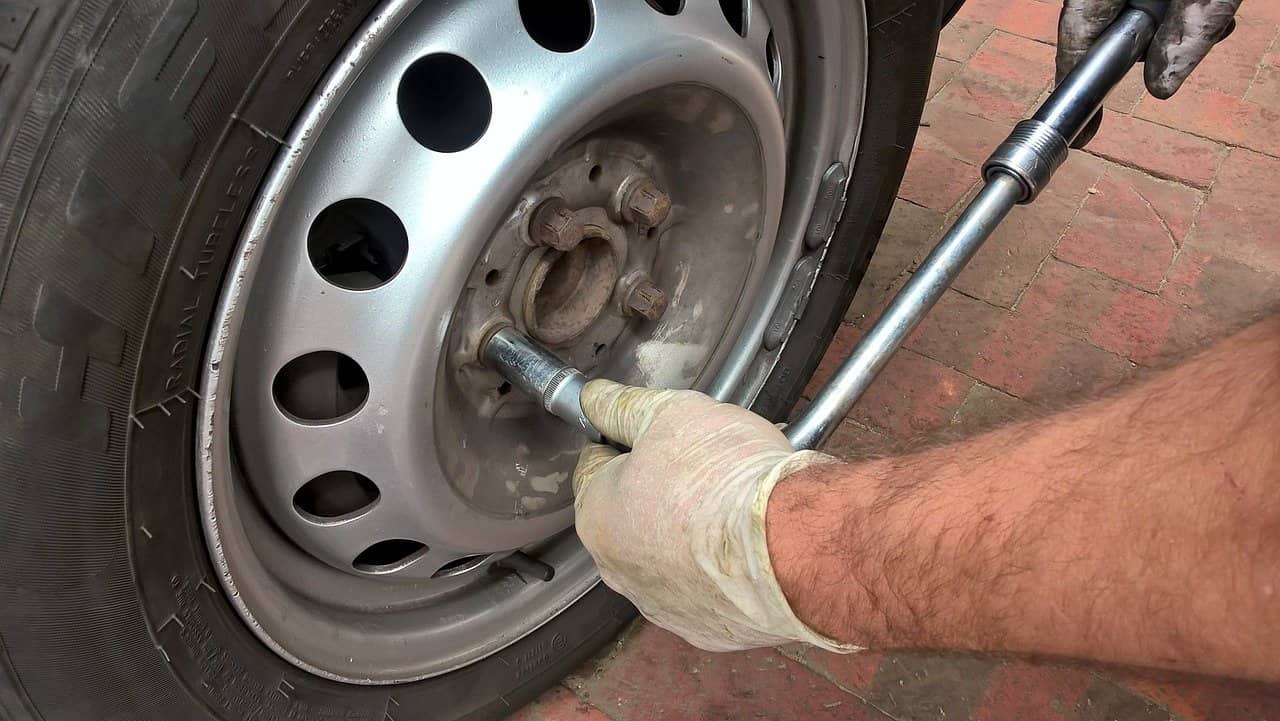
Step 5: Loosen the Nuts
Most of the rims come with a hubcap. In order to get the wheel out from the car, you need to remove it.
Now you need to grab your lug wrench and loosen the nuts. Stick your lug wrench on the screws and turn the wrench right or counterclockwise.
Make sure you don’t take the screws totally off. You might want to loosen them while your wheels are on the ground. Or else, you might even keep turning the wheel instead of the nuts.
Step 6: Lift the Car
It’s time to take your tire on the air. So, you need to crank or pump your jack to lift your tire. Make sure that you lift it enough so that you can take out the flat tire.
It is vital to keep your car stable. It can be quite dangerous for your car and also for you if your car is unstable.
However, if you do see any instability, just lower your jack and take care of the problem. Don’t lift your car too much because it can cause instability.
Step 7: Remove the Wheel
Now, you need to get rid of the nuts completely. Keep turning them until they come off. Do this with all the nuts and remove the wheel.
Then, you can use a pry bar to take the tire away from the rim. But if you have a spare tire set with a wheel ready to change, you don’t need to use the pry bar.
Step 8: Place the Spare Tire
Now you need to place your spare tire on the hub. Remember to set your spare tire in place with your wheel bots and then place the nuts.
Make sure that you’re installing your spare time the right way. Or else you might endanger your life on the road.
Also, don’t forget to tighten the nuts to their place. Don’t use too much force or it might upset the jack causing it to break down.
Step 9: Place the Car on the Ground
Lastly, place the new tire and the whole car on the neutral ground slowly. Also, tighten after the car is on the neutral ground if needed. And now you’ve perfectly changed your tires.
Conclusion
Learning how to change a tire by hand can help you in the most challenging situations ever. It should be the first skill that you learn after your driving.
So, today we tried to help you learn this skill. Without a doubt, you can successfully change your tire at the first tire with proper guidance like this.
Now you’ll never have to worry about changing a flat tire at an inconvenient time.