


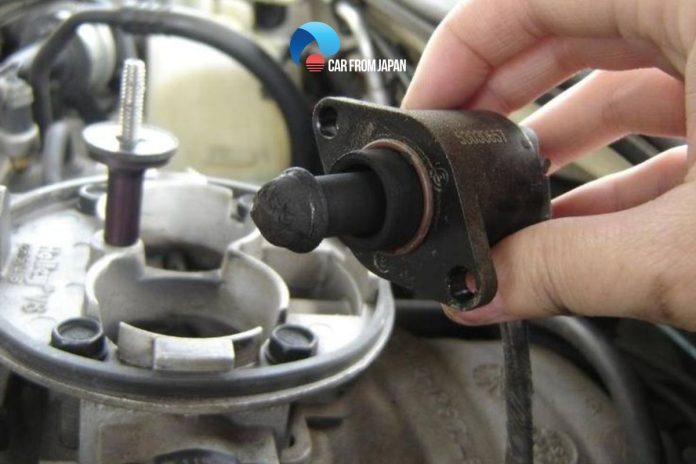
Do you know that an air control valve is usually a place that accumulates a high density of carbon, which will prevent the flow of fuel and cause your engine to work no-effective? So cleaning this small valve periodically is an important step to prevent a rough ride and save your money. In this article, we’re going to show you right quick how to clean idle air control valve on your fuel-injected vehicle. Some vehicles are built a little differently, but the process is generally the same.
What Is An IAC Valve?
The idle air valve is a part commonly installed in fuel injection vehicles with the function of enabling your engine to idle effectively rather than stalling out when your car stops. Often an IAC is attached to the engine throttle. Its purpose is to regulate the airflow in your engine and help to create smoother idling.
The IAC controls the amount of air entering the engine cyclically. This process is accomplished by regulating airflow through a bypass circuit around the throttle to increase or decrease idle speed. Increasing the volume of air flowing through the bypass circuit around the throttle valve increases the idling speed.
When talking about the engine idling speed, it is the speed in revolutions of the engine when the driver’s foot is not on the accelerator pedal. While the throttle is closed, the main intake manifold of the engine is closed. So a bypass is required to avoid stalling the engine.
We can’t deny that an IAC valve is a very important component in a car’s engine. Having an issue with the IAC valve can lead to big problems with your engine. To keep this valve always working in good condition, idle air control valve cleaning is a key factor.
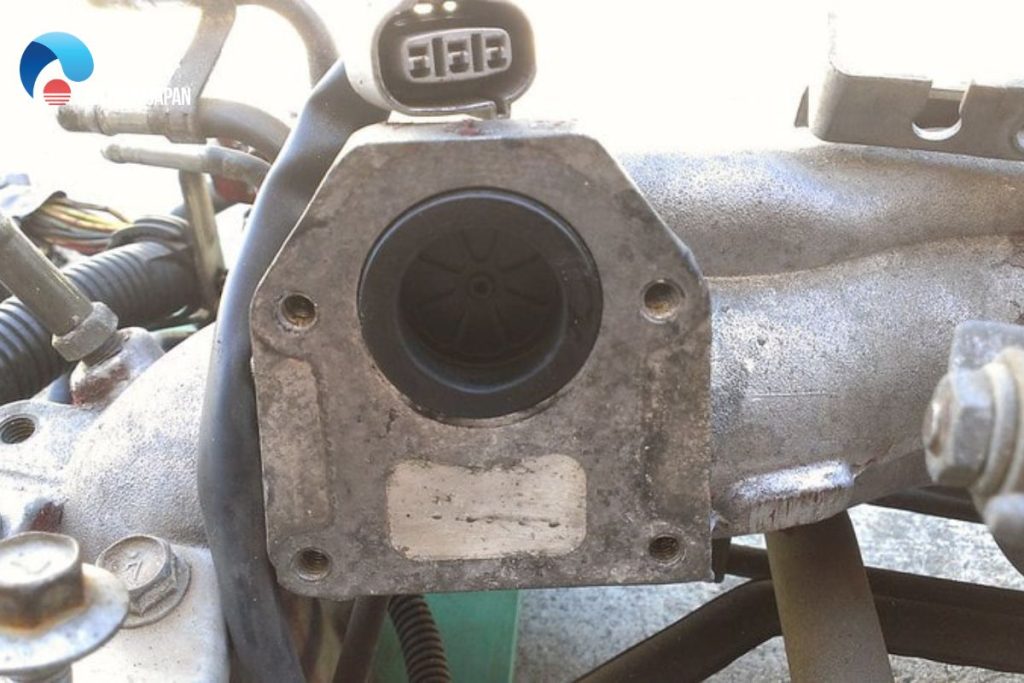
How To Clean Idle Air Control Valve?
Over time, the IAC valve will build up carbon that causes this valve to be clogged or dirty and the consequence is more or less airflow to enter your engine. At that time, you will have 2 options: replace an idle air control valve or clean it. Depending on the condition of this valve, you will make the right decision. However, do you know that an IAC valve is one of the most pricey components used in your engine system?
You can absolutely save a lot of money by buying a new valve and cleaning the existing one. If you want to make this process by yourself, you must check your car owner’s manual when you intend to clean the IAC valve. You will not want to cause any further damage, and the manual should provide accurate instructions on how to clean the valve correctly.
However, if you can’t find the relevant information, here’s a step-by-step guide to working with most of the vehicle when cleaning an IAC valve. But before starting a process, you need to make sure the engine is off and completely cooled down, or you can disconnect the negative battery cable:
Step 1: Locate the position of the idle air control valve
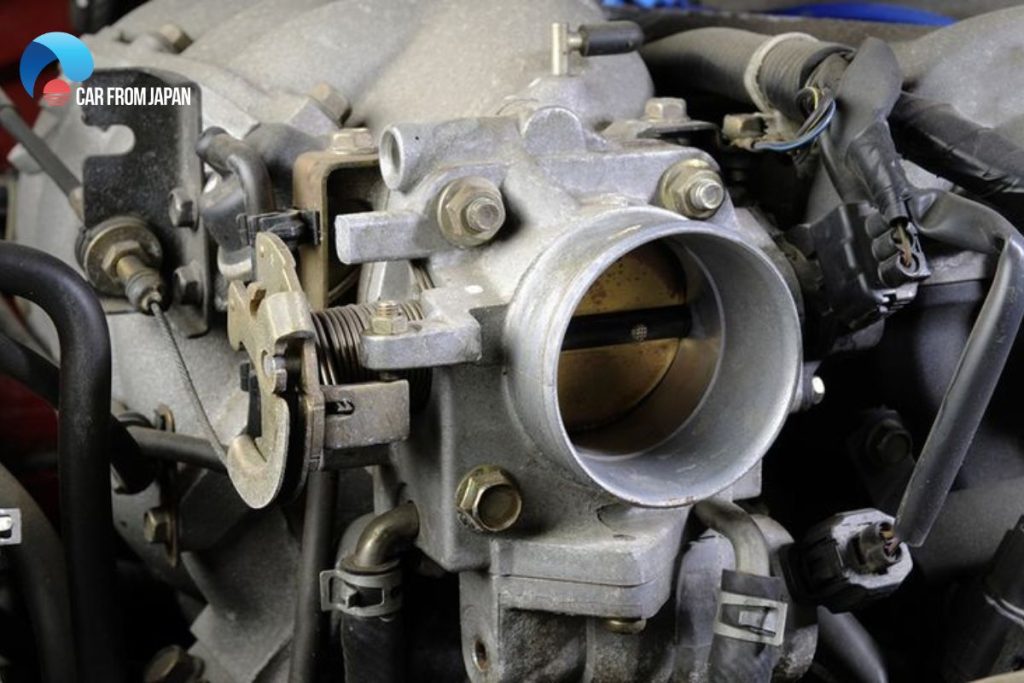
It will be challenging to identify the exact position of an IAC valve if it’s your first time cleaning it. The idle air control valve is usually located near the throttle position sensor, connected to the throttle body.
For beginners, it can be a little tricky. You can start by locating the air filter box, then follow the duct that passes through the mass flow sensor and into the engine. Here, you can find the throttle body and also the idle air valve. Make sure you select the correct IAC valve; otherwise, you could damage the entire engine.
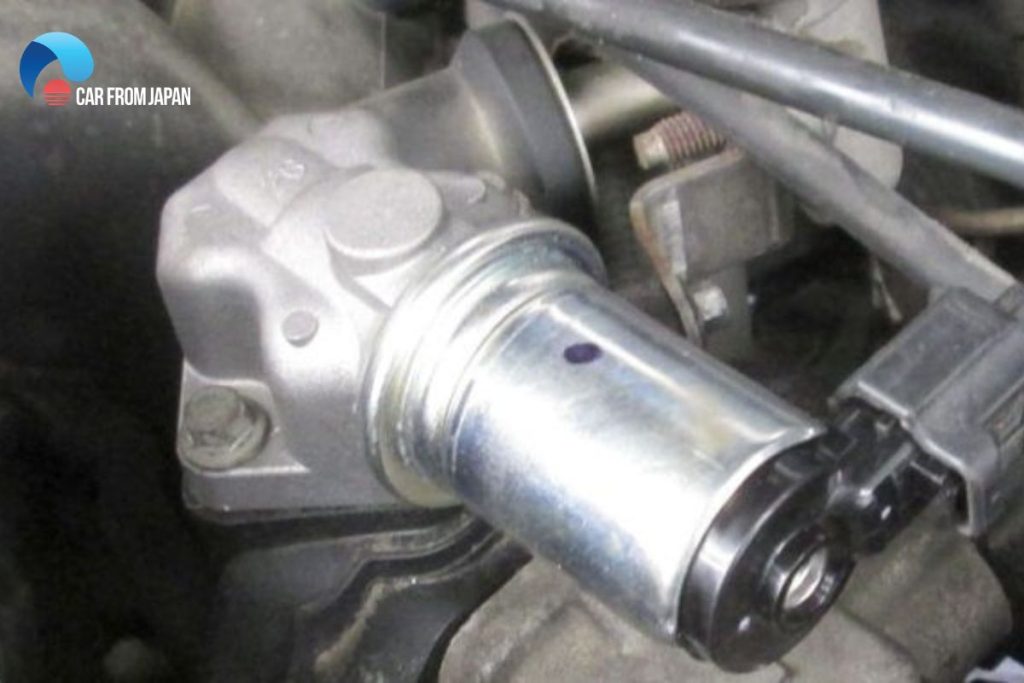
Step 2: Detach the air intake hose and filter box
The next step is to use a screwdriver to loosen and remove the screws securing the filter box. In this step, you also need to disconnect the power line associated with the MAF sensor in case your vehicle has any problems! However, be careful about the part of the plastic tang that fixes the harness.
Don’t break it because the wire leading to the harness will come apart. And that will cost you a lot more time to handle, and it will be more complicated than cleaning the air valve. The harness is kept from shaking with the help of that plastic tang. Our advice: Make sure you don’t mess up all the wiring and hoses. After removing the air intake, you can reach the idle air valve. If you still don’t locate it, you can refer to the vehicle manual.
Step 3: Remove all clamps that are connected to the IACV
Detach all the clamps that are holding the IAC valve. Remove the old gasket (no need to scrape it because it is a metal gasket). In this step, you will find the throttle body, and your task is to place a small hole or passage inside it.
Step 4: Clean the idle air control valve
Use a brush to remove the dirt on the valve surface. When cleaning the inside of the valve, you will need specialized detergents, such as carburetor cleaners. Wipe or spray the inside of the triangular face to clean any deposits to ensure no carbon residue remains. Spray a carburetor cleaner onto the pointed end of the valve. Try not to get any of the cleaners into the valve’s housing, as this may cause damage.
Continue spraying the cleaners until all the carbon or debris has come away. Remember, not all carbon cleaners may be suitable for all vehicles and components. You should only use the products if you’re confident that they won’t do any harm. After removing the carbon, reassemble the air valve in the detached position and attach the harness to its original position.
Step 5: Test by starting your car
The best way to check your engine after finishing the cleaning process is to let your car start up and then spend a few minutes idling. Once everything is reinstalled correctly, you can now start your car and listen to how it idles.
If the dirty was an issue, you should now notice the improvement in the sound, and your car will be running smoothly. At that time, it means that your mission is successful; otherwise, you will have to do the above steps one more time.
After cleaning and still not effective, it is time to replace the idle valve. You should buy replacement parts from reputable stores to avoid buying fake goods or poor-quality goods.
FAQs
Here’re some other frequently asked questions about an IAC:
How to test an IAC valve?
There are many ways to help you to test the idle air control valve like starting your car, testing an IAC with a multimeter, OBD scanner, or voltage test light. We think the easy method you can use to test the IACV is to turn your car on and listen to the idling engine. A fully functioning valve will sound even and smooth, and you will not notice any “bursts” in sound or speed. In addition, you can use a multimeter, but this method will be a little complicated.
You should set the multimeter unit to be Ohms, after that, place the red lead on one terminal of the IAC valve, and put the black one on the other terminal. If your IAC valve works correctly, the resistance will range from 7 to 25 Ohms, depending on your vehicle. Another number is a warning sign of a bad IAC valve.
What are the symptoms of bad idle air control valve?
It’s important to be aware of the idle air control valve symptoms when it’s going bad. These include stalling, poor acceleration, increased RPM, or a warning check engine light on your dashboard. If you notice any of these signs, you need to test or check your IAC valve immediately for faults. This is important to know about the recommended idle range to give the exact diagnosis because this date will depend on your type of engine.
What happens if you unplug the IAC valve?
You can absolutely unplug the IAC valve and it should not cause any damage. If you disconnect it while the engine is idling. However, the IAC valve plays an important role in keeping the airflow in combustion while idling. So there’s a risk when removing this valve causing some adverse effects.
Final Thoughts
In this article, we’ve explained how to clean the IAC valve by removing it. If you want to learn how to clean idle air control valve without removing it, there will be several guides available online that you can refer to. Whilst the idle air control valve is designed to last your car’s entire lifetime, sometimes damage and debris could cause issues. Cleaning this valve is a very useful way to keep your car working effectively.