


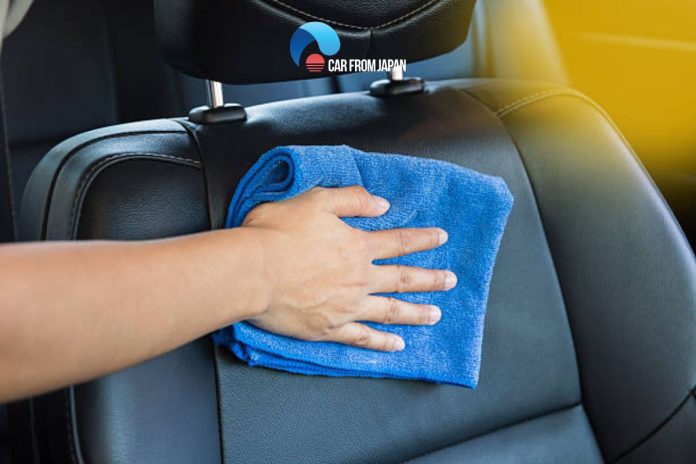
Cloth seats are comfortable, affordable, and – let’s be honest – magnets for stains. Coffee, pet hair, sunscreen, you name it. The good news is cleaning them isn’t complicated; you just need to do it in the right order with the right products. Skip a step or use the wrong cleaner, and you risk soaking the foam underneath or leaving a water ring that’s worse than the original stain. Follow this step-by-step guide to learn how to clean cloth car seats, and you’ll get shop-quality results at home.
Contents
How To Clean Cloth Seats In A Car: What You’ll Need To Prepare?
How to clean cloth car seats with household products? Before you dive in, gather everything so you’re not running back and forth mid-clean (especially once a stain is already wet – you want to work it while the cleaner is active). Most of this you probably already have at home.
Supplies checklist:
- Vacuum with a brush attachment – for loose dirt, crumbs, and pet hair before any liquid touches the seat
- Soft-bristle brush – an old toothbrush works for small stains, a soft upholstery brush for larger areas
- Mild dish soap or a fabric-safe upholstery cleaner – something gentle that won’t strip color or break down the fibers
- Warm water
- Spray bottle – for mixing and applying your cleaning solution evenly
- Microfiber towels or clean rags – for blotting and wiping down; a few, since you’ll want dry ones for the final pass
- White vinegar (optional) – handy for odor control and light stains
- Wet/dry vac or portable steam cleaner (optional) – speeds up drying and gives a deeper clean, but not required to get good results
What to avoid:
Not everything under your sink belongs on your car seats. A few things to skip:

- Bleach or color-safe bleach – it can discolor or weaken cloth upholstery, even in small amounts
- Harsh solvents (like acetone or all-purpose degreasers) – these can break down the fabric backing and glue underneath
- Too much water – oversaturating the seat is one of the most common mistakes. Excess moisture can soak into the foam padding below and lead to mildew or a lingering musty smell that’s a lot harder to fix than the original stain
A little soap and patience go a lot further than harsh chemicals – cloth seats respond best to a gentle approach.
How To Clean Cloth Car Seats: A Step-by-Step Guide
Once you’ve got your supplies together, follow these steps in order – skipping ahead (especially straight to scrubbing) is how stains get worse instead of better.
Step 1: Vacuum the seats thoroughly
Start dry. Use the brush attachment to vacuum every inch of the seat – including the seams, crevices, and under the headrest. Any dirt, sand, or crumbs left behind will turn into mud when they mix with your cleaning solution, which just grinds grit deeper into the fabric.
Step 2: Check the fabric care tag
Most vehicles have a cleaning code on a tag under the seat or in the owner’s manual – usually a letter like W, S, WS, or X. This tells you what kind of cleaner is safe:
- W: water-based cleaner is fine
- S: solvent-based cleaner only, no water
- WS: either water- or solvent-based cleaner
- X: vacuum only, no liquid cleaners at all
Skipping this step is how people accidentally water-stain or damage seats that were never meant to get wet in the first place.
Step 3: Pre-treat tough stains
For coffee, food, or mud stains, mix a gentle solution — a few drops of mild dish soap with warm water, or a mix of dish soap, white vinegar, and club soda for tougher spots. Spray it directly onto the stain and let it sit for 5–10 minutes to break down the residue. For grease or ink stains, a fabric-safe upholstery cleaner will usually work better than a homemade mix.
Step 4: Scrub gently with a soft brush
Using your soft brush, work the stain in small circular motions. Go easy – you’re lifting the stain, not sanding the fabric. Scrubbing too hard can wear down the fibers or push the stain deeper instead of pulling it out.
Step 5: Wipe away residue and extract moisture
Using a clean, damp microfiber towel, wipe the area to lift the loosened dirt and soap residue. If you have a wet/dry vac, run it over the seat to pull out excess moisture – this speeds up drying and helps prevent the cleaner from just sitting in the fabric.
Step 6: Let the seats dry completely
Crack the windows or leave the doors open to let air circulate, and park in the sun if possible. Avoid closing up the car while the seats are still damp – trapped moisture is the main cause of that musty smell nobody wants. Depending on humidity, full drying can take anywhere from a few hours to overnight.
Step 7: Deodorize (Optional)
If odor is still lingering after everything dries, sprinkle baking soda over the seat, let it sit for 15–20 minutes, then vacuum it up. It’s a simple, fabric-safe way to neutralize smells without introducing more moisture or chemicals.
Mechanic-voice bonus tips
Test cleaner on a hidden spot first, tackle stains ASAP, monthly vacuuming to prevent buildup, avoid all-purpose glass/dash cleaners on fabric.

How Often Should You Clean Cloth Seats?
You don’t need to deep clean your seats every week – but a little regular upkeep goes a long way in keeping stains from setting in and fabric from breaking down early. Here’s a good rule of thumb:
- Weekly to monthly: A quick vacuum to catch crumbs, dirt, and pet hair before they work their way into the fibers. This alone prevents a lot of the buildup that leads to bigger cleaning jobs later.
- As soon as a spill happens: Don’t wait. Fresh stains come out far more easily than ones that have had days (or weeks) to set.
- Every 3–6 months: A full deep clean using the steps above – more often if you have kids, pets, or a daily commute that puts your seats through the wringer.
If you live somewhere with hot summers or high humidity, leaning toward the 3-month mark helps cut down on odor and mildew risk too.
Cloth seats that get this kind of routine attention not only look better – they hold up longer, which matters more than people think when it’s time to sell or trade in the car.
Closing Thoughts
Keeping cloth seats clean isn’t complicated – it just takes the right steps, done in the right order, and a little patience for the drying time. Stick with a regular vacuuming habit and tackle spills quickly, and you’ll rarely need more than a basic clean. But if you’re dealing with a deep, set-in stain that just won’t lift no matter what you try, don’t force it – a professional detail is worth the money at that point, and it’ll save your seats from unnecessary wear.