Is it a Good Idea to Clean Your Car’s Engine Bay?
It is always a good idea to clean your car’s engine bay. The reason why the engine bay of your vehicle is dirty is that it is exposed to the outside factors from below the bay. The engine bay also gets riddled with grime and dirt from the engine itself. This usually happens if your automobile had an oil leak before.
However, we all know that car owners want a clean engine bay to impress other people, since it is rare to have a clean engine nowadays. If you ever have a plan to sell your car, it is also worth it to make it look clean and beautiful. Not to mention, drivers can easily track down the source of leaking from the engine if their cars have any.
This brings us to the next question: how to clean engine bay? In this article, we will guide you step by step.
How to Clean Engine Bay of Your Car
Let’s be honest, we all feel good after cleaning something. Imagine the joy when your car is all shined up and clean. However, it is not easy to keep it clean. So here is how to clean engine bay efficiency.
Step 1: Schedule
When we mentioned the schedule step, we wanted to clean the engine bay on a specific day. The most ideal day is a warm day. With enough sun and warmer weather, car owners can start cleaning the engine bay of their cars. The best day to perform this task is warm weather, low humidity, along with some wind. Since that weather condition will help dry the car components as well as engine after cleaning.
We know what type of weather to clean the engine bay, so what is the ideal location? In order to know how to clean engine bay, car owners need to choose a place first. The reason for this is the grime coming out of the engine bay of the vehicle. It will create toxic when connected with materials in the environment. The mixture is in both wet and dry form, so it is amazingly hard to clean. Not to mention, these things are not allowed to enter the storm sewer system.
In the case when you don’t want to do it at home, self-serve car wash is the ideal location. The law requires these facilities to clean, recapture and reuse water in a closed system. This system collects and filters the toxic and substances for safe disposal. One thing to notice is the water pressure. It is very much higher than from your house or your garden hose.
Step 2: Prepare the Tool
Ready to note them down, since it is gonna be long. In order to answer the question of how to clean engine bay, we need to have:
- Assortment of stiff fiber-bristle brushes
- Blower or compressor (optional)
- Dust mask
- Microfiber cloths
- Rubber gloves
- Safety glasses
- Screwdrivers
- Spray bottles
- Wire brush
- Wrenches
Along with that, we need to have:
- Drip pans (if working at home)
- Garden hose (if working at home)
- Garden watering wand (if working at home)
- Shop vacuum (if working at home)
After that, we need some materials to clean. They are:
- Degreaser
- Electrical tape
- Plastic bags
- Zip ties
- Absorbent pads (if working at home)
Step 3:Let the Engine Cool
If the vehicle was running, car owners must flip the hood up and allow the engine to cool. We cannot clean the engine bay when it is hot right? Since it not only burns you but also is damaged by rapid contraction if you sprayed cool water on it. Not to mention, hot parts can melt the plastic that is supposed to protect the electrical parts. And to be able to clean, the acceptable time is around 15 minutes. If you are at a self-serve car wash bay, you can wash and dry the exterior of the automobile in order to keep yourself busy while waiting for the engine to cool. And if your vehicle is at home, the right thing to do while waiting for the engine to cool is gathering the materials and tools.
If you have a cool engine already, let’s skip this waiting test and jump right into the next step of how to clean engine bay.
Step 4: Remove
The following step in how to clean engine bay is to remove the plastic covers under the hood. These can be scrubbed separately that’s for sure. Also, you need to remove all the negative terminals from the battery. Not to mention, this helps protect the electrical car parts if they get wet. If drivers want to make sure, they can take off the battery.
Step 4: Tighten Caps and Covers
Before getting on the crucial steps, car owners must give the dipsticks, covers and caps the last check. You need to make sure they are sealed or seated since there might be grime and water leaking into these openings, and we don’t want that.
Here is the time for the plastic bags we prepared shine. Drivers should use them to cover all sensitive, electrical car components like ignition wires, battery, engine control unit,… You will also need to cover exposed engine air intake if there is any. Car owners can search for them under the hood. After all, knowing all the necessary parts are protected will allow car owners to clean more efficiently with less risk of destroying anything.
Step 5: Gear Up
Due to the unsafe nature of the grime you will remove, it is our recommendation to cover yourself. To be more specific, car owners must protect their mouth and eyes from flying debris with a dust mask and safety glasses. Along with that, you should have rubber gloves to cover your hands from staining as well as harsh cleaners.
If you are performing the cleaning task at home, you should find a drip tray and position it under the engine and absorbent pads to the downhill side of the tray.
Step 7: Dry Clean
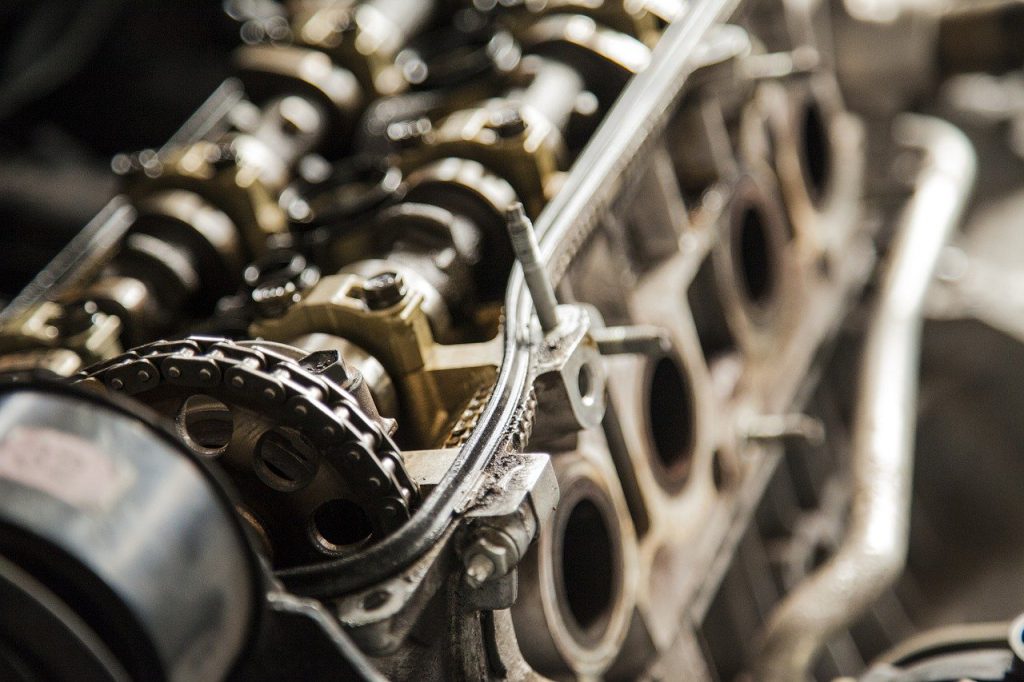
In order to continue with the next step of how to clean engine bay, car owners need to remove as much dry material as possible before starting the cleaning process. In order to do that, you need to vacuum up all loose grime, followed by using brushes to get into crevices and cracks, as well as remove buildup. On the preparation tool step, we have fiber brushes and wire brushes for this hard task. Wire brush is very suitable for cleaning metal surfaces, while fiber brushes are the best tool for synthetic and plastic surfaces. After that, drivers can collect all the loosened dirt.
Remember to pull out the drip tray, along with vacuum the collected material.
Step 8: Spray Down the Engine Bay
Alright, your engine bay is ready for water. Car owners can now use warm water to moisten all exposed surfaces. You can put it in a spray bottle to make the task easier, gaining you more control of the application. Also, it minimizes the amount of water that we need in order to complete the task. Spraying down is the most important step in answering the question of how to clean engine bay. To be more precise, this action prevents the degreaser from dying on the engine and causes spotting. Not to mention, spraying down the engine bay also gives the degreaser a hand to work more efficiently and evenly.
Step 9: Degrease
One of the most crucial steps after spraying down action is applying degreaser. You want to spray it to every exposed surface in the bay of the engine and give the degreaser around 10 to 15 minutes to work. Remember to focus more to areas where grime has built up. While any household degreaser can be used whether it is a purpose-made engine degreaser or a kitchen cleaner, we recommend using Simple Green cleaner.
Another thing to keep in mind is to empty your shop vacuum and convert it from dry operation to wet operation.
Step 10: Scrub
This part totally depends on the condition of your engine. With a clean, shiny, bright engine, car owners can ignore this step. However, you might need a lot of scrubbing if your engine is dirty. Make sure to check the valve cover since they might have oil and dirt sticking. Drivers can use the small brush with synthetic along with degreaser to make the work easier.
Step 11: Rinse
The following step is to rinse the engine bay of your vehicle. Even though this is an easy task at home, it is quite hard in a self-serve car wash center due to high water- pressure capabilities of the water guns. Always be careful when using them since you might damage the engine bay while cleaning if you engage high pressure.
SEE MORE
While at home, car owners can use the shop vacuum along with absorbent pads to control the water. After that, we can use the cloth to wipe out the bay. If there is any place still have degreaser or need extra cleaning, we suggest to double clean them. Now we can rinse them again with water and wipe with the cloth. Last but not least, remember to collect the captured water and vacuum up excess water around the pads. We don’t want any water to be left behind.
Step 12: Dry
If you have leaf blowers or compressed air available, you can use air in the nooks and crannies to dry your engine bay. A shop rag or towel is also very helpful if you don’t have them. After that, let the engine dry completely for around an hour with the hood up.
Step 13: Hand Clean Electrical Parts
Hand cleaning electrical parts is a crucial part in cleaning car engine bay. In order to perform such a task, we need to remove the protective plastic on the electrical parts first.
After the removal, we clean them with cloth and brushes by hand and use just a small amount of moisture. Remember, the entire bay and these parts must be dry and clean before reinstalling the battery.
Step 14: Run the Car
Alright, you have finished cleaning your bay. Time to start the engine and check to see if there is anything wrong. This action will allow the engine to reach the operating temperature and clear any remaining moisture.
Car owners can watch the video here to understand the instructions further:
Benefits of A Cleaner Engine
Even though many mechanics might tell you to not clean the engine since drivers can damage many car parts and components. However, it is not true. The new engine is quite durable and well-isolated from water damage. Along with that, the benefits of a clean engine are quite a few.
Determine Where Oil is Coming from
If you have a clean engine bay, it is easy to determine where grease or oil is coming from. For example, if your car has a leaky valve-cover gasket, the location of the leak can easily be revealed with a clean engine. In conclusion, small issues like oil leak can be spotted and repaired before they become more serious.
Save on Repairs
Clean engine bay can also save on repairs, that is one of the most basic maintenance tips. It is the fact that grease and oil are the main factor of the wear of plastic parts and rubber hoses. However, it can all be fixed by regular engine cleaning with a degreaser. Not to mention, when car owners have to check the oil level and accessory belts,a clean engine helps them from getting dirty.
Clean Engine Appearance
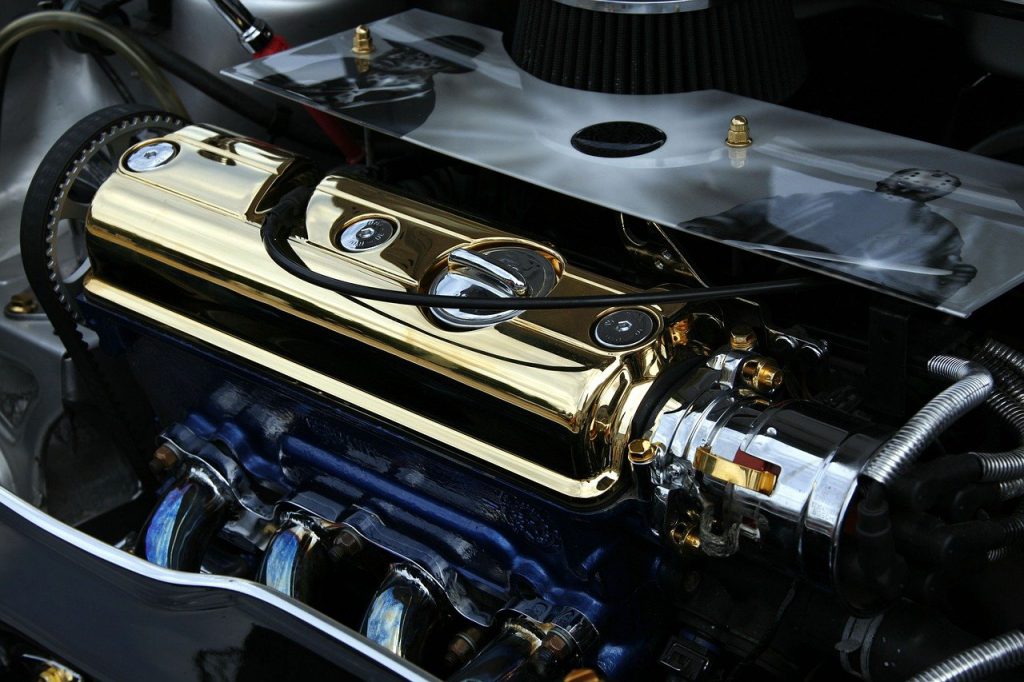
Last but certainly not least, the pretty, shiny look of a clean engine is the best payoff. Nobody wants to have a dirty car engine bay. So keeping the engine bay of your car clean gives owners a great feeling when driving. In case when you want to sell the car, a cosmetic appeal of a clean engine will attract customers.


