
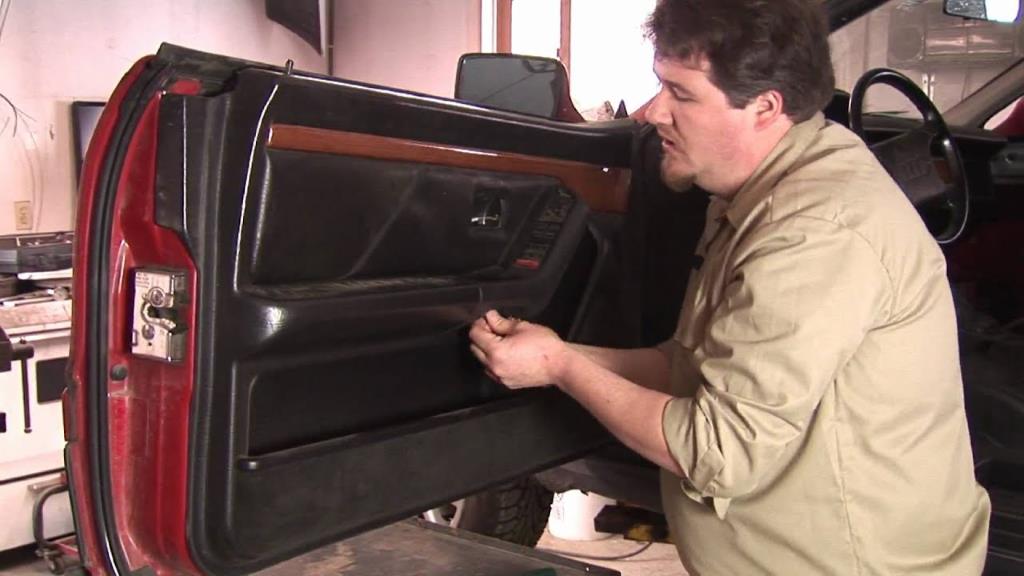
A door panel is an interior covering of the door of an automobile. You may need to take this cover off to perform a small repair such as fixing a problem like a damaged handle, a failed lock, or a bad window.
The cover conceals behind it the door’s latching mechanism and the apparatus for lowering and raising the windows. To do these repair tasks, you will need to know how to remove door panel.
The process of detaching a car door panel is almost similar for all brands and models. You may need to do it at the time of replacing the side mirrors, changing the window levers, repairing a bad lock, or fixing damage in the power windows.
Contents
How to Remove Door Panel: Simple to Follow Guide
Learning how to remove car door panels at home can save money on simple car repairs. All you have to be is patient and diligent enough to pay attention to details.
Things You’ll Need
- A set of screwdrivers
- Ratchet and socket
- L pick or a trim removal toolkit
- Small flashlight
Removing Door Panels: Step-by-Step
The door panels are different from other parts of a vehicle. There are no large bolts or lugs that need exertion of extreme forces to be removed.
Remember this as applying more force than necessary may cause damaging some delicate parts of the panel.
Here’s the easiest and simplest way of how to remove door panel:
Detach the Small Trim Pieces.
To do this, take a close look at the fasteners that attach the panel to the door frame. Most car models have bolts and screws as door panel fasteners but a few models may use snap-in fittings.
Use a ratchet and socket or a screwdriver to loosen and remove the screws and bolts. For snap-in fittings, use a flathead screwdriver. Apply gentle pressure to separate the fitted parts.
Locate the small trim pieces (they are likely to be at the top right or left side of the panel) and dislodge them with the help of an L pick or a small flathead screwdriver. You must remove these pieces before unhitching the door panel.
There could still be some screws hidden underneath some plastic fascia pieces. Also, some extra pieces may house the window switch, the inner door handle, and the armrest. Remove all of them and detach if there is any screw left out.
Make sure that all each mounting bolt cover is removed and every panel mounting screw is unfastened. Then, move to the next step of how to take door panel off.
SEE MORE
Remove Some Inner Components.
Now, it’s time to detach some inner components such as the door handle and the speaker.
Locate the screws that are keeping the handle attached to the door and disengage them with a ratchet and socket. Then, pull the handle forward to dislodge it from its socket.
Be careful not to tear off the linkage attached to the handle. To release it from the handle, gently push the plastic clip over it with a small screwdriver.
The next step is to remove the speaker housed inside the door panel. The screws that keep it connected to the surface are underneath a cover, which you can unclip by pulling it outward gently.

Loosen the screws and disconnect the speaker’s wires by releasing their connector safety clips. During this process, work cautiously because the sharp tools may puncture the speaker cone.
Detaching the Door Panel
Finally, you will remove the panels at this step. However, don’t forget to do a final inspection for any hidden screws and still attached hardware.
If everything is good, take a screwdriver to proceed through this stage of how to remove door panel.
Thrust the screwdriver in between the door and the panel. You will hear popping sounds of the release of plastic clips keeping the panel attached to the frame. Repeat this all around the frame to release the panel completely from the frame and window sill.
However, you still have to disconnect the window switch wiring. In some cars, it’s possible to remove the switches before taking the panel off. Otherwise, you have to find the switch’s safety release clip and press it to release the connector.
Detaching the wiring will remove the panel completely from the door. Place it away on a clean surface during the repair work.
Re-install the Door Panel
So, you have learned how to remove door panel and we hope that you have successfully done that. Now, it’s time to put it back onto the door frame.
Ask someone to hold the panel steadily onto its previous position while you reattach the window and door light electrical connectors.
Put the latch control roads into their slots and push the panel into the windowsill. Secure it by putting the plastic clips back into their places.

Then, just do the removal of the speaker and door handle in the reverse process. Put back all the screws, bolts, wires, and covers.
The last part is tightening all the door panel screws and bolts and setting the trim pieces onto their places.
It will be easier if you videotape the whole process of removal. You can just watch it to remember which bolt goes into which slot.
Warnings
Following these tips will make the panel removal easier and save you from some extra hassles.
- Plenty of small screws and hardware keep the door panels attached to the door frame. Keeping them in a small container will make it easier to find them at the time of re-installation.
- Don’t try to pull the panel with force or shake forcefully to loosen the fasteners. It has many vulnerable parts that can break if you do so. If something like this happens, you may have to buy the whole panel.
- Be careful while using sharp tools. You may puncture or scrape any internal surface or component.
Check out this video from Make It Easy Mechanic to learn how to remove a door panel on any car!