How to Use a Torque Wrench and Other Facts
Do you have a problematic rear tailgate glass that pops open every time you hit a pothole? Does the shifter lever come loose during a ride or a creaky seat just ruin a perfect trip? Why do you think it happens? It’s because the bolts mounting the glass to the hinges are either loose or too tight. You have to know how to use a torque wrench to avoid such under- or over-tightening.
A torque wrench is a tool that helps you fasten a bolt or nut at the exact tightness. In fact, the bolts and lug nuts in your car have separate torque ratings. Without this tool, you won’t be able to secure them to the correct fitting.
Why Do You Need a Torque Wrench?
What holds the components in your car into an assembly? Lugs and nuts. Like all other fasteners, they become loose over time. If you are playing catch-up with your vehicle’s maintenance schedule, some bolts and nuts are likely to give up and give you serious trouble on the road.
The good news is that you can tighten these bolts given that you have some knowledge about automobile mechanism. But most DIY-ers either over-tighten or under-tighten everything. Such incorrect fittings lead to broken bolts, abraded threads, and damaged components.

A torque wrench will help you hit the correct torque value of each fastener on your car. No more playing the guessing game.
Before learning how to use a torque wrench, have you thought about how to find the torque value of the lugs/nuts of a specific system?
This is easy because the owner’s manual has all these values. The manufacturer assigns a torque value for each fastener measured at foot-pounds and you have to maintain that tightening level.
What does this mean when a nut’s value is 10 ft-lb? Remember that torque is a rotation force that you exert around a specific point. So, 10 ft-lb torque means you have to apply that force for tightening it properly. To achieve that, you can use a one-foot wrench and apply 10 pounds of force to tighten that nut. Similarly, if a nut is 100 ft-lb, you can twist it by applying 50 pounds of force with a 2-foot wrench.
Types of Torque Wrenches
Learning how to use a torque wrench may require you to operate more than one type. So, it’s important to be familiarized with variations available in the market.
You will find them in four styles: digital, clicker, bending beam, and dual beam. Digital and dual beam are the most expensive and you simply don’t need them for DIY projects, unless you are a professional mechanic.
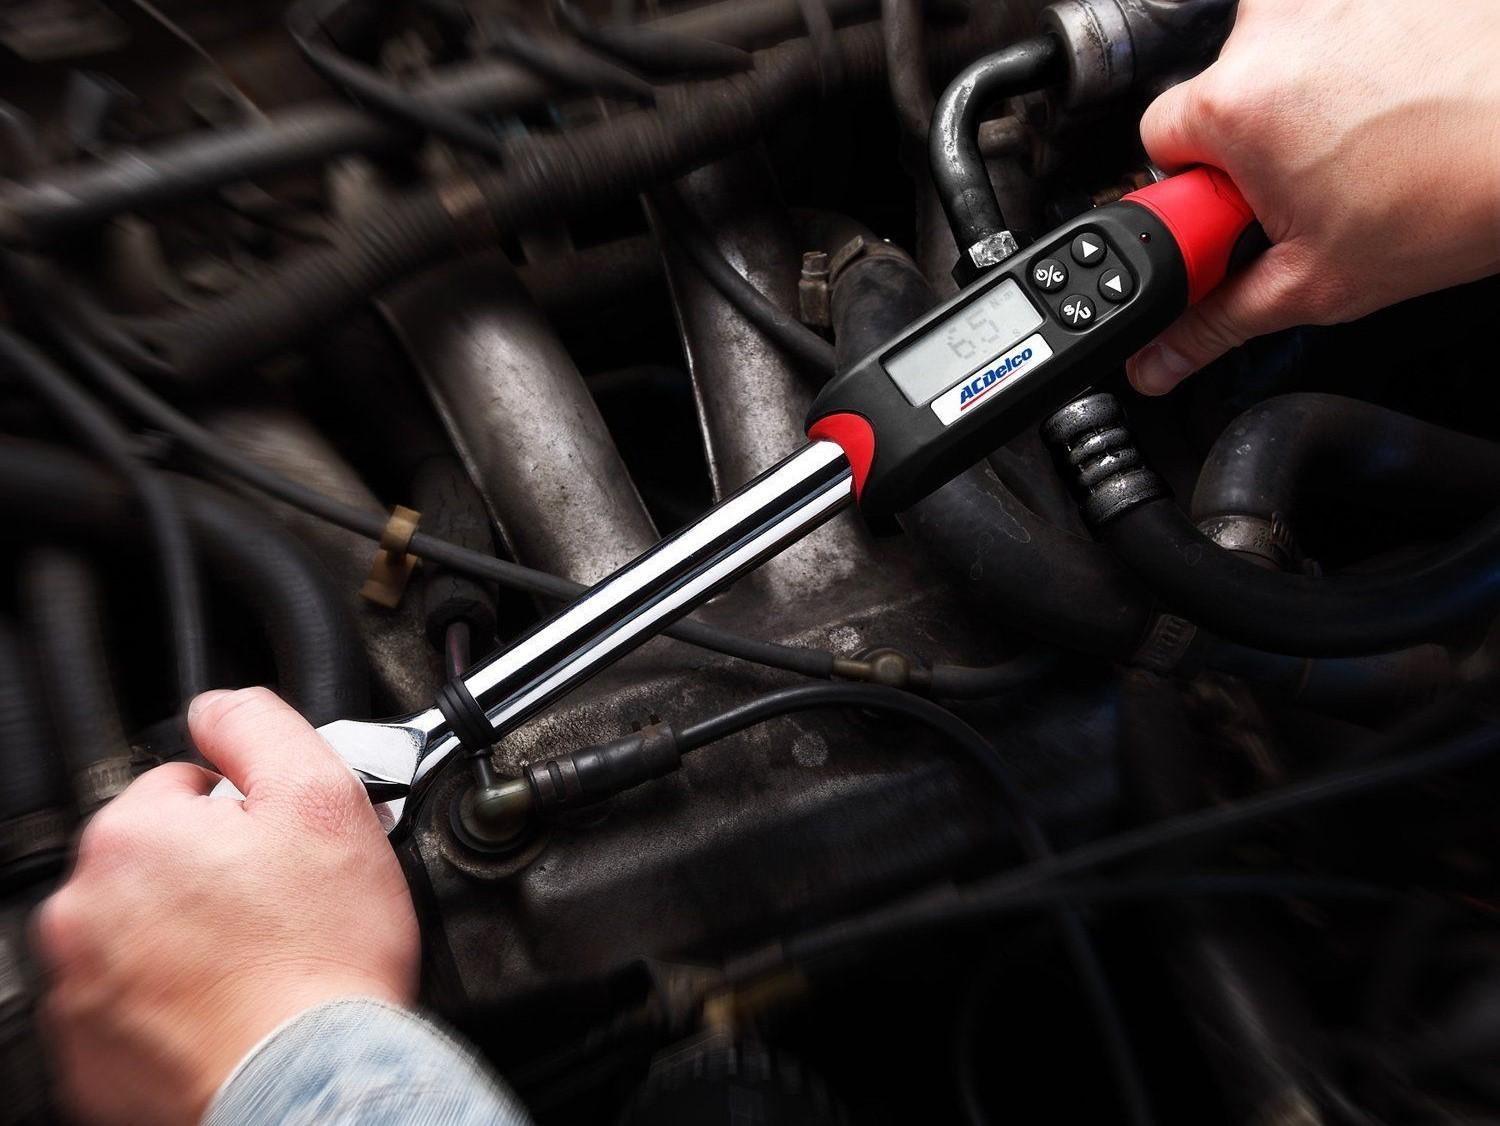
There is an economy version of clicker wrenches that is fine for a one-time tightening work. You need to re-calibrate it to use for a second time but most calibration services are unlikely to provide the service for this type.
Two types of mostly used torque wrenches are:
Bending-Beam
Bending or deflecting beam torque wrench applies torque by bending its center beam; hence the name comes. This tool can keep its calibration forever unless you bump or drop it accidentally. If it ever needs re-calibration, just turn the pointer back to zero with pliers.
The disadvantage of this bending beam torque wrench is the difficulty of reading the scale. You have to see it from right above the needle, which is tough from some angles.
Micrometer ‘Clicker’
This is the best tool for new users because it makes an audible click after reaching the correct torque. All you have to do is to change the reading to ‘zero’ after every use. Also, it needs frequent re-calibration if you use it for sophisticated parts like the engine and suspension.
SEE MORE
How to Use a Torque Wrench
Using a torque wrench is not complicated. There are three simple stages: setting the torque, twisting the fastener, and tightening it.
If needed, raise the vehicle from the ground with a jack and jack stands. Check the owner’s manual to get the correct torque value of the fastener you are going to tighten. Set the wrench to one-half of the suggested torque value. Twist the nut to one-half of the recommended torque and then lower the vehicle completely and tighten the fastener to full torque. Reset the wrench before moving on to another nut.
When you are done, save the calibration by tuning the micrometer scale to zero. Then, carefully store the wrench into your toolbox. This is a must-do if you have used multiple torque settings while twisting the fasteners.
Tips for Using a Torque Wrench
Learning how to use a torque wrench is not enough to get accurate results if you don’t apply some practical tricks.
- Different types of fasteners require different tightening techniques. To secure a cylinder head, which has a long oblong shape, you will need to start applying forces from the middle and then circle around.
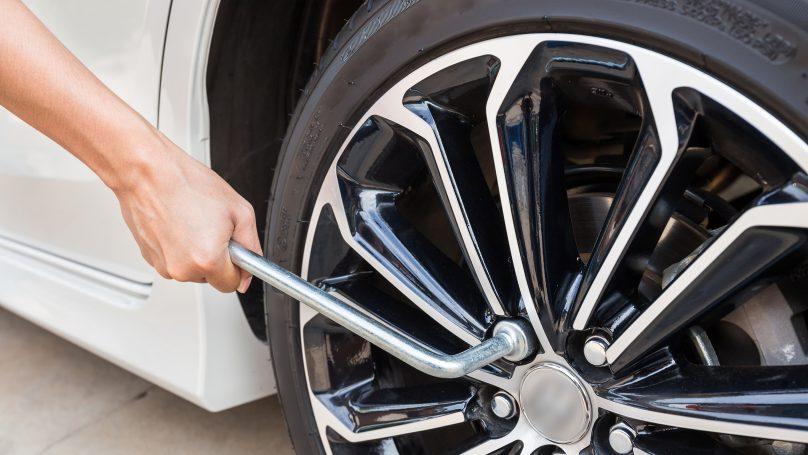
- Tighten the circular patterns of bolts, such as the wheel’s lug nuts, in a starfish or crisscross pattern. Novices do the mistake of applying force in a circular pattern.
- A torque wrench is a measurement tool, not something to provide grip and turning service. Never use it as a substitute for a regular wrench or hex key to loosen a bolt or nut.
- The bolts to be tightened should have proper threading. For example, despite using a torque wrench, you cannot correctly tighten a cross-threaded bolt. So, check the threading before starting your DIY project.
- Apply some lubrication on the fastener threads. Dry or tough to twist threads often produce false readings. So, you should always lubricate them unless there is any instruction against it.
- Noobs do the mistake of holding the wrench near the socket. Don’t do that. Grab it on the end to get properly tightened lugs and nuts.


