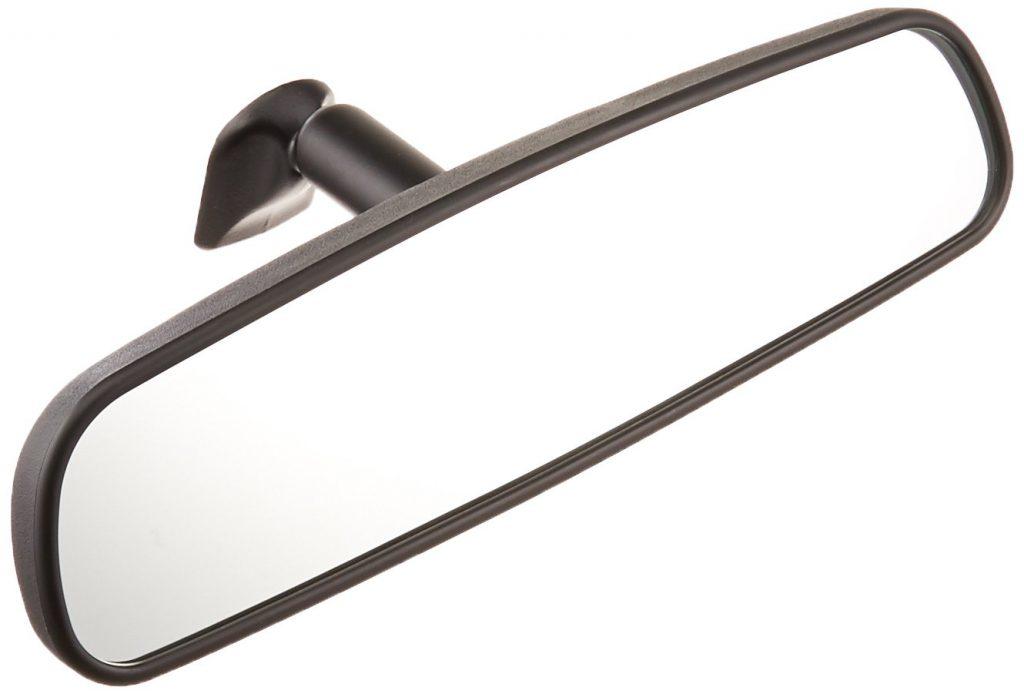
A rear-view mirror is a boon when it comes to ensuring that the lane is clear for lane shifting. To upkeep safety, it is always necessary to have one in your car. In case, a mirror breaks or comes out as missing, replacing it should be a priority. While you may run to a mechanic shop to get it fixed, knowing the DIY process can come in handy. When “how to remove rear view mirror” in the right manner is in mind, you could follow the procedure explained in the section below.
Contents
The Importance Of Car Rearview Mirror
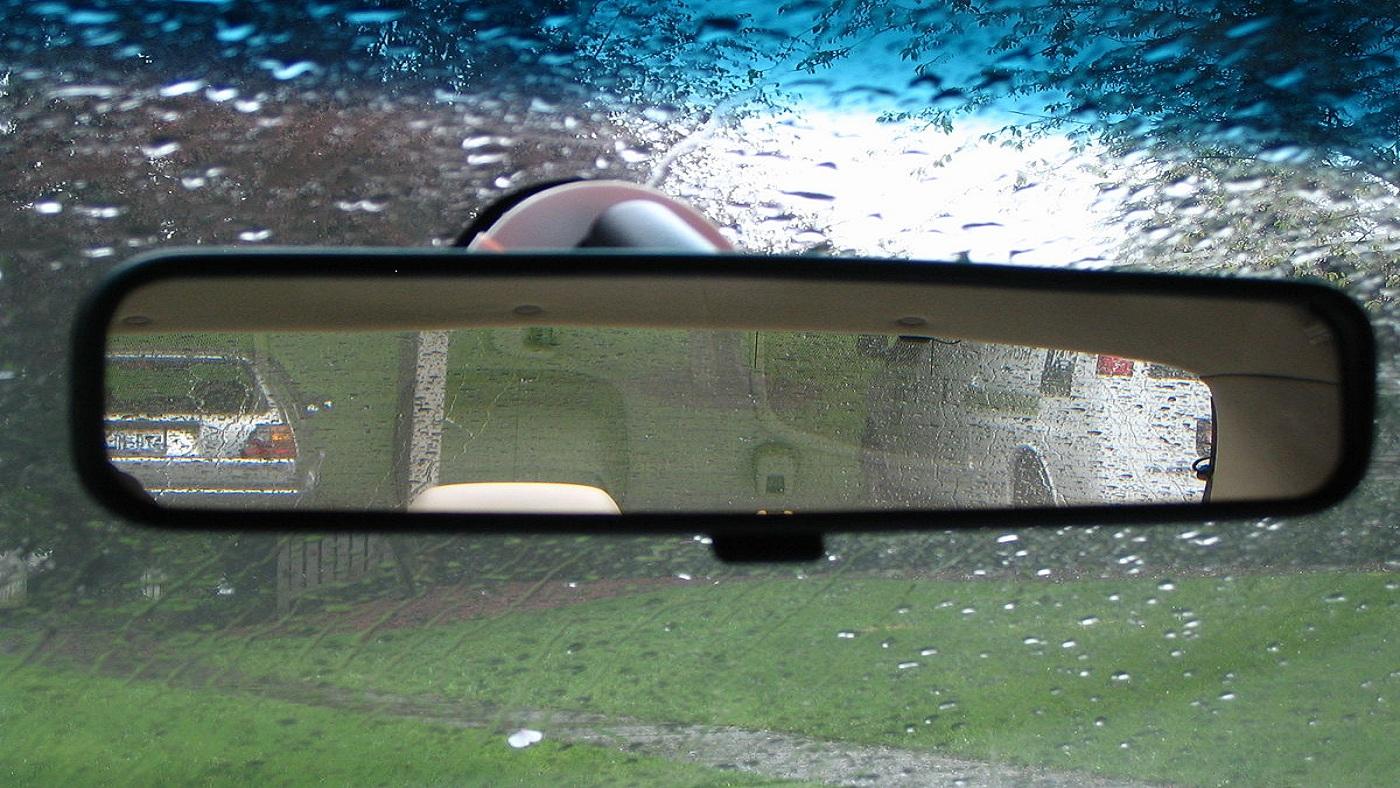
Rearview mirrors give many convenient experiences to vehicle drivers. The role of this component is to ensure safety for the driver and those around him when traveling on the road.
By taking advantage of the rearview mirror, the driver can see behind him without having to turn around, contributing to limiting collisions when driving. When wanting to stop, turn, change lanes, or accelerate, the driver needs to quickly check all mirrors. Therefore, the driver should observe the mirror after about 5 to 8 seconds to control all operations better.
Using the rearview mirror can make it easier than ever for drivers clearly see the space behind, including blind spot areas if used properly. Additionally, the rearview mirror is also useful when backing up or parking. Because the driver can monitor the sides and rear, and avoid collisions with people or other objects.
How To Remove Rear View Mirror? A Step By Step Process
Whether it is looking at the vehicles that are pacing behind you or keeping an eye on your kids on the back seat; rear view mirror is the best accessory to have on board. Having a broken or malfunctioning rearview mirror is not an option. To get a fair idea of how to remove rear view mirror button to mirror removal, you would have to follow the steps below.
1. For the mirrors that are glued
Some car manufacturers prefer merely gluing the rearview mirror to the windshield. The glue is generally a mirror adhesive that holds the mirror firmly in place without any scope of the glue melting away. When it comes to removing the rearview mirror, you could prefer blow-drying it or could even apply a heat gun to the mirror’s borders.

This step would aid in softening the adhesive so that the mirror can come off easily. When you are applying the heat gun, you need to check the mirror by moving it to and fro to check whether it is coming off or not. By continuously following the process, the mirror would eventually come off. Hope this answers how to remove rear view mirror for you.
When replacing a rear view mirror, prefer doing it when the temperature is between 100 and 230 Celsius. This requirement is necessary as the epoxy would set up more aptly, this time around. Apply the adhesion to the back of the mirror and then press it onto the windshield. Let it settle for hours, and you’re done!
You find it’s hard to remove? Let’s watch this video for more details
[efsflexvideo type=”youtube” url=”https://www.youtube.com/watch?v=UK8khV41-R0″ allowfullscreen=”yes” widescreen=”yes” width=”420″ height=”315″/]
2. For the screwed mirrors
Then, there are rear-view mirrors that are screwed to keep them in position. These screws hold the mirror in its place that too with perfection. This system is put to use by Chevrolet and other GM vehicles. Unscrewing the mounted mirrors, in this case, is an easy task to master.
Using an Allen wrench, you can start working from the base of the mirror and to every part that needs to be loosened. Once all the screws have loosened their grip, you may move ahead with unscrewing them one by one. Now it is easy to do away with the mirror by slowly pulling it off its resting position.
When replacing the mirror, make sure that the screw hole and the new screws match up perfectly. Put the new screws onto the base and using an Allen wrench, tighten them. Remember to not over-tighten!
3. Mirrors that embrace a metal Pivot point
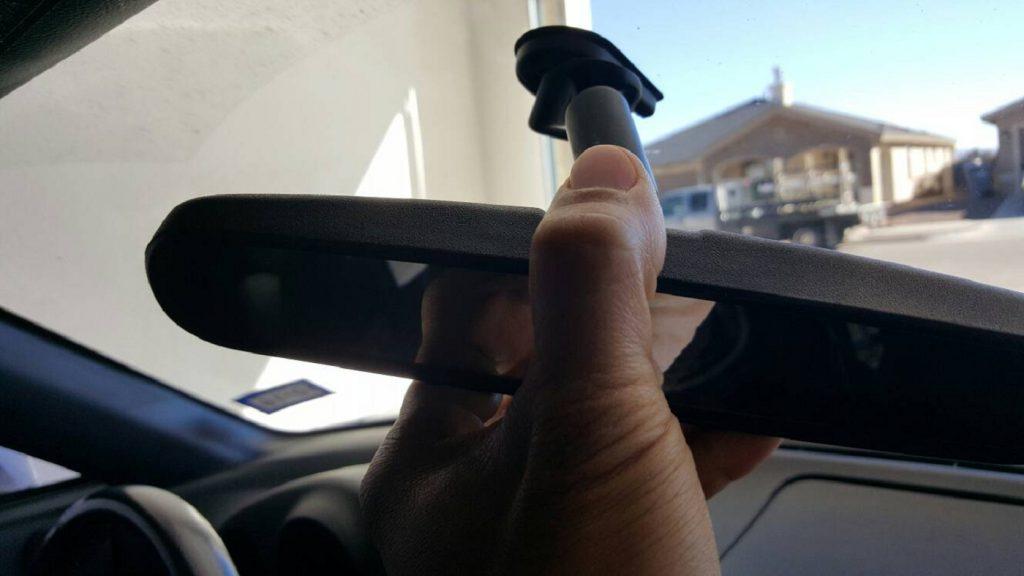
Some vehicles have this metal pivot point for attaching the rearview mirror. Removing these metal pivoted rearview mirrors is the easiest. All you need to do is rotate the mirror to your side (about a quarter) and then slide the bracket up or down the resting button.

Read more:
Sometimes, over time, the bracket may get stuck, or it may be the accumulation of dirt that could resist the pull-off operation. In this case, you could deploy a small hammer to help you ease the process of loosening the plastic bracket’s grip on the back button.
The pivot-oriented mirrors include a metal bracket that is already supporting the windshield. It becomes essential to match up the new mirror to the size of the base of the metal bracket, or it would be a useless job. It is preferable to buy these mirrors of the same brand or the ones offered by the car makers. Refer to maintenance tips for suggestions on the buying process.
Once the mirror has come off, the next question that may confuse is how to remove rear view mirror button. Many people try and pull it off its position which, in turn, is a complete no-no. Rather than applying force, simply use a cotton pad soaked in an acetone-concentrated solution around the edges of the button.
You could use an acetone-based nail polish remover as it can be easily found in the market. Once you apply it, let it settle a bit but keep on trying to remove it slowly. If nothing seems to happen, apply more of the solution, and you’ll realize that the button is there in your hands. This is the best way to get rid of the button as no harm to the windshield is witnessed.
Wrapping Up
This is all about how to remove rear view mirror. Always remember to follow these steps and in case you mess it up at any step, consulting a mechanic is never too late.


