
Let us explore how to remove moisture from headlight. Read below to find the useful tips and tricks.
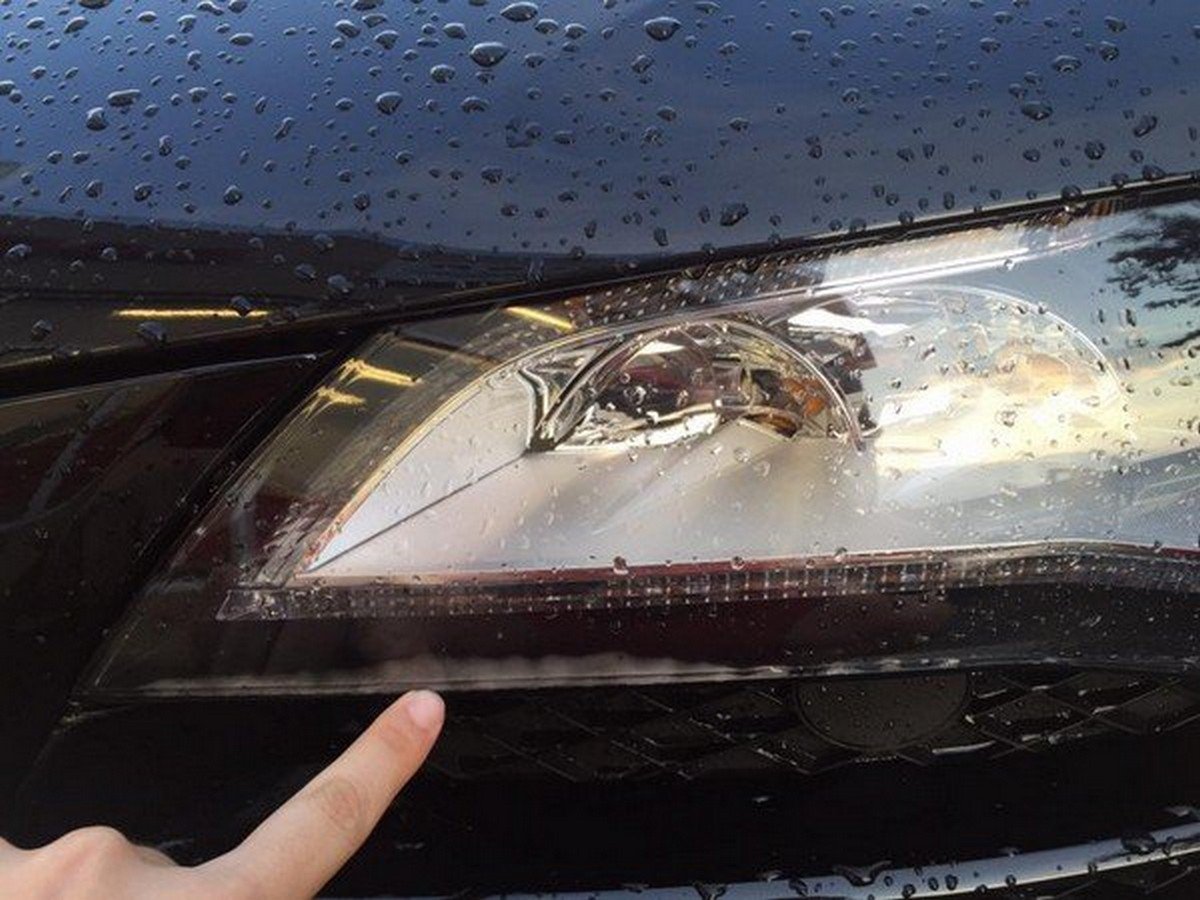
Is there moisture build up in your headlights? Well, this is a very common issue faced by many car drivers. The moisture causes the headlights to not work appropriately, thus making it treacherous to drive at nighttime.
So, it’s important to fix it immediately. But, you need not worry. There are many effective ways to remove headlight condensation quickly and easily.
Contents
How To Remove Moisture From Headlight? – Easy Way To DIY!
The moisture inside your car headlights can potentially dim your car lights, which can make your car less visible to the ongoing traffic.
Thus, it can increase the chances of an accident. To avoid such situations, here are some helpful guidelines that will guide you on how to get water inside headlight out!
Materials Required
Let’s check out the materials needed for the moisture in headlight fix:
1. A Socket and a Ratchet
To unbolt the three screws around your vehicle’s headlight, you just need a socket and a ratchet. Don’t forget to check the owner’s manual for identifying the exact size. If you have an old car, a screwdriver is enough to unlock the screws.
2. Silica Gel Packs

>> Finding a cheap used car in good condition here <<
These packs are best for gripping moisture. Inserting these gel packs in your vehicle’s headlights is a better, cheap option for vanishing moisture from the headlights.
3. A Lint-Free Cloth
This cloth is used to eliminate the current dampness from the interior of your car’s headlights. If there is no moisture present currently, you can skip this piece.
SEE MORE:
Follow Tutorial on How To Remove Moisture From Headlight
Now, you need to chase the following steps to eliminate the moisture.
1. Remove the Headlight Assembly
Firstly, you need to remove the three screws of your headlight assembly with the help of a socket and ratchet. Simply, rotate the screws in a clockwise direction to entirely remove them.
2. Wipe off the Build-up Moisture
After removing the headlight assembly, it’s time to clean the moisture that is currently in the headlights with a lint-free cloth. Wipe the whole area around the lights as well as near the lights that appear damp.
3. Insert Silica Pack
Once the interior of the headlights is dried completely, it’s time to place the silica gel packs inside the headlights. These packs will wholly absorb the moisture present there.
Ensure that these gel packets are not exposed to the headlight bulbs; otherwise, they’ll block the light that is coming from the headlights.
4. Re-Install the Headlight Assembly

After you have finished with the insertion of silica gel, you require reinstalling your headlights. Simply, place the headlight from where you detached it and insert the screws firmly.
FAQs on How To Get Moisture Out Of Headlights
-
Why are my headlights foggy or filled with moisture?
Headlights can become foggy or accumulate moisture due to temperature changes, condensation, worn-out seals, or cracks in the lens. It can affect visibility and the overall appearance of your car.
-
Can I still drive with moisture in my headlights?
It’s not recommended to drive with moisture in your headlights as it can reduce the effectiveness of the lights and compromise your visibility, especially during inclement weather or at night.
-
How do I know if there’s moisture in my headlights?
Headlights may appear as foggy or cloudy lenses, water droplets inside the housing, or visible condensation when the lights are on.
-
What can I do to prevent moisture buildup in my headlights?
To prevent moisture buildup, regularly inspect your headlights for cracks or damaged seals. Additionally, avoid exposing your car to extreme temperature changes and high-pressure car washes.
-
Can I remove moisture from headlights on my own?
Yes, you can attempt to remove moisture from headlights on your own, but it depends on the severity of the issue. Simple methods like using a hairdryer or silica gel packs may work for minor condensation.
-
How do I use silica gel packs to remove moisture from headlights?
Place silica gel packs or desiccant bags inside a plastic bag and put them in the headlight housing. Leave them overnight to absorb moisture. Ensure the headlight is completely dry before sealing it back.
-
Are there commercial products to remove moisture from headlights?
Yes, there are commercial headlight restoration kits and moisture removal products available. Follow the manufacturer’s instructions for safe and effective use.
-
Can I use a heat gun to remove moisture from headlights?
While a heat gun can help evaporate moisture, exercise caution to avoid damaging the plastic lens or causing cracks. Keep the heat gun at a safe distance and use it sparingly.
-
Should I drill holes in my headlights to let the moisture out?
Drilling holes in your headlights is not recommended as it can lead to further moisture ingress and compromise the integrity of the headlight housing.
-
What if the moisture in my headlights doesn’t go away?
If DIY methods fail to remove the moisture, or if the moisture returns, it’s best to seek professional assistance from a trusted auto repair shop or dealership.
- Can I prevent moisture buildup by sealing my headlights?
Headlights sealing is not recommended as they are designed to allow for proper ventilation to prevent condensation. Attempting to seal them may cause more harm than good.
-
Is it better to replace or repair foggy headlights?
For severe moisture or damage issues, it may be better to replace the entire headlight assembly. In other cases, repairing and cleaning the headlights’ lens may be sufficient.
Remember that the presence of moisture in your headlights can affect visibility and safety while driving. It’s essential to address the issue promptly and follow safe methods to remove moisture or seek professional help if needed.
Check out the video from CarLubeTv to see more details about removing condensation from headlights!
Conclusion
So, now you learn more about how to remove moisture from headlight and some notices related to headlight condensation removal. You can say goodbye to the foggy headlights by following these quick and easy tricks.
For more insightful car maintenance tips, follow Car From Japan today!
Bad Starter sounds like ”QQQQUUUUAAAAZZZZ”
Can you publish some mechanical repairs, just, to save us a bit.
I have a accident,which really Curve my car bonnet and the top frame that lock the bonnet. Can I have the names of those metal frame