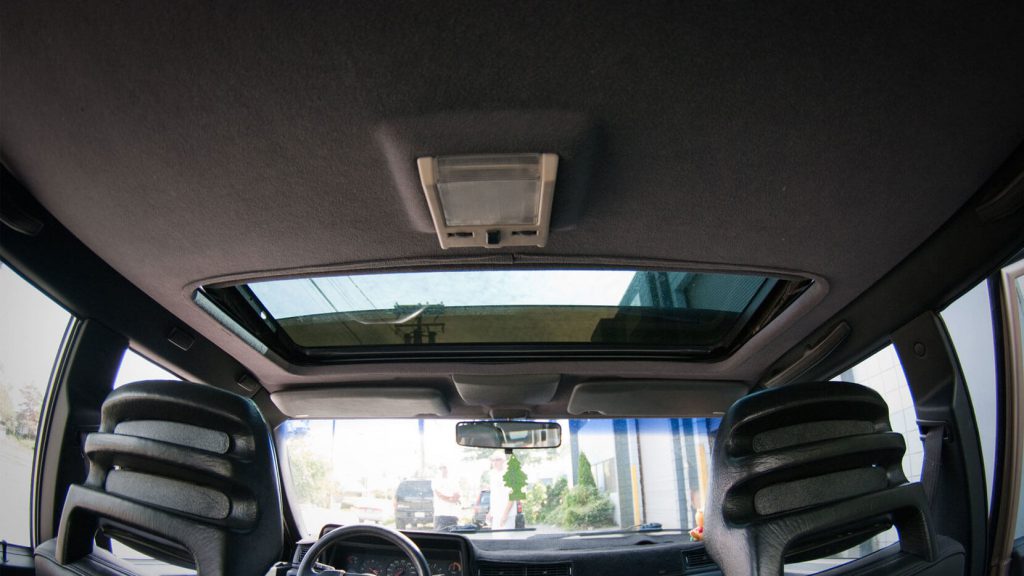
One mistake that many car owners make when cleaning their vehicle is merely vacuuming out debris from the seats and carpeting while neglecting the interior ceiling, or the headliner. The surface of car headliners is porous and thus absorbs smells and smoke, and without regular cleaning, it might retain an unpleasant odor for days or weeks. Learning how to clean car ceiling or headliners, together with other basic maintenance, will keep your vehicle looking and smelling fresh.
While you may know how to clean the car upholstery and carpeting, the headliner is rather delicate in comparison. You must exercise extra care plus different cleaning products and techniques to ensure it doesn’t get damaged when you attempt to remove stains or odors. This comprehensive guide will teach you different methods for car interior roof cleaner, from removing minor stains to full surface cleaning, deep cleaning, and removing unwanted odors.
Contents
Knowing Your Car’s Headliner
The covering material of your car ceiling is known as the headliner. Before we move on to the actual cleaning method, there is something you must be aware of to perform proper cleaning later on.

The headliner is made up of more than just fabric (or else it would droop down from its mounting points on the ceiling). It consists of a hardened backing, typically made of fiberglass or another fibrous board molded to shape, and glued on top of this backing is a thin foam layer, lastly, glued to the foam uniformly is the exposed material of the headliner. While cleaning, you will have to be careful not to wet the headliner too much to avoid affecting the glue.
A side note: the headliner, which consists of three such parts, is manufactured in one piece, so if the exposed surface of the headliner gets stained, damaged, or falls apart, it has to be replaced as one whole part. So extra care is needed, but worry not, learning how to clean car ceilings is quite straightforward if you strictly follow our methods below.
How To Clean Car Ceiling: What You Need
For headliner cleaning you will need:
- Microfiber cloth
- Soft bristle brush
- Car interior roof cleaner: Either an upholstery cleaner or an all-purpose cleaner will work on your headliner. If you buy an upholstery cleaner, it is best to get an aerosol-foaming one since it is more effective than the pump style.
- Or you can make your cleaner: Simply mix 1⁄4 cup of white vinegar and 1⁄2 tablespoon of liquid soap with 1 cup of warm water in a spray bottle. Shake well to mix the solution. This cleaning solution is also useful as a gentle yet effective general fabric cleaner for cleaning upholstery and for spot-cleaning the interior of your car.
- For tough stains or a thorough deep cleaning: A steam cleaner or deep cleaning system.
Read more:
How To Clean Car Ceiling: Spot Cleaning Minor Stains

Minor stains can include soiling, food or drink stains, or water stains from leaving your sunroof open when it is raining. To remove minor soiling or stains from your headliner:
- Open the window of your car and best work in a well-ventilated area so that the headliner will dry as quickly as possible.
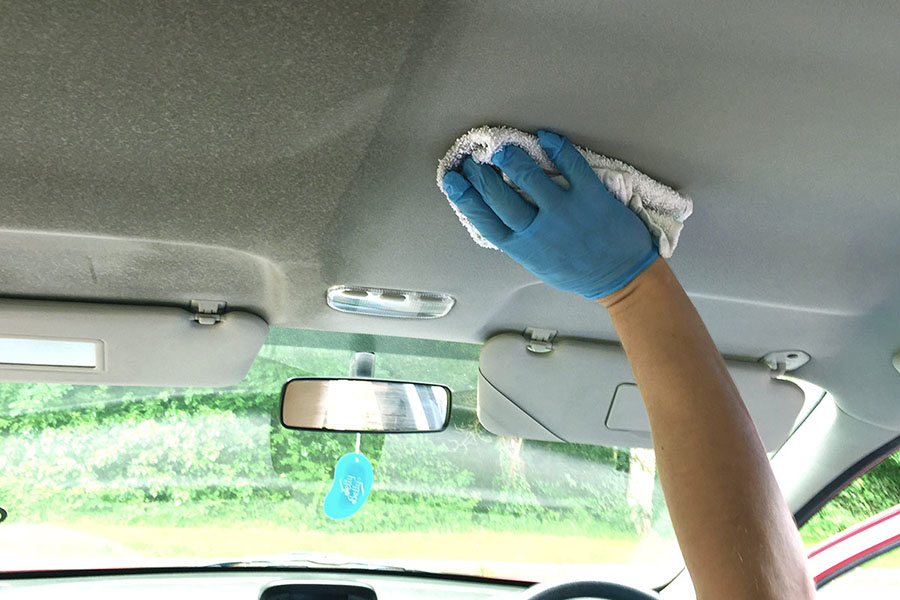
- First, always try to gently remove any loose bits without rubbing them into the fabric any deeper. Gently wipe the dirty spot with a microfiber cloth or use a soft bristle brush to brush off any loose soil that is stuck to the headliner.
- If the dirty spot is no longer visible at this point, you are finished. If it is still noticeable, you’ll need to apply the cleaner, either a commercial solution or your homemade solution. Spray a small amount of the cleaner onto a corner of the microfiber cloth, leaving the rest dry for later use.
* Important Note: Never spray the headliner directly as it will get too wet and could lead to mildew later.
- Applying very gentle pressure, dab and wipe the stain on the headliner with the wet corner of your cloth. You would only want to work the cleaner into the surface of the headliner without wetting the glue and the foam layer underneath.
- Use the clean, dry part of the microfiber cloth to blot away excess moisture from the spot.
- Wait for the upholstery cleaner to fully dry, then check if the stain has been fully removed.
- If the stain is still noticeable, try a thorough surface cleaning, or a deep cleaning as the last resort.
Read more:
How To Clean Car Ceiling: Thorough Surface Cleaning
For tougher, larger stains, follow the steps below:
- Spray the entire surface of the headliner evenly with a cleaner. Pay special attention to the edges and in crevices around lights.
* Pro Tip: An aerosol upholstery cleaner has a foaming action that helps break up trapped dirt just below the surface, which makes it more effective than a pump-style liquid cleaner.
- Let the cleaner sit on the upholstery for the set amount of time specified on the container.
- Then, use a small, soft-bristled brush to lightly agitate the entire surface of the headliner. Remember to brush every part of the headliner’s surface so that after the cleaner has dried, the surface will look uniform.
- Let the headliner dry completely, which should take an hour or two depending on how much cleaning solution you applied.
- If your headliner is more heavily stained, you might need to perform a second cleaning. If the stains are still noticeable, you would need to perform a deep cleaning.
How To Clean Car Ceiling: Deep Cleaning
As mentioned above, your headliner is more delicate than the rest of the upholstery. Therefore, when it comes to cleaning your car’s headliner, deep cleaning should really be the last resort.
This is because deep cleaning requires steaming, and the heat and moisture from the steaming process wet the glue that holds the three layers together. This might cause permanent damage, or make the fabric of the headliner come loose from the foam and sag or droop down, which is absolutely an eyesore.
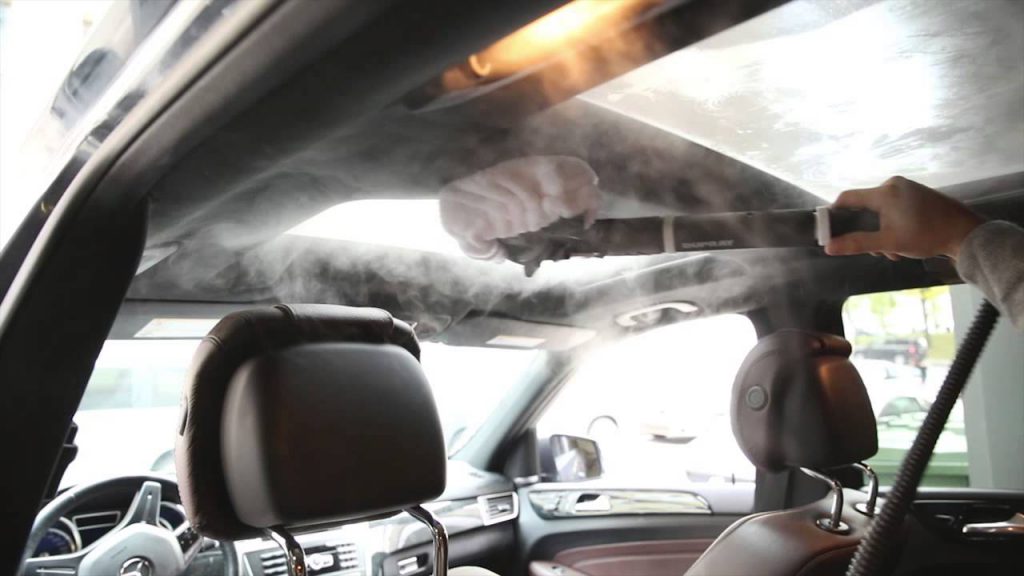
For a deep steam cleaning, you will need a steamer or a deep cleaning system and some hot water in addition to a cleaning solution. Remember to work in a well-ventilated area while steam cleaning your headliner.

- Fill the deep clean machine with hot water and some cleaning solution. Follow the instructions provided by the machine to mix the correct ratio of water to cleaner.
* Important Note: If your steam cleaner specifies a particular brand and type of cleaning solution, it is safest to consistently use the specified product. Using a different cleaning solution might cause the machine to produce excess suds or leave residue in the fabric that can stain your headliner even worse.
- Turn the steam cleaner on. If it needs to preheat, wait until it is ready.
- Fit the narrow upholstery cleaning adapter onto the hose. Then place the tip of the upholstery cleaning tool onto the headliner.
- Start at a corner of the headliner, press the trigger to spray cleaner onto the fabric surface, and move along the headliner at a steady rate. For your reference, moving at a rate of 3-4 inches per second will avoid saturating the headliner too deeply and damaging the glue and foam underneath. If the headliner looks overly soaked, adjust your rate.
- Move across the headliner in long strokes in the same directions for a uniform, even surface when the cleaner dries. Remember to release the trigger between strokes so soapy water doesn’t spray all over your car interior. Also, overlap the next stroke with the one before it by a half inch.
* Important Note: Make sure you maintain the same pace and technique as highlighted above for appearance’s sake.
- Leave your car in a well-ventilated area and roll down your window if you park your car in a secure environment, of course. It might take a whole day for the headliner to fully dry, or quicker if you use fans to circulate the air inside your car.
- You’re not done yet. One important step that you must not skip when steam cleaning your headliner is once the headliner is fully dry, run the palm of your hand over the whole surface with the grain of the fabric. This will remove the dried lines left from the deep cleaner and give your headliner a smooth, like-new look.
Watch video to learn simple steps to clean your car ceiling:
How To Remove Bad Odors From Your Car Headliner
In addition to learning how to clean car ceilings, knowing how to remove unpleasant odors will keep your beloved vehicle both looking and smelling fresh.
Due to its fabric cover, the headliner might absorb some unpleasant odors that will not go away, like cigarette smell that has accumulated for years. To make your car’s headliner fresh again, you only need a simple homemade deodorizer from ingredients lying around in your kitchen.

What you’ll need for a homemade deodorizer:
- 1 cup of water
- 1/4 cup white vinegar
- 1 tablespoon baking soda
- Add 3-5 drops of essential oil if you can’t stand the smell of vinegar. This can be used as an essential oil air freshener spray that you can keep for regular maintenance of your vehicle, or use in your home.
Mix the solution and shake well in a spray bottle. Spray the deodorizer onto a microfiber cloth and gently dab the solution onto the headliner, making sure not to overly soak it or not to spray directly onto the fabric surface.
Work one small section at a time. Once the deodorizer is dry, use a vacuum cleaner with an upholstery attachment to vacuum the entire surface of the headliner to remove remnants of baking soda.


Thanks for sharing these cleaning tips, a well-written article.