
Besides many ways to keep your car in tip top condition, a shining carpet plays a huge role in impressing those passengers whom you give a lift to.
Replacing the carpet can be surprisingly easy if car owners understand the right order that related items need to be removed.
To make sure you can save a lot of time when taking care of your beloved car and enjoy driving anytime you get on your car, we are here to show you the smart steps to change car carpet.
Guideline For Drivers To Change Car Carpet
Replacing car carpet is not a complicated task, yet many drivers might take hours to remove the rug from their vehicles and be also struggling to apply the new one in the position. In order to perform the replacement, let’s first list out the required “weapons”:
- Torx Drivers
- Basic Hand Tools
- Ice Pick
- Sharp Knife
When all the important tools are in your hands, it is time to jump right in and change your nasty carpet. Here we go:
Step 1: Take Out The Front Seats
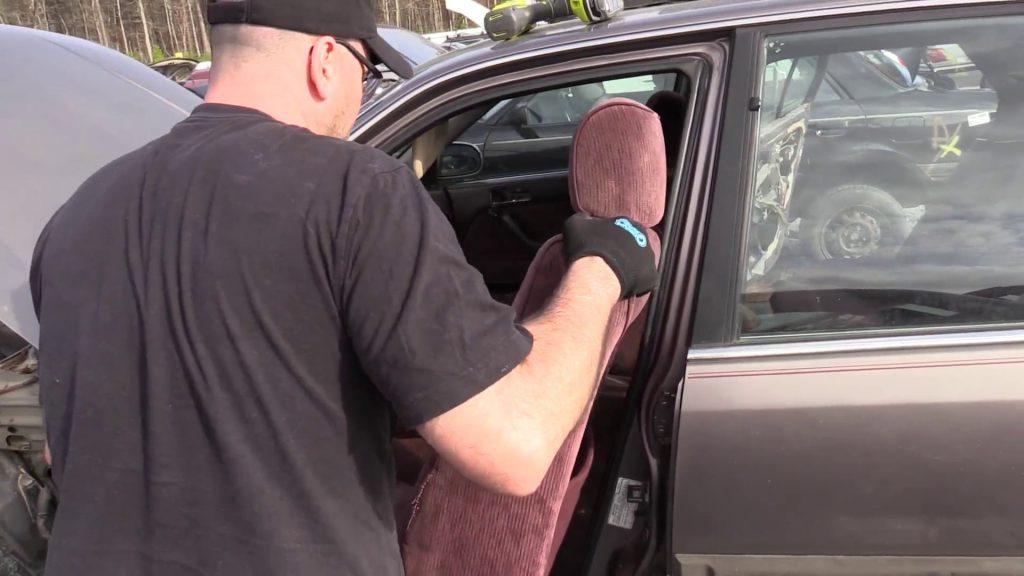
In most cars, the front seats are attached by 4 points to the car floors. To take the seats out, drivers must remove these 4 bolts: Take a careful look at the floors to locate the bolts then remove them one by one.
After that, drivers should slowly take their seats outside of the car.
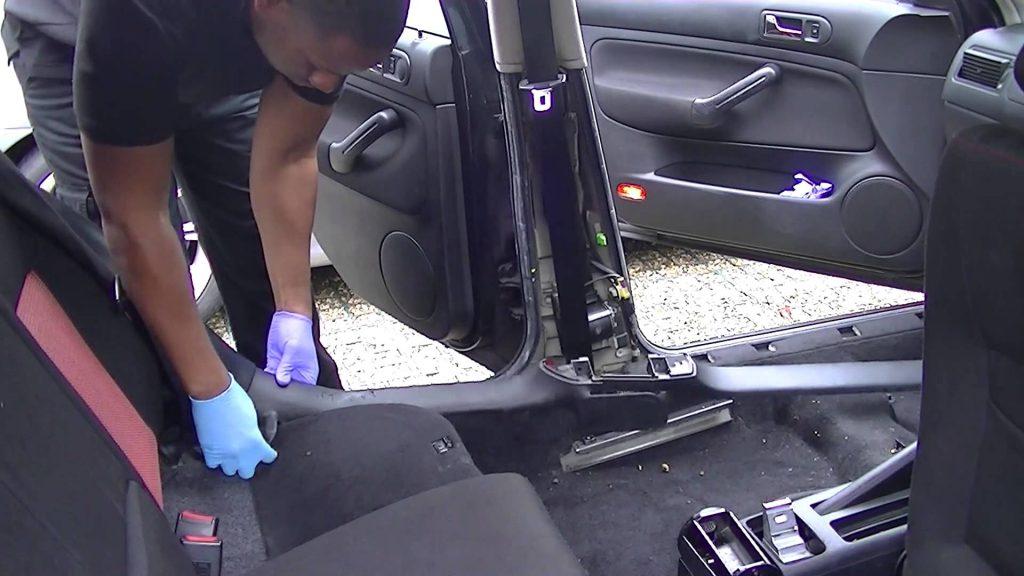
Step 2: Remove the Back Car Seats
These seats are a little different compared with the front seats. Car owners can remove it by grabbing the corner and tugging upwards.
There might be a latch or clip in the center of the seats, so it is necessary to check it with a flashlight if the outside is lacking light. In some modern cars, there will be a push pin to release the seats.
Step 3: Remove Seat Belts
Seat belt is the second item that needs to be taken out. With old car models, one side of the belts will be connected with the frame rail, while the other side to the floor.
After removing the seats, the attaching bolts will be exposed and it is easier to remove both of the belt sides.
On cars with shoulder harnesses, the problem becomes easy as cake: All you need to do is to remove one side of the seat belts.
Step 4: Remove Kick Panels And Sill Plates
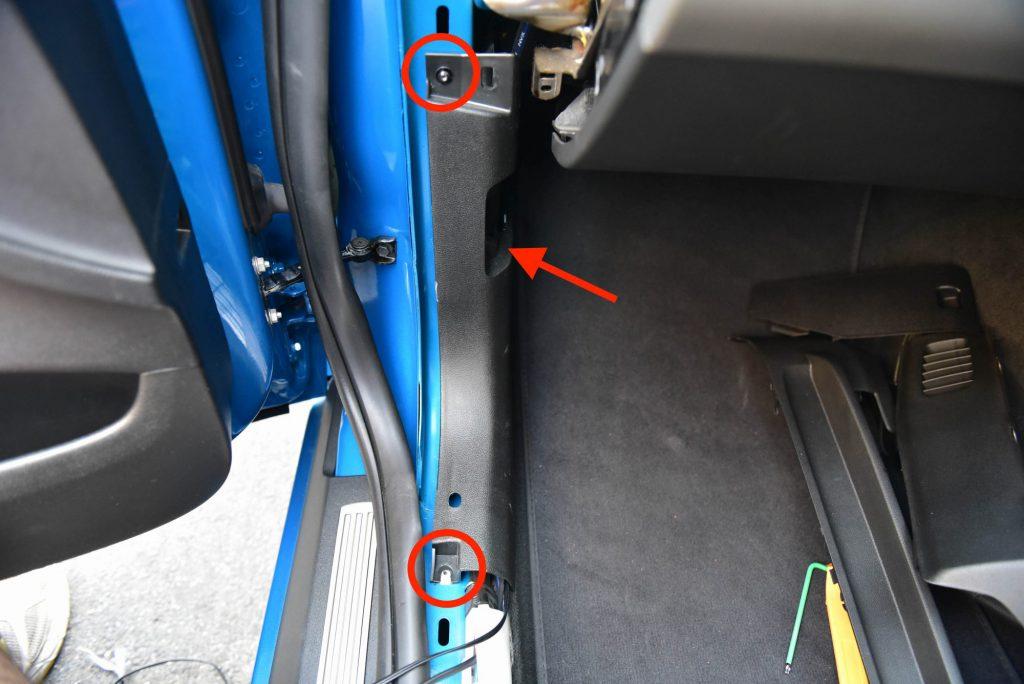
Removing kick panels and sill plates are the last steps to change carpet. It is recommended to start with the door sill plate:
Hold the screws to the body and use a screwdriver to slide to the end to remove it, then pry up so the panel can come loose. Car owners can repeat with the other end as well.
With the kick panels, it is a little different for every type: Car owners must check the push pins, then pry them up.
Drivers should begin by removing the attaching screws, but in some cases the trim on the door will have to be taken out first. Too much force is forbidden, since there might be something in there.
SEE MORE:
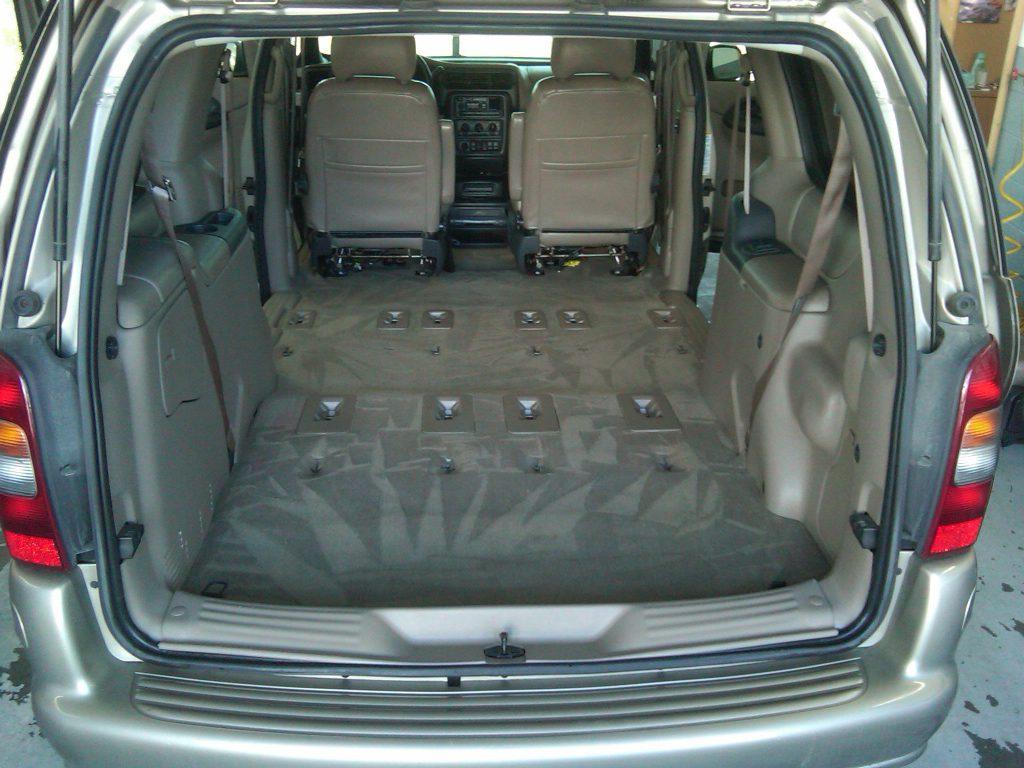
Step 5: Remove The Old Rug
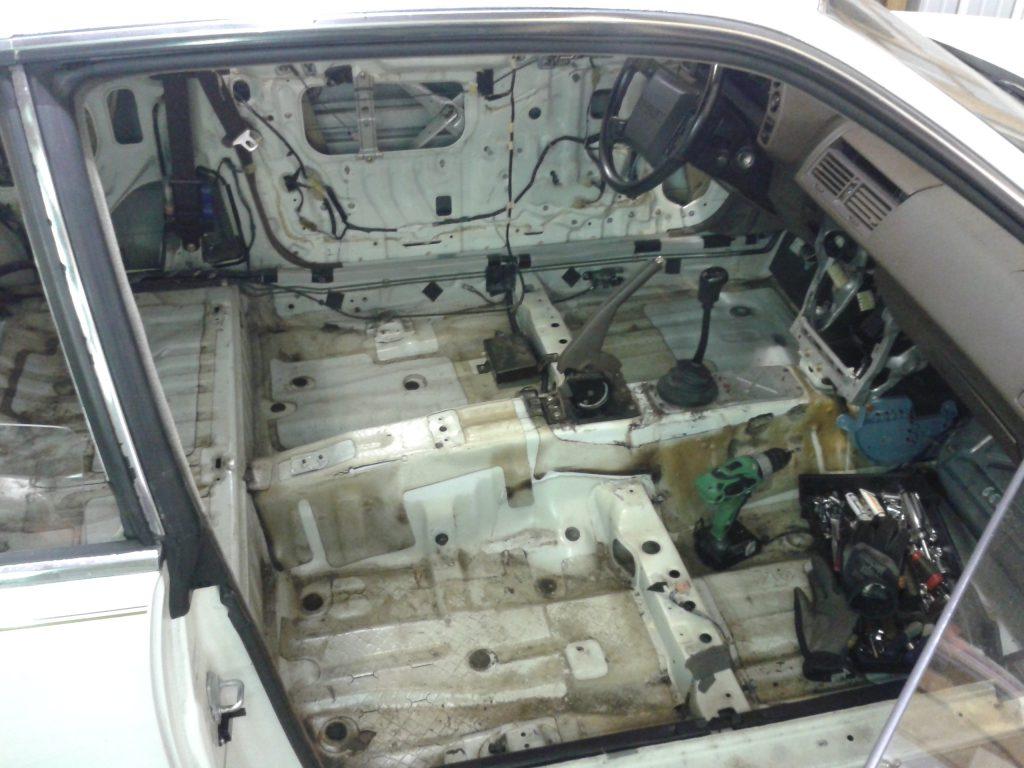
With all the parts removed, drivers can pull the center out of the car and lay it on the ground. You can put the new carpet on it, since we need both of them for the next action.
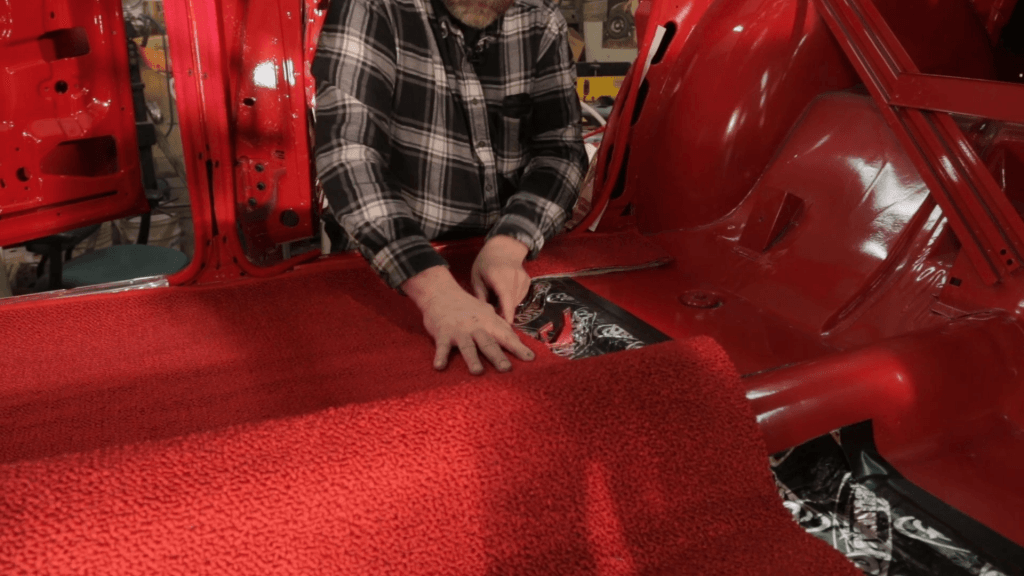
Step 6: Cut Holes In The Carpet
Since we have both the carpet, let’s take notice of the hole location, shape and size. Cars with center consoles will have brackets mounted, so car owners must cut a long slit over them.
You can also start from the edges or rear, but remember to check the first cut carefully before continuing the next cut.
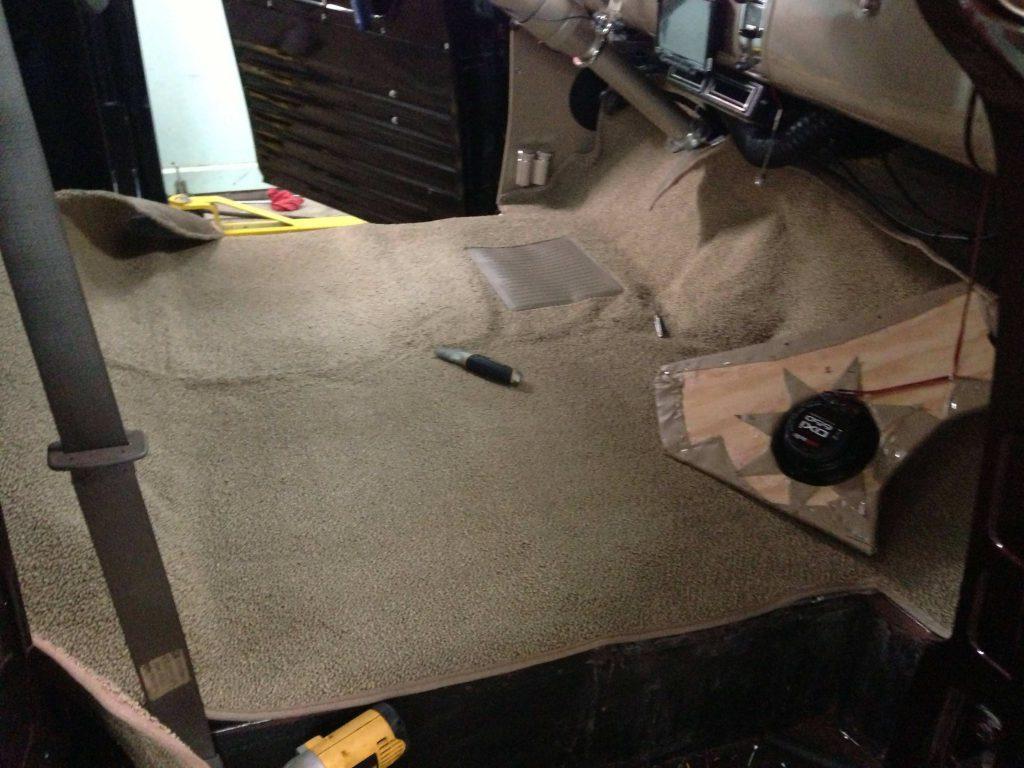
Step 7: Install The New Carpet
Check the second time to see if the new carpet fits the vehicle floor as you like or not. Remember to count the total hole.
If everything is perfect, drivers can happily install the new mug on and continue to the final step.
Step 8: Reinstall The Seats And Other Items
As we remove the car parts, drivers can reinstall following the opposite order: Kick panels, sill plates, seat belts, rear seat, then front seats.
And congratulations, you have successfully changed your car carpet!
FAQs
1. Can I change the car carpet myself, or do I need a professional?
You can change the car carpet yourself if you’re comfortable with disassembling and reassembling interior components. It requires patience, basic tools, and attention to detail.
However, for a perfect fit and finish, or if the process seems daunting, seeking a professional upholsterer or auto interior specialist is advisable.
2. How do I choose the right carpet material?
Select a carpet material that balances comfort, durability, and ease of maintenance. Automotive carpets typically come in nylon, polyester, or polypropylene.
Nylon is durable and resistant to wear, making it a popular choice, while polyester offers a balance of durability and affordability. Consider the climate you live in and your usage patterns when choosing.
3. Is it necessary to remove the seats and console to change the carpet?
For a thorough and professional carpet replacement, it’s necessary to remove the seats, center console, and possibly other components like door sills and kick panels.
This ensures that the new carpet can be properly fitted and secured throughout the entire floor area.
4. How do I ensure the new carpet fits perfectly?
Use the old carpet as a template to cut the new carpet, ensuring an accurate fit. Many aftermarket carpets also come pre-molded to fit specific car models, which can simplify the installation process. Double-check the fit before making any cuts or alterations.
5. What tools will I need for the carpet replacement process?
Basic tools include a screwdriver set for removing interior components, a utility knife or scissors for cutting the carpet, pliers, and possibly a staple gun or adhesive for securing the new carpet.
Having a vacuum cleaner and cleaning supplies on hand to clean the floor area before installation is also recommended.
6. How do I deal with wiring or components under the old carpet?
Carefully note the position of any wiring or components under the old carpet before removal. Take photos if necessary.
When installing the new carpet, ensure these items are correctly repositioned and secured to avoid damage or interference with vehicle functions.
7. Can I add soundproofing or insulation during the carpet replacement?
Replacing the carpet offers a great opportunity to enhance your car’s soundproofing or insulation.
Adding a layer of automotive sound deadening material or insulation beneath the new carpet can reduce road noise and improve cabin comfort.
8. What should I do with the old carpet?
The old carpet can be recycled or disposed of responsibly. Check with local waste management services for recycling options, as automotive carpets can contain materials that should not be sent to a landfill.
Some automotive shops or upholsterers may also offer disposal services.
Check out this video from MotorWeek to learn more about replacing the carpet in your car!
Final Words
Changing the carpet in your car can be a rewarding DIY project that rejuvenates your vehicle’s interior.
By following a structured guideline and preparing adequately, you can achieve professional-looking results while possibly adding value and comfort to your car.