
A harmonic balancer is a part of a car engine. It helps promote the lifespan of a crankshaft by reducing the vibrations created by the engine. It becomes quintessential to remove harmonic balancer when one witnesses the red flags of a damaging vibration damper.
Contents
Remove Harmonic Balancer – The Easy-Peasy Guide
Car Engines create massive power and vibration. A crankshaft of a car is not able to bear all the vibrations of the engine. That’s where the role of balancer comes into play. It comes with two pieces – rotating mass and energy dissipating component.
Every time the engine runs, the mass absorbs the vibration. The continuous stress and strain on the balancer create cracks over a period of time. The problem of leakage of oil arises when the front main seal fails to function. By removing the balancer, the problem can be resolved.
So, here is a step-by-step process to help you in the process.
Step 1: Prepare your Car
First thing first, lift your vehicle safely in the air. It will help you gain access to the harmonic balancer. Ensure the engine is off and the breaks are set. Get the balancer puller and installation tool kit.
Step 2: Remove the Serpentine Belt and Holding Bolt
First thing first, begin with removing the serpentine belt connecting both engine and harmonic balancer attached to the crankshaft.
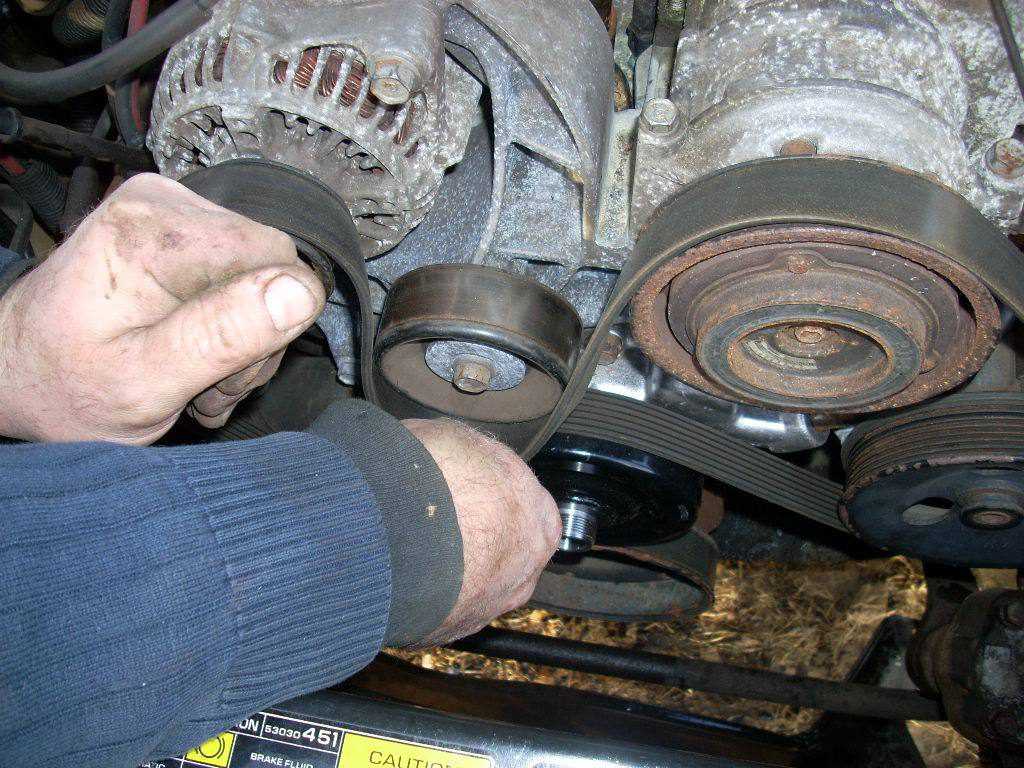
Now, look at the front of the crankshaft to find the large holding bolt. You are going to need other tools such as a socket to lose the center bolt because it is usually tightly intact to hold the balancer. Make sure to separate the pulley as well.
SEE MORE
Step 3: Installation of Balancer Puller and Belts
Carefully line up the woodruff key slot and check the position of the balancer attached to the crankshaft. In the process of knowing how to take a harmonic balancer off, do not forget to check the position of the keyway as well. If you do not want the bolts to be pulled out by the puller, try to keep them at a far distance.
Step 4: Tighten the Pulley
When using the air impact wrench, tighten the pulley as much as you can. A small pop can be heard at the beginning when the damper starts moving out – Not all the time, though. According to expert maintenance tips, the puller is paramount for pulling the damper, as it consists of a press fit.
Step 5: Use Carburetor Cleaner
While using the puller, you will notice the process becoming easier. It is a sign that the balancer is reaching the end of the crankshaft.
Once the dampener is out, use a fine sandpaper or carburetor cleaner to clean the oil. Avoid the mistake of harming the balancer back. Doing such things can do internal damage to the balancer.
Step 6: Replacing the Balancer
In order to make the installation process easy, try to warm the balancer to 150 degrees. The alignment of the balancer is necessary; the keyway helps position it properly.
Using the two wrenches, you are assured that the balancer installation tool is properly tightened. Consider reinstalling the serpentine belt after installing the harmonic balancer.

When you find out that your car’s harmonic balancer has been damaged, it becomes imperative to remove harmonic balancer from the car and replace the new. The above process helps you do it easily without any hassle.