
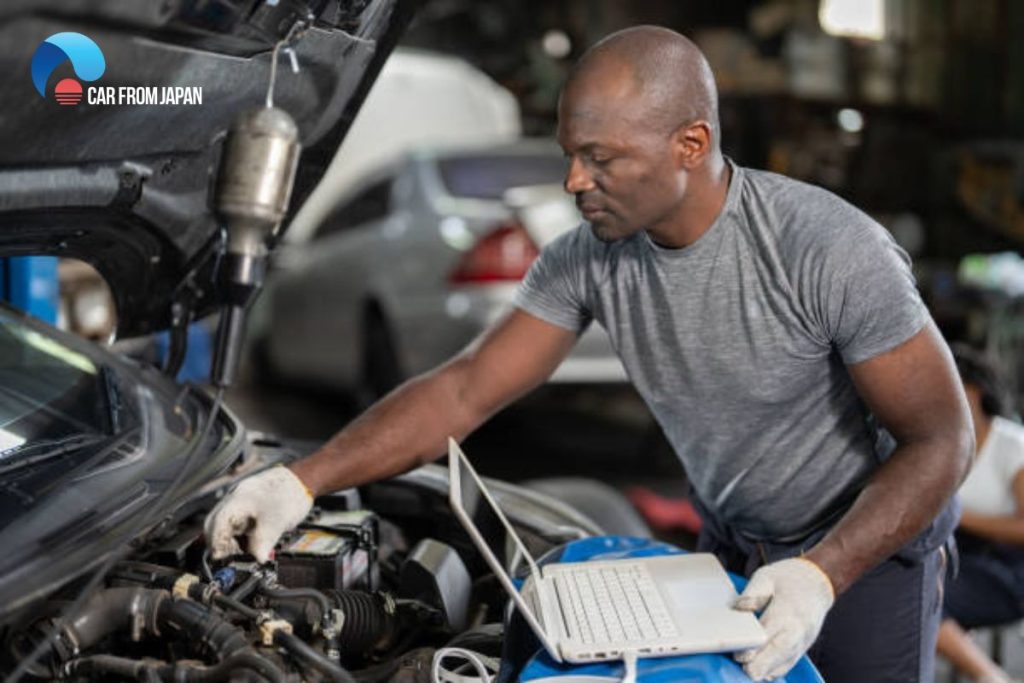
Rebuilding an engine can be a challenging and intimidating task, but it is still possible in your garage. With the right tools, a little patience, and this comprehensive guide on how to rebuild an engine, you can tackle this project by yourself.
In this guide, you will find not only detailed step-by-step procedures plus handy pro tips but also an informative and important discussion on the different options for any car owner who needs an engine upgrade or overhaul. These include when to rebuild an engine and when to repair it, as well as a comparison between engine rebuilding and replacing the existing engine with a “remanufactured engine”.
Contents
Piecemeal Repair Vs. Complete Engine Rebuild
There are two approaches to upgrading an engine that deteriorates after many miles. You can either replace individual parts when required to save money, which is called the “piecemeal” approach, or you can do a complete engine rebuild.
The piecemeal approach is to replace only the parts that are worn or broken and leave everything else untouched. This maintenance approach typically attempts to make do with standard-sized replacement parts such as bearings, rings, pistons, and valves.
The sole underlying motivation here is economic, and you can expect such stand-alone repairs will keep your vehicle rolling without significantly improving the engine’s performance.
So, when does the piecemeal approach make sense? When the vehicle and/or engine may not be worth spending much money on due to old age or low resale value, only those parts that have to be replaced to keep the engine running are replaced. Other repairs can wait for the next owner.
The second approach to engine upgrade is to do a complete overhaul when the engine needs major repairs and/or you are hoping for much-improved performance. This is surely the more expensive approach, but also delivers much longer-lasting and improved results.
By replacing major wear components such as the rings, pistons, bearings, exhaust valves, timing chains, or belts, the engine is restored to “like-new” condition. This approach may involve the purchase of an engine kit or buying the needed components individually, depending on the owner’s preferences.
It usually also requires having machine work done, such as turning the crankshaft and resurfacing the cylinder heads.
Rebuilding Engine Vs. Replacing With A Remanufactured Engine
If you’re opting for a complete engine overhaul, you are left with two options: rebuilding it or replacing it with a “remanufactured engine”. There are pros and cons to each choice.
First, not all engines are rebuildable. If the engine block is cracked or otherwise severely damaged, rebuilding it is likely not possible.
Secondly, the needed internal parts for your engine might not be available, although the aftermarket usually has a sufficient supply for components for the more popular engines. It is always safe to first check availability before starting on the real work.
The third consideration is how good you are with car DIYs and how much time you have. Rebuilding your engine on your own makes the most sense if you’re sure that the engine block can be reused, if the needed parts are available and affordable, and if you have the time and the ability. The rebuilding process usually requires machine work and you can expect to spend up to a week, most likely longer, on this project.
If the above conditions are not met, consider replacing your old engine with a remanufactured engine. Most remanufactured engines are done by reputable companies and are accompanied by a warranty.
Do shop around to estimate whether this option will be more affordable than rebuilding an engine yourself, the availability of a remanufactured engine compatible with your vehicle, and the logistics of getting a 600 lb. engine off a freight truck.
How To Rebuild An Engine: What You Will Need
If you plan to disassemble your existing engine down to the bare block and rebuild, you’ll need a few things.
Engine hoists
You’ll need to start by pulling the existing engine out of your vehicle. Most DIYers use an engine hoist, also known as an engine crane. For removing an engine in your own garage, basic engine hoists rated for 1 or 2 tons of lifting capacity will be more than suitable for the job.
Load leveling bars
When your engine is supported by chains on both sides, it can tilt to one side if the weight is unevenly distributed, a challenge when removing an engine. To correct this, an engine load leveling bar allows you to move the horizontal support bar left or right as needed to balance and straighten out a lopsided load. Some load leveling bars are included with hoists.
An engine stand
Once you get the engine out and away from the vehicle, you’ll need to get it off the hoist. An engine stand allows the engine block to be affixed to it firmly and securely. Most stands offer the ability to rotate an engine block to any position so you can easily work on all sides.
Other tools
- Engine rebuild kit
- Camshaft bearing tool
- Cylinder bore honing tool
- Cylinder bore ridge reamer
- Piston ring compressor
- Rod journal protectors
- Silicone gasket maker
- Timing gear puller
- Torque wrench
- Wheel chocks
- Engine assembly lube
- Water displacement lubricant
- Basic hand tools set
- Electric drill
- Brass punch
- Air compressor
- Blowgun and air hose
- Fender covers
- Jack stands
- Flashlight
- Masking tape
- Permanent marker
- Oil drain pan (at least 2)
- Plastic sandwich bags and boxes: to store and organize hardware and parts
- Service Manual
New components for an engine rebuild
When an engine has accumulated a lot of miles, the internal parts may be worn or damaged and have to be replaced. Which engine parts you replace when you rebuild your engine will depend on their condition.
Within the engine block, typical wear items include pistons, piston wrist pins, piston pin bushings, piston rings, rod bearings, and main bearings. Crankshafts are machined if possible and are replaced if they cannot be machined. Connecting rods can be reused or replaced.
You may need cylinder head gaskets, valve covers, valve cover gaskets, oil pans, oil pumps, harmonic balancers, and timing covers. If you are rebuilding your existing cylinder head, you’ll need new intake and exhaust valves, valve springs, rockers, push rods, and their associated hardware. Sometimes you might be able to buy complete cylinder heads with related camshafts and valves found within. You’ll also need new head bolts to clamp the heads to the block.
Some other needed parts include water pumps, valley pans & related gaskets, throttle body assemblies, and flywheels.
How much does it cost to rebuild an engine:
How To Rebuild An Engine: The Steps
Below are the steps to follow for a complete car engine rebuild.
1. Remove the engine
Step 1: Position the vehicle near your hoist
You’ll need a big and well-lit garage with an even surface, with enough room to position your hoist and maneuver around.
Step 2: Remove the engine cover
Mark the hinge bolts so you’ll be able to find them later. Loosening them carefully, have a helper assist as you slide it off. Note that some hoods have electrical connections for headlamps, signal lights, and fog lights that are mounted on them. Disconnect them, too.
Step 3: Disconnect the external engine components
For safety reasons, it is important to note that you must disconnect the ground cable on the battery before you do anything else.
- Then, drain the coolant and radiator hoses. Be very careful not to damage the metal clamps, which are more difficult to replace than the rubber hoses.
- Remove the radiator and fan shroud.
- Loosen the alternator, the tension assembly, the cooling fans, and the belts.
- Disconnect the intake air supply and the fuel lines. In case your car has a fuel system that is pressurized even when the engine is not running, drain the fuel and relieve the pressure before disconnecting it.
Tips: It’s recommended that you take close photos and label the parts with markers for reference as you proceed, considering the many parts of an engine. This will greatly ease the reassembly process later on.
Step 4: Remove all electric connections to the motor
To disconnect the transmission, first, you need to disconnect the exhaust manifold and unbolt all visible electric connections to the transmission. You can leave the spark plug wires for later.
Step 5: Remove the bolts that attach the transmission’s bell housing to the engine
Jack up the car and put it on jack stands, then support the transmission from underneath with other jack stands. It’s very important to use some support under the transmission before you disconnect the bolts, as once you loosen them, there won’t be anything supporting the transmission.
Note: In most cases, the transmission itself doesn’t need to be removed from the vehicle, as long as it can be safely supported when the engine is removed.
Step 6: Use the hoist to remove the engine
Connect the hoist to the lifting points on the cylinder heads, or the biggest bolts near the top of the engine, and adjust the leveler slowly to start lifting the front.
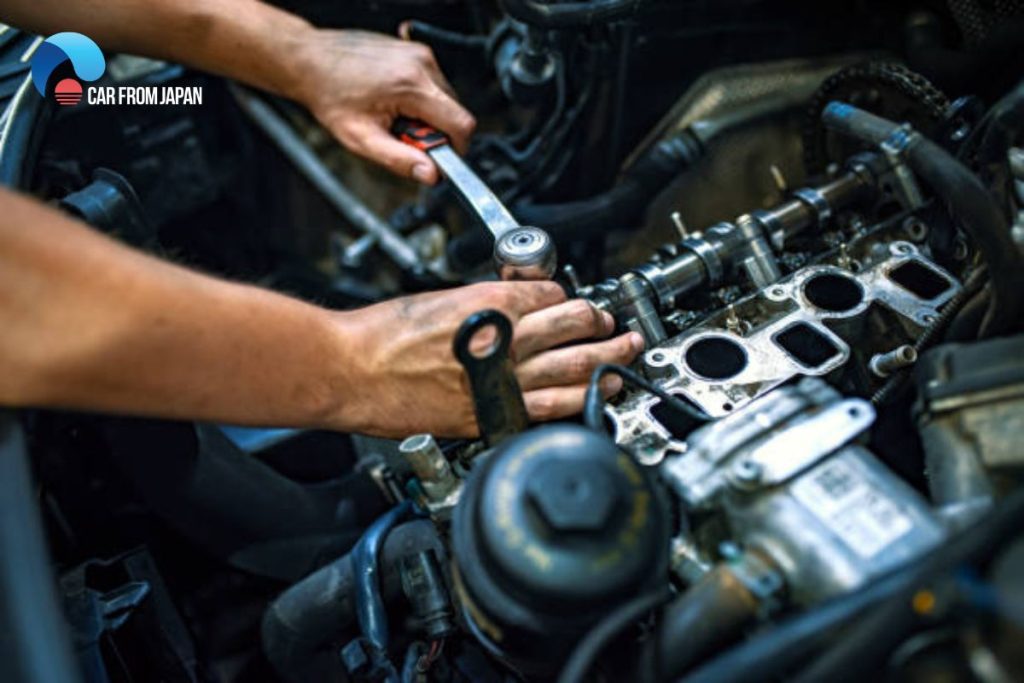
2. Disassemble the engine block
Step 1: Get the manual for your particular vehicle
You must refer to the engine manufacturer’s instructions to grasp all the proper specs and particularities necessary to rebuild your particular engine.
Tips: Check the ID and casting numbers on your engine to ensure that the engine you think you are working on is the engine you are working on.
Step 2: Inspect the engine
Check for any signs of overheating, cracking, and scorching on the block. Check for any fluid sweeping out of the many plugs and joints between components. Also, check for any excessive gasket sealer left behind from previous maintenance.
Step 3: Inspect external components
Inspect the alternator belt for signs of wear by spinning the pulley and listening for any unusual noise. Next, inspect the distributor for signs of looseness by putting some pressure on it. Also, inspect the clutch assembly for wear.
Step 4: Remove the exhaust manifold
If the exhaust manifold bolts or studs are corroded, be careful to break them loose without damaging them. Using lubricants may help. Otherwise, extremely stubborn bolts may require heat to loosen.
Step 5: Disassemble the rest of the engine
Start with the oil pan and the valve covers, then the cylinder heads. Protect the lifter rods when lifting the cylinder heads: if they are bent or damaged, they will need to be replaced.
Step 6: Check the cylinder bores
If the cylinders are too worn, the chance for a successful rebuild will be thin. You may want to use a micrometer to determine the bore diameter, or, you can get a good idea of the wear to the cylinder walls by looking at the cylinder ridge. The ridge is the point where the cylinder is not worn because the rings do not rise that high in the bore. The cylinder wear should be below this point.
Generally, if the wear is less than 2/100 of an inch, the original pistons can be reused, otherwise, the engine needs to be bored, and oversized pistons need to be used.
Then, remove the ridge on the cylinders near the top of the bore with a cylinder reamer. This will allow the pistons to be removed without damage and allow the reinstallation of the pistons with new rings.
Step 7: Remove piston and rod assemblies
After removing the rod caps from the rods, place rod journal protectors on the rod ends and protect bolts to prevent them from scraping the engine block. Once removed, replace the same rod cap on the matching rod and keep them as numbered, paired, or matched sets. Keep the parts marked or so that later return them to the correct cylinder from which they were removed.
Step 8: Remove and inspect the crankshaft
Remove the crankshaft using the crank mounting plates. Keep old main bearings in order, and inspect them for wear and excess dirt. Remove the camshaft, balancer shafts, and auxiliary drives. Keep everything organized, as you will need to put these back in the correct order. Remove the cam bearings, paying attention to their position.
Check for cracks and any signs of overheating. Measure different crankshaft dimensions: journal diameter, out-of-round, taper, and run out. Compare this to the dimensions listed in the shop manual.
If some dimensions do not match, mark them and send the crankshaft to a machine shop to have it resurfaced. Then measure the crankshaft again so that you can replace the bearings to get the crankshaft bearing clearance within specification.
Step 9: Finish disassembly
Remove the core plugs, brackets, guide pins, and everything else still attached to the outside of the engine block. Check the engine block for any cracks.
3. Disassemble the cylinder head
Step 1: Compress the valve springs
Use a valve spring compressor to compress the valve springs. Then, remove the valve keepers and slowly release the valve spring out of compression. Once you can remove the compression tool, remove the valve springs and shims. Again, keep these components in order.
Step 2: Remove the valve from the head
For each valve, you need to remove any carbon buildup or dirt from the valves and valve head. Do not force it out to avoid scratching the guides. Use a dye to find any cracks.
Step 3: Check each valve head
Check for any flatness that is out of specification so that it can be corrected at the machine shop. Inspect the guides for excessive wear and check for recession of the valve seats. Remember to also check for:
- Worn valve stems which are out of specification using a micrometer. Replace.
- Worn keeper grooves. Replace.
- Replace valves with excessively thin margins.
- Length, tension, and squareness: Replace any springs which are worn beyond specification.
Step 4: Recondition the worn valve guides
Replace and machine the recessed valve seats and reface all valves that are not going to be replaced. Then lubricate the valve stems with engine oil and install valve seals.
4. Reassemble the engine block
We’re halfway through the steps on how to rebuild an engine. Now for reassembly, remember the disassembly procedures and work in reverse. This is why keeping pictures, marking and keeping parts in order will greatly ease you through the steps.
Step 1: Cleanly remove components
At this point, the engine should be completely disassembled. Lay all of the parts that are going to be reused out and thoroughly clean each component. Next, wash the parts with warm water and a water-soluble detergent. Then blow them dry with compressed air.
Step 2: Clean the engine block
Perform the same cleaning and drying to prepare the block and heads for reassembly. Inspect the block and head for signs of damage.
Step 3: Install crankshaft and main caps
Grease the camshaft bearings with high-pressure grease, then install the camshaft. Since the caps are sensitive to position and direction, snug the caps and then torque them onto the block from the center, moving out. Rotate the crank to see if it binds up.
Step 4: Install the timing chain or belt to specification
Align the timing marks at the Top Dead Center and set the degree wheel correctly on the cam, with the crankshaft/piston timing and proper valve timing sequences for intake, compression, power, and exhaust strokes of the engine.
Step 5: Install new pistons, rings, gaskets, and seals
Check piston ring end gaps for OEM clearances. If the rings are too small in diameter, they’ll have excessive end gaps, but if they’re too large, then they’ll be too tight and can bind, perhaps even breaking when the engine heats up.
Step 6: Install the head gasket
The gasket may be directional, so be sure to install it in the correct direction.
Next, install new valve heads. Lube the bolt threads and washers with Original Equipment Manufacturer (OEM) lubricant or sealer, then torque the bolts down in 3 stages using the OEM specified pattern.
Step 7: Install a new valve train
Always lubricate the parts as you install them and adjust the valves as necessary.
5. Reinstalling the engine
Step 1: Mount the engine back onto the hoist
The engine should now be fully reassembled and ready for reinstallation. Mount the engine back onto your hoist and then into the vehicle. Remember how you removed it before; now you’re only working in reverse order.
Step 2: Reconnect the engine
Again, in the reverse order of when you removed them, reconnect all of the hoses, electrical connectors, and harnesses. Next, refill engine oil and antifreeze.
Step 3: Test the engine
Make your final checks to make sure every component is where it originally was. Now the engine should be ready to start. Now, to ensure that you get the optimum performance and lifespan from your rebuilt engine, refer to your manual for the exact procedures for engine start-up and break-in.
Final Thoughts
Finish all these steps, you’ve done it! This guide was your roadmap, but the real journey was yours. Now, you’ve not only saved money by rebuilding your engine yourself, but you’ve also gained a deep understanding of how your vehicle works. We hope that the article will be useful to you.