
Here is our notice on how to put license plate on car that you can take advantage of when planning to change or attach a new plate at the back or the front of the car at any time in the future.
A license plate (number plate), also known as a vehicle control plate, is a plate affixed at the head or rear of a motor vehicle according to the regulations of a competent state agency when buying or transferring a vehicle.
You might consider getting a new license plate installed in several cases. Perhaps you want to change your current license plate on your own, or maybe your license plate has been stolen and you have to put on another one. Whatever the reason is, if you’re looking to replace your registration number plate, this guide on how to put license plate on car will provide you with a fast and effective replacement.
Contents
Choosing The Suitable License Plate Frame
Before attaching their specific style of the license plate on cars, drivers need to understand the regulations on license plates, including materials, sizes, or the layout of letters and numbers within, to avoid being fined when commuting in traffic.
License plate mounting style
First, pay attention or decide on your upcoming plate’s mounting style. The mounting holes are usually from 2-4 based on the areas and vary by vehicle make and model. So always check your car first and choose the license plate holder with a suitable number of holes to mount the plate.
License plate materials
Before going on with how to put license plate on car notices, here are common types of license plates made from the following materials in the auto market nowadays.
On daily driving, the car’s rear often suffers from harsh and low-key dangerous conditions such as sand, dirt, rock, or even the unwarned risks of crashing from behind vehicles. If you have time and enough effort to put on your license plate, consider good and long-lasting materials with a reputation from users for a no-worries driving experience in the long term.
The first one is stainless steel frames. This number plate frame type will last longer than plastic or chrome and complement your vehicle’s trim without rusting or corroding. Another choice is carbon fiber, an ideal choice for performance cars or anyone looking for a luxurious effect.
You can choose the plastic and chrome-plated license plate frames. Be careful to get one, as there may be dozens of under-qualified products out there. These options may sound tempting at first because of their prices and easy access, but they may quickly corrode or deteriorate when exposed to the sun, weather, and even the gentlest car washes in the long run.
License plate frame style
Before you choose a frame style, you should consider the location of your registration cards to ensure they are not obscured.
Popular license plate frame styles include:
- Slimline: The license plate with a slimline adds a border without covering the license plate or registration card and is DMV-compliant.
- The Semi-wide bottom: This plate is 8 inches wide, featuring angled cutouts to allow registration card visibility.
- Wide bottom: The bottoms of these frames are 12 inches wide, making this frame style best suited for use in states that don’t have lower registration cards or lower license plate notices.
>> See more: Can I Drive A Car Without Plates If I Just Bought It?
How To Put License Plate On Car
Refer to the tutorial below on how to put a license plate on car accurately and securely at home, helping car owners save time and installation costs.
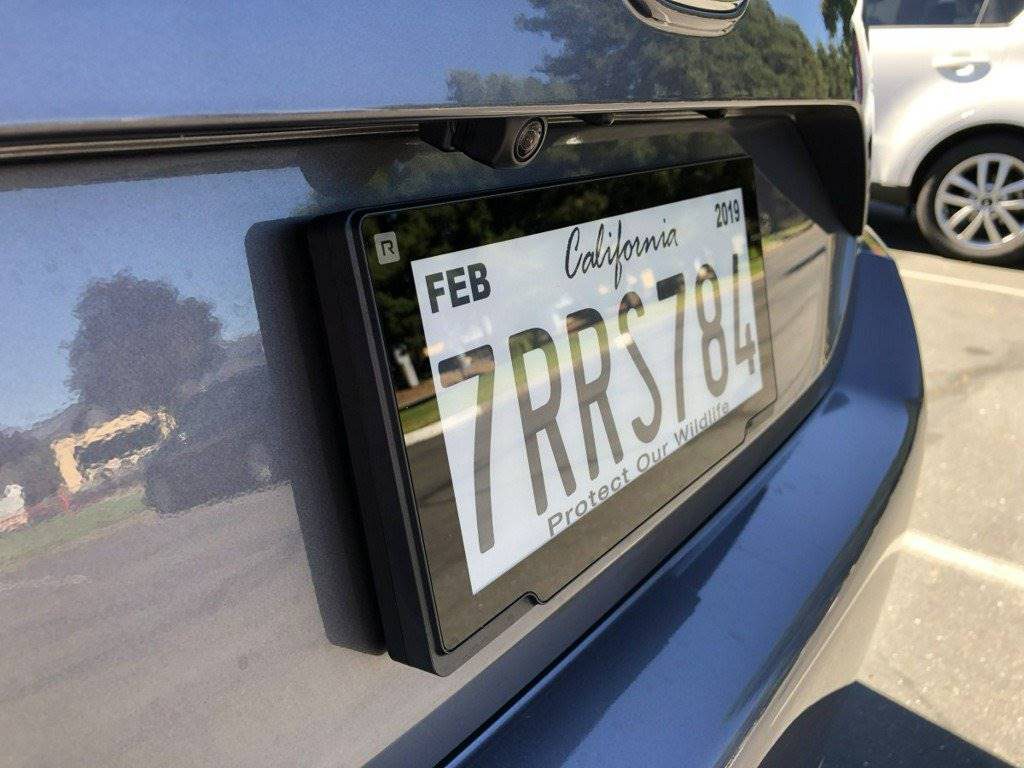
Putting rear license plate on car
As with all regular license plates, you can install the rear plate on the car in several effective methods. Below are the easy tutorials you can refer to when dealing with this project yourself. Focus on each detail all at once to ensure the smoothest and fastest process. If you miss only one step and fail to execute any properly, the final look of your number plate may not be good. Typically, this plate is made only for law, but if you can make it look nice and neat, even colorful all the time, it will bring you a much refreshing experience when commuting on the road.
Here are the common items you need to prepare before getting your sleeves up:
- Number plate
- Microfiber towel
- Stainless steel or carbon fiber license plate frame with tabs
- Anti-vibration buffer
- Screwdriver
- Stainless steel mounting hardware
After preparing the needed tools and instruments, let’s start with two specific methods to master how to put license plate on car.
Method 1: Applying number plate with screws
Using simple and easy-to-access fasteners as screws is one of the most common ways to put a license plate on a car. In addition to the above-mentioned tools, you may need a 4mm or 6mm drill bit and a screwdriver.
- Step 1. Remove the plastic covers covering the existing screws and use a screwdriver to remove the screws. Once you remove all the screws, the license plate will leave your car easily. If it doesn’t go away, it can be held in place with additional glue, in this case, slowly pull the sheet out of the car with slow force. Try to keep the number plate intact if possible.
- Step 2. If you try to take the plate out into one piece, then place it directly on top of the new piece, lining it up perfectly.
- Step 3. Place your new license plate on wood or cardboard and slowly drill new holes in the marked locations. If you have selected the 3D Gel or 4D option, please do not drill through the letters as they will lift off the number plate and you will not be able to use the registration.
- Step 4. Make sure you don’t apply too much pressure when drilling as this can crack the panels or even break the glue. Always drill back to front to prevent the acrylic from melting.
- Step 5. With the holes already drilled, you need to screw the new license plate into the car using the available holes, then replace the plastic cap on the screws.
Method 2: Applying for a license plate on a car with adhesive
This 3-step tutorial is faster and easier because, with this method, you will not need to drill or use screws elsewhere. You will only need double-sided tape and how to remove the residue on old license plates. The process is quite simple as follows:
- Step 1. Remove your old license plate from the car by gently removing it. Take care to remove the screws and set them carefully aside. After the plate has been removed, clean the license plate surface as much as possible. Because the cleaner the surface, the better the new panels will stick to the car.
- Step 2. Place at least four strips of double-sided adhesive on the back of the license plate and then peel off the other side of the tape.
- Step 3. Place your license plate on the cleaned surface, make sure it is flat and centered. Then push the license plate onto the vehicle. Hold the plate in place for about 2-3 minutes (check the instructions on the tape) to make sure the paper adheres quickly and firmly. And you’re done with the process
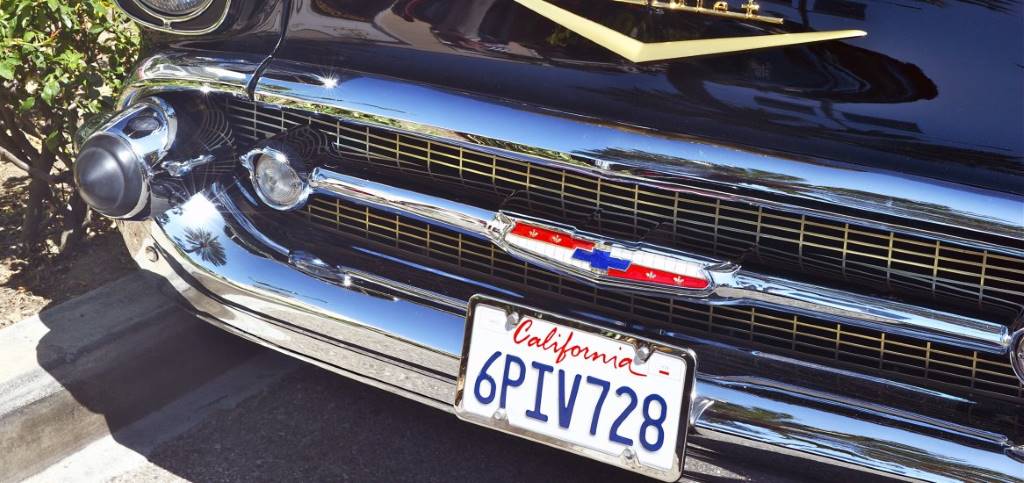
Putting front license plate on car
Some states require a front number plate, but not all vehicles and models have a front license plate frame. If you have a front mount, screw your license plate onto it. If you don’t, there are still easy options. You could try an adhesive-mounted stand or one designed for your particular model’s case. There is also a bracket fitting the tow hook anchor located on the front bumper of many newer models. If you don’t mind drilling holes in your bumper, you can always put your license plate on the car in a traditional way.
Method 1: Use an existing license plate frame (if it is already available without drilling or screwing)
- Step 1. Remove the screws in the license plate holder.
Position the screws in the corners of the license plate bracket on your front bumper. Rotate them counterclockwise with a screwdriver to remove. Then store them in a safe place so they don’t get lost. If the bracket holds an old license plate, it will come apart when you remove the screws. If your car is new, the license plate bracket screws may be in the glove compartment.
In case you don’t have screws, you can purchase some license plate screws at your local auto or hardware store.
- Step 2. Check the license plate frame.
Some license plate owners have a screw mounting bracket that fits snugly into the license plate. If your bracket has a frame, make sure to align it on the license plate and fasten both during installation.
You’ll know you have a license plate frame if a separate rectangular piece comes loose when you remove the frame’s screws.
- Step 3. Adjust the number plate to fit the holes in the frame.
Locate the holes in the corners of the license plate and bracket. Place the license plate in the bracket so that the holes align.
If your bracket has a frame that matches the license plate, line its holes with the number plate and bracket holes.
- Step 4. Drive the screws to fix the license plate.
Insert your screws through the holes in the frame and number plate (and frame, if applicable). Tighten the screws by turning them clockwise with your screwdriver to complete the installation.
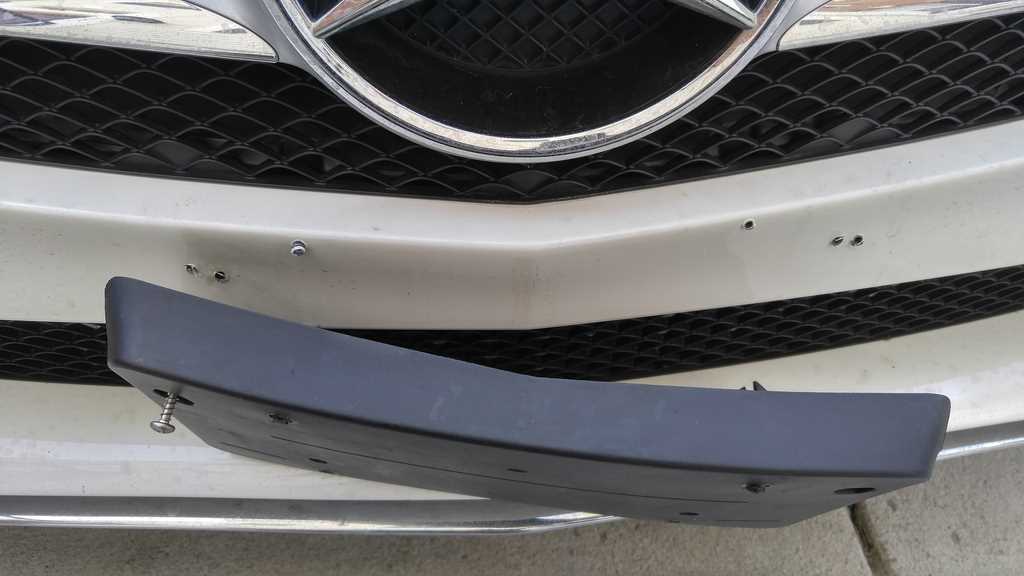
Method 2. Use an adhesive-mounted bracket
- Step 1. Buy a mount that fits your make and model.
Search online or visit your local auto store for drill-free mounting brackets that are right for your car make and model.
Many drill-free stands use strong adhesives and are suitable for a wide range of machines and models. Some racks are only suitable for a specific model and include special hardware to clamp the rack to the grill or bumper. Check your product manual for specific installation instructions.
- Step 2. Clean the mounting position on the housing with an alcohol wipe.
Brackets mounted with adhesive require a clean installation location. Locate the center of the box where you will install the bracket, wipe it down with an alcohol wipe, then air dry or dry it with a clean microfiber cloth.
Some brackets attach to the front of the bumper, while others stick to dents or gaps specific to specific models. Check your installation manual for details on the correct mounting position.
>> Check now: Why Are Modern Cars Designed With Useless Bumper Covers?
- Step 3. Check the tightness without removing the protective film.
The adhesive is protected by a film that you will leave in place during the fit test. Place the bracket in the mounting position to ensure it fits and matches your model. If it doesn’t fit your case, you may have accidentally purchased the wrong holder type. See if you can swap it for the right frame.
- Step 4. Remove the protective film and press the bracket into the case.
After you’ve double-checked the fit of the mount, peel back the protective film to expose the adhesive. Firmly press the bracket to the front, bottom of the box, or other mounting location specified in your product instructions.
Try to be precise when mounting the mount as you will only get one shot.
- Step 5. Insert the license plate into the bracket.
Once the bracket is in place, you can align its holes with the holes on your license plate. If your product has a license plate frame, place it on top of the number plate and align its holes with the holes in the frame and number plate. Turn the screws clockwise through the holes to complete the installation.
Method 4. Drill holes in the front bumper
- Step 1. Check if the bumper has a fiberglass or metal cover.
The process of drilling metal is much more difficult than drilling into fiberglass. If you have a chrome car, you might want to try the no-drill method if you’ve never drilled into metal.
If you want to try drilling into a chrome bumper, you’ll need to take a few extra steps and use special tools. You will need a center punch, a drill to drill into metal, a backlink drill, and safety glass.
- Step 2. Align the license plate frame with the center of the front bumper.
Use a tape measure to measure the length of the case so you can find the exact center. Mark the center vertically with a tape measure or marker, then measure the height of the case to find the center point. Once you’ve found the right center of the bumper, place your license plate holder on it.
If you’re not using the bracket, simply place the license plate on the bumper.
- Step 3. Mark the position to be drilled on the bumper and number plate
Hold your license plate bracket over the center point of the bumper and locate the pre-drilled license plate mounting holes. Use a marker to mark where you need to drill holes aligning with the mounting holes.
Remember that the mounting holes are where it attaches to the bumper, not the holes in the corners that you would use to screw into the license plate. If you are not using a bracket, simply mark the bumper for the holes in the top corners of the plate.
- Step 4. Drill 1/8-inch pilot holes into the car bumper.
After you have marked the guide holes, set the bracket or number plate aside. Use a power drill and 1/8 inch drill bit to drill shallow pilot holes into the bumper. Just drill your pilot hole about 1/8 inch deep into the bumper.
If your case is chrome, you’ll need to start your holes with the center awl before you can start drilling.
- Step 5. Use a punching machine and a specialized drill for chromium bars.
After marking the points in the chrome where you need to drill, use the center drill bit into the points to make indentations. Lubricating oil should be added to the dents to reduce friction and heat. Remember to wear eye protection before using the machine.
Placing a mask or tape around where you’re drilling can help protect the chrome if your patch slips. Hold your drill bit (with a drill bit to drill into metal) perfectly perpendicular to the surface. Use firm and steady pressure to drill into the chrome.
Once you’re done drilling, switch to the linkage drill and rotate it 3 to 4 turns to smooth the sharp metal burrs off the front edge of the hole.
- Step 6. Attach the bracket to the carrying case.
Line up the mounting holes of the bracket with the holes you just drilled into the bumper. Thread the screws clockwise through the bracket into the bumper.
- Step 7. Put the car number plate on the bumper.
After mounting the frame, trace the holes in the corners of the license plate with the holes in the corners of the frame. Just screw the screws in clockwise to secure the license plate.
Wrapping Up
We have just gone through some guides on how to put license plate on car effectively. For more helpful car maintenance tips, follow Car From Japan today.