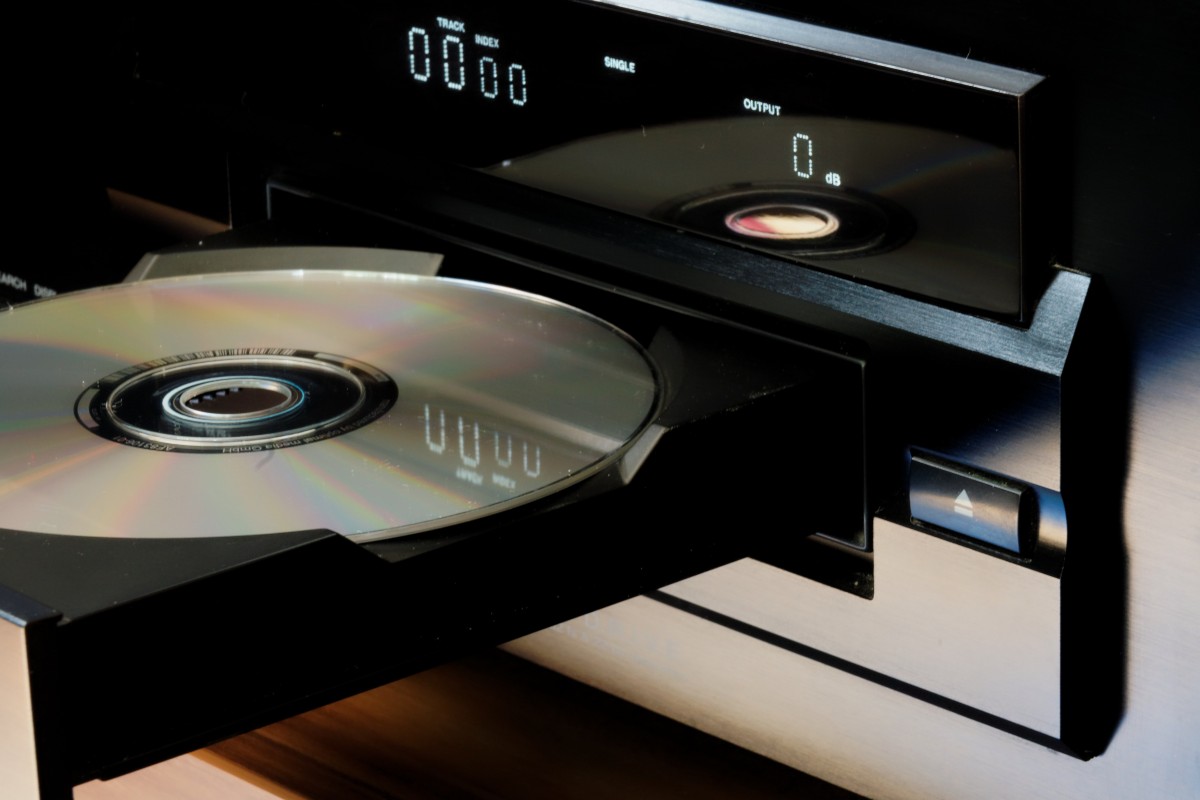
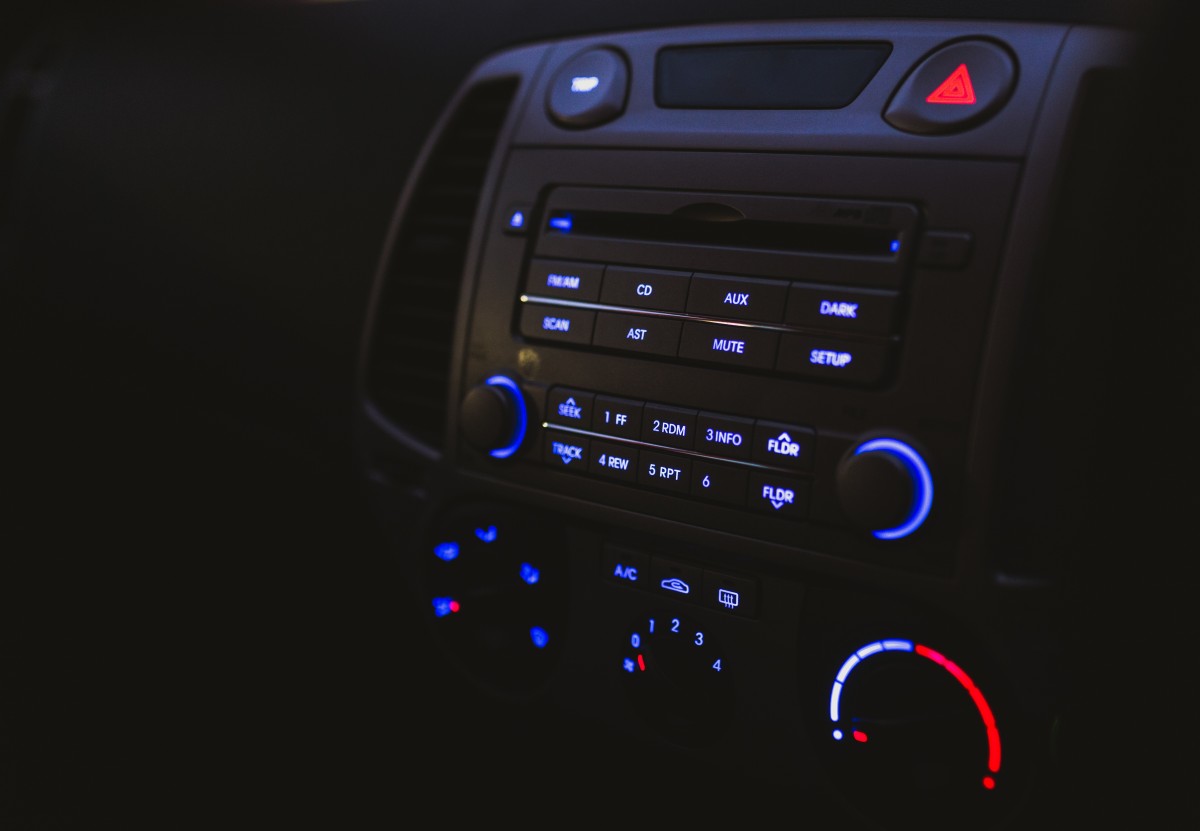
Like all other electronic devices, a car CD player can start acting up after a while. The CDs start to jump, it may indicate some problems in the CD player instead of the disc going bad. The most common problem is a dirty lens in the player. An unclean lens can not only ruin the player but also damage the disc permanently. You have to know how to clean a car CD player to prevent the device from the stop functioning.
We are going to explain the proper way of cleaning such a device. The correct cleaning methods will not only restore the player’s functionality but also keep it in a new condition for years.
Contents
How to Clean a Car CD Player: Easiest Method
Manual cleaning of a car CD player is quite laborious because you have to disassemble the entire unit. So, cleaning the lens means you have to dismount the CD player and then dismantle all the parts, which could be difficult for a person without any technical knowledge.
So, we are going to apply an easy method that does not involve doing all these tasks. This DIY method will cost less than $10.

Required Items
- An audio CD. It can be an old disc but has to be really clean. It will be damaged in the process of cleaning the CD player, so it must be something that you can spare.
- The tube of glue (possibly industrial strength)
- A piece of soft microfiber cloth
- A measuring tape
- The whole process will be done in two sections: preparing the CD and cleaning.
Section 1: Preparing the CD
- Even if the CD is already clean, you have to clean it again to make sure that there is absolutely no dirt in it. Wipe both surfaces of the CD with a soft cloth.
- Measure the length of the main printable area (the shiny part) of the CD. Matching that length, cut two strips from the microfiber cloth. The width of these strips should be ¼-inch.
- Apply a thin line of glue along the length of the main printable area. Then, put one strip of the microfiber cloth on that glued line.
- Press the strip to the disc with a toothpick. Scrape the cloth with the toothpick to remove the loose fibers. This surface should be fluffed up because this is the part that will do the actual cleaning of the lens.
- In parallel to the first line, apply another line of glue to the other side of the disc. Then, repeat everything you have done in step IV.
- Wait until the glue is completely dried up. Any liquid can cause significant damage to the lens and other parts of the CD player.
SEE MORE
Section 2: Cleaning the CD Player
When the prepping is done, the cleaning does not involve much work. All you have to do is insert the disc into the CD player and wait for a couple of rounds of spinning.
The player will eject the disc after a few seconds because of the cloth strip attached to it. Insert disc again and repeat this process 4 to 5 times. Now, play the player and insert a working CD to see if it is still skipping. If the problem is still there, insert the previous CD a couple more times. This is how to clean a car CD player.


