Self-fix Fog Lights: A How To Fix Your Car Guide
Fog lights are there to help improve the driver’s visibility while driving in special weather. For example, when it’s fog, heavy rain, or driving snow; the normal headlights are angled and positioned at such that you can end up with near near-total white-out. Similarly, when the atmosphere in front of you is highly reflective; your regular headlights can be blinding to you. These are indeed when fog lights are useful. By now fog lights will point directly at the road in front of the car but do not reflect glare from the fog itself. So it’s better to eternally keep your fog lights in good condition since it’s the support for you to drive in such bad conditions. Not too hard since there are only two main reasons that cause a fog light failure. One is the fog light got damaged itself and the second is attributed to an electrical problem. You can easily self-fix fog lights for cars following instructions as follows.
First of all, take a look at your owner’s manual book. The book will provide you with a general idea of the part, all the information about repairing steps, and the components you need. Now, remember it’s a must to use replacement parts that are approved by the car’s manufacturer.
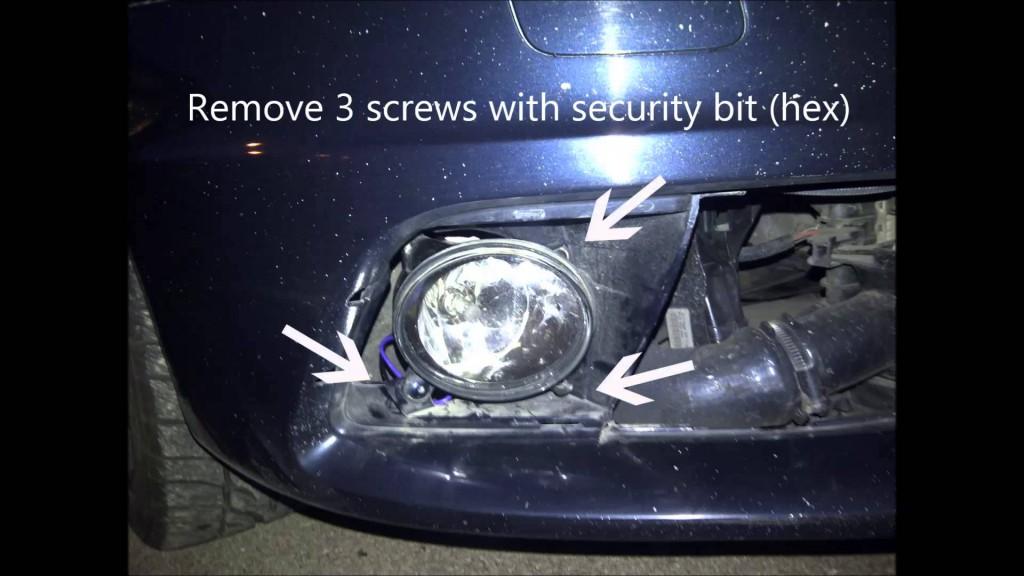
You will need to lie on the ground. There is a front bumper behind the fog lamp; reach up to it there. Sometimes on the underside of the bumper; you will find a protective shroud. Now, remove the retaining screws to secure the shroud to the bumper.
Fog Lights: What Are The Functions?
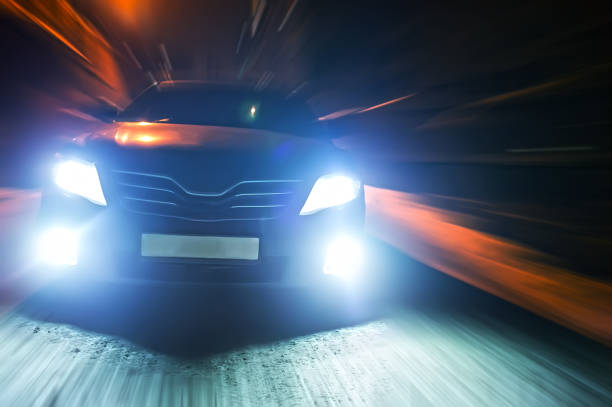
Car fog lights are a “useful assistant” for drivers when driving in bad weather conditions such as drizzle, fog, or limited visibility. However, not everyone knows how to use fog lights properly.
When driving in normal weather conditions, the driver should not turn on the fog lights because this does not make visibility clearer but can reduce the driver’s ability to see far away. The reason is that when the fog lights are turned on, the light area 20-30 m in front of the car will be brighter than normal while the outside of the light area remains unchanged. This limits the ability to observe obstacles in the distance.
In addition, using fog lights in normal weather conditions can cause glare because this light system is designed with high brightness and is used in special situations. Therefore, drivers should only turn on fog lights when visibility is low, the weather is foggy or drizzle, or need to increase visibility when driving in the dark, on mountains, etc.
Many drivers have installed LED fog lights and LED bars mounted horizontally on the front of the car without realizing that this can affect the vehicle on the opposite side. For new drivers or those who rarely move at night, the fog lights of the opposing vehicle mounted incorrectly will bring them a lot of trouble because they can dazzle, and cause distraction or temporary blindness when the vehicle’s lights are on the opposite side. In addition, when driving behind cars with fog lights on, drivers can also be dazzled, affecting visibility and leading to dangerous situations.
Self-Fix Fog Lights: Changing The Light Bulb
– Identify fog light that needs replacement. Turn the fog light on. Walk around to the front of the car to see which one needs to be replaced.
– Remove the bulb from the back of the housing. Gently turn the bulb, counter-clockwise, and pull out the bulb from the retainer.
– Disconnect the electrical connector from the fog bulb. Thus squeeze the lock tab and gently pull the plug from the bulb.
– Install the new bulb into the housing.
– Plug the electrical plug back in and put the fog light housing back into the correct place. Refasten the screws and push the cover back on
– Switch on the fog lights to test whether everything is ready.
– If the new bulb works well, reinstall anything removed during the disassembly process. Now you have finished changing self-fix fog lights by yourself.
Other Minor Electrical Problems
Changing a blown fuse
– Read the owner’s manual book to locate the right fuse box.
– Remove the cover from the fuse box.
– Use a fuse puller to remove the old fuse.
– Replace the new one in the old one’s place. Make sure they have the same amperage rating.
– Turn on the fog lights to test the fuse
Replace a faulty switch
– Look for the instrument panel around the switch, and disassemble it.
– Remove the retaining screws holding the switch or take off the switch from the instrument panel.
– Gently pull out the wiring out. Check the condition of the wiring. Pull until the connector shows off.
– Unplug the switch from the connector.
– Plug in the new switch.
– Switch on the fog light to test.
– If everything is good, reassemble the instrument panel back as before.
Watch more:


