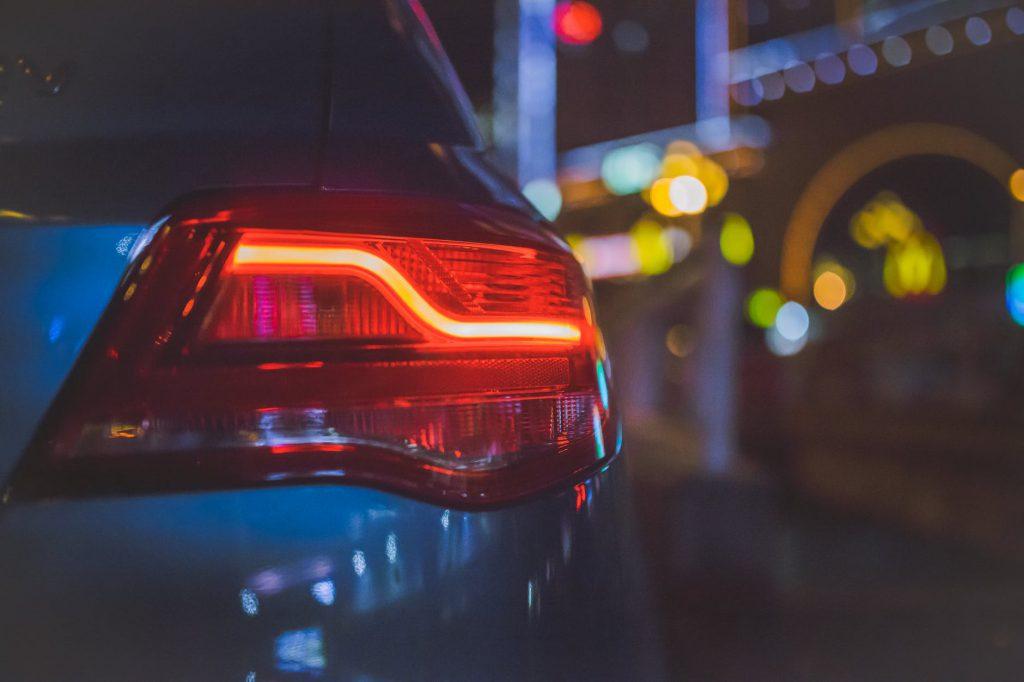
Taillights are an essential element of a car’s lighting system. They help other drivers see a car from behind, which decreases the likelihood of accidents. Since they do wear out in due course of time, car owners must know how to replace brake light to ensure safe driving. This is a handy car maintenance tips that you definitely will need.
Contents
How to Replace Brake Light: Follow These Four Easy Ways
Whether you are turning in any direction or driving at night, brake lights allow for safety on the road. Therefore, it is imperative to have your brake lights checked from time to time.
Replacing taillight is a simple task, even for those who are not tech-savvy or have automotive experience. Below is a step-by-step instruction to help you with the process.
Step 1: Know How to Access the Taillight Bulb
When you find out that your car’s brake light burned out, the first thing is to access the taillight bulb. To know how to replace brake light of your car, reading the car manual will help you find the right bulb size and voltage. After locating the mounting bolts, unscrew them one by one. Since these bots are small, keep them in a safe place so that you do not lose them.

SEE MORE
- The Possible Reasons Why F1 Cars Don’t Have Brake Lights
- What Everybody Ought to Know About Red Light Blinking in Car
Step 2: Take Out the Light Housing Carefully
Once all the screws are out, pull the taillight assembly or colored lenses that hide the light bulb. Due to the wires inside the light housing, you won’t be able to pull it out completely.
Step 3: Locate the brake Light Bulb Socket
Now, reach out for the plug holding the bulb. With the help of wires, you will be able to find the holder. Unscrew that bight bulb socket and pull out the old bulb. Depending on your car, pull out the old bulb straight or turn it counter-clockwise to remove.
Step 4: Replace Old Bulb with New
Once you finish that, you will need to clean the socket to take out all the dirt and debris. Now, insert the new brake light bulb and apply dielectric grease to the socket. Turn the socket clockwise to fit it correctly.
Now, start your car and test the brake light.

Brake light bulbs burn out with time, however many people fail to pay attention to them or don’t know how to replace brake light. Pocket this handy guide so that you can do this in your own garage.


