If you’re looking to replace and install new brake pads or release a faulty wheel bearing, you may have to deal with some difficulties when removing your brake rotor. And even more complicated and time-consuming, it becomes stuck through times without any warning. So to give you a better insight on this topic, in this article, Car From Japan will explain how to remove a stuck rotor and some possible ways to control and prevent it from happening in the future.
Contents
- How To Remove A Stuck Rotor
- Step 1: Remove the brake caliper from the bracket quickly
- Step 2: Disassemble the caliper plate
- Step 3: Temporarily reattach the lug nuts while cleaning rust around the old rotor
- Step 4: Remove the rusty or stuck rotor
- Step 5: Use some other specialized equipment if the hammer does not work to remove stuck rotor
- Step 6: Insert the bolts into the threaded holes on the rear of the rotor
- Helpful Tips To Quickly and Efficiently Remove A Stuck Rotor
- Ways To Prevent A Stuck Rotor In Any Future Project
- Summary On How To Remove A Stuck Rotor
How To Remove A Stuck Rotor
Removing stubborn or stuck rotors can be a difficult task if corrosion and rush appear everywhere. If you can get a hold of a hammer with some luck, you may be able to free the two pieces of the object by pounding them gently in specific locations.
To grasp the first basics to practice the process smoothly, here are six steps to unstick your brake rotor in no time:
- Release the brake caliper from the bracket
- Remove the caliper brake lining plate
- Reattach the lug nuts temporarily
- Remove or clean the rusty rotor
- Use more specialized equipment for the stuck rotor if necessary
- Add the new bolts into the threaded holes at the back of the brake rotor
Before we turn up our sleeves, it’s important to point out that if you notice or even glimpse any signs of rust on several components like your brake pads and shoes, think about replacing them immediately. Neglected and long-left rusty points can eat up the braking plate friction material and cause a faulty brake or stuck rotor.
Before starting this job, be sure to have the necessary tools and equipment, such as a propane torch or acetylene torch and a rotor puller, to deal with each level of corrosion and rust on the brake. This removal operation can also take several hours and may require special skills and knowledge like using a torch/acetylene torch effectively and releasing the stuck brake rotor in the right place. In addition, if you are working on a rear one, ensure that the parking brake is not engaged beforehand.
It’s also ideal to prepare some necessary technological know-how to avoid damaging other brake components. As a result, it may be better to let professional mechanics handle the task for you if you are not sure about some knowledge or feel not confident doing it yourself.
So after you have jacked up the car and dismissed the wheel, you can follow the following steps to know how to remove a stuck brake rotor.
Step 1: Remove the brake caliper from the bracket quickly
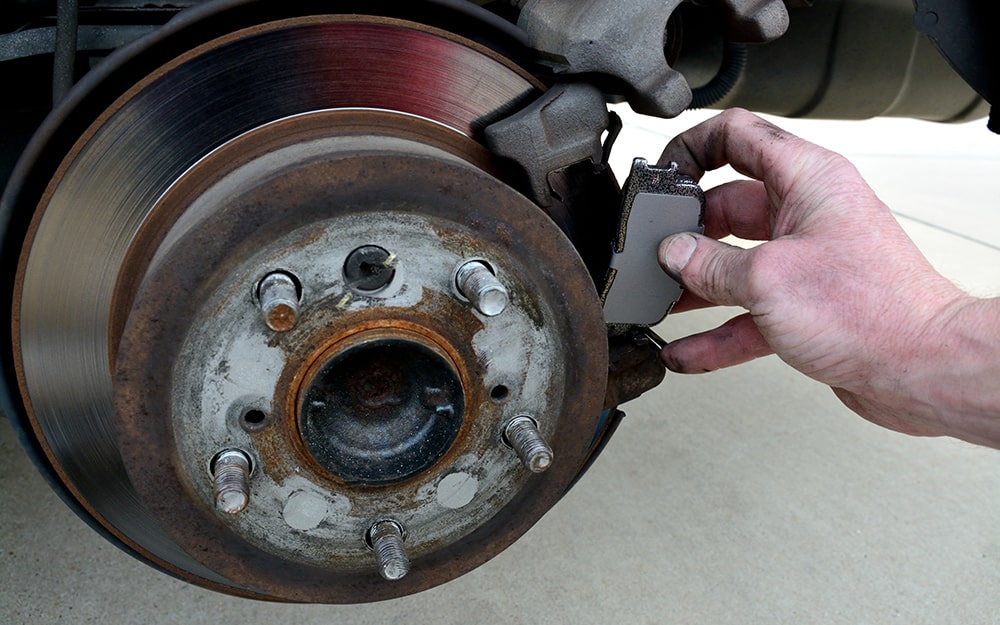
In this first step, you need to locate the two automobile rotor bolts. They are located in places that are not too hard to find, so with a little attention, you will see them in no time. One bolt will be near the top of the caliper frame and one near the bottom of the frame. To easily remove the stuck rotor, you will first have to remove the brake caliper from the bracket. This will loosen the caliper and make it easier for you to reach the brake pads.

Step 2: Disassemble the caliper plate
Once you have disconnected, clamped the brake from the holder, and securely inserted the caliper, you need to remove the caliper plate. With this step, the process will include removing a few bolts located on the back of the brake caliper frame. You will see that these bolts are installed along the caliper bracket and firmly attached to the wheel hub.
In some vehicles, these bolts are sometimes stuck or held in a fixed place with the industrial glue Loctite and may require extra effort or action to get them out of the place.
Before removing the brake disc, pay attention as there may be one or two rotor screws mounted on the rotor face. You must remove each rotor screw and set them aside before performing the brake disc removal operation. If a rusted screw appears in the screw hole, you may need to use an impact driver to dislodge it, as a rusted screw is usually a lot harder to remove, especially when it’s already rusty long before.
Connect the head slot of the impact driver to the end of the screw and push the other end of the impact controller. Try to turn the screw as you do so towards the opposite direction, and with some luck, it’ll come loose with a little luck and effort.
Step 3: Temporarily reattach the lug nuts while cleaning rust around the old rotor
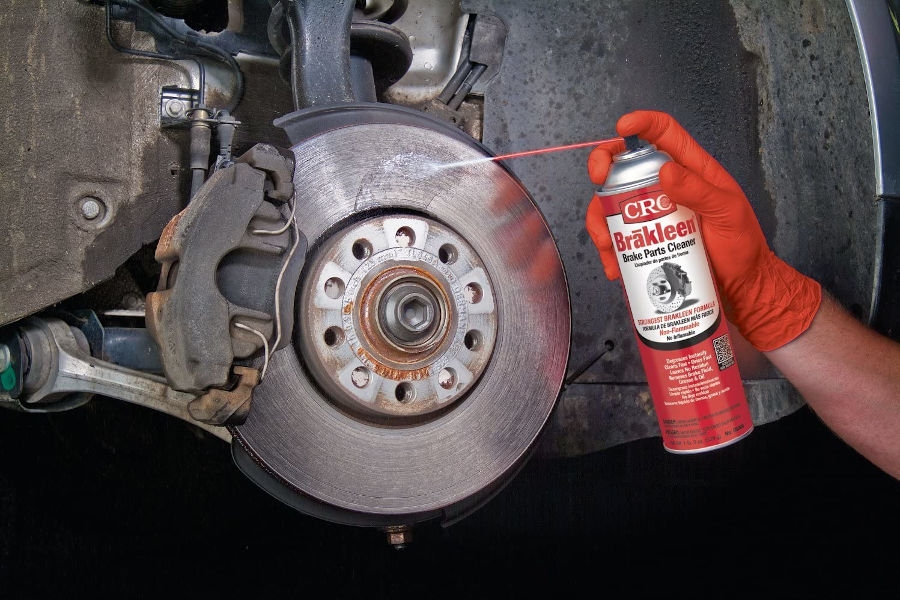
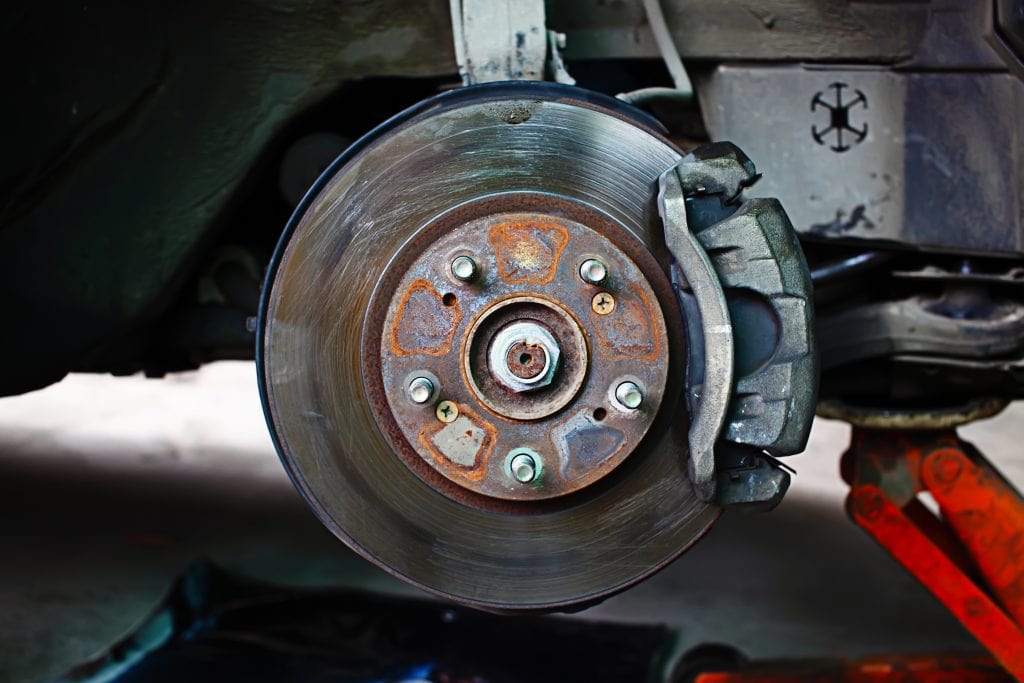
After the above 2 steps to remove stuck rotor, most of the parts have come loose and are no longer held firmly in place. That’s also the point at which the brake rotor will slip off the wheel. However, the stuck rotor will stay there and won’t come off, you will have to remove the rust or lubricate the rotor right away.
Before performing rust removal on the rotor and resolving the stuck rotor, you should temporarily reinstall one or two nuts that you removed in the steps above. Temporarily installing them in place with sufficient force will help keep the propeller in its position, not moving, and give you more convenience when cleaning or solving the difficult-to-remove stuck rotor part. Not only that, they can prevent propeller parts from falling off or worse, falling on someone’s feet, endangering and hindering project progress. Temporarily attaching the lug nuts will also ensure there is no accidental damage to the threads, which can warp the wheel studs when mastering how to remove a stuck rotor.
Step 4: Remove the rusty or stuck rotor
Coming up next in the process, you need to remove the rust or release the stuck rotor. For this step to be smoother, you can use a hammer to get started. You can choose from any type of hammer on the market to work on:
- Typical good-handle hammer
- Blackhead rubber mallet
- Ball peen hammer
- Small sledge hammer (drilling hammer/club hammer,/crack hammer/mini-sledge)
- Dead blow hammer
- Short handle claw hammer with standard head
When using a hammer to remove rusted rotors, some skilled mechanics note that you should aim for a metal hammer for more effective removal. Strong metal charms will create more vibrations, which is convenient for removing stubborn jams or rust. However, you should also be cautious when using this type of hammer because metal can damage the rotor if you accidentally hit it directly with a strong force that is difficult to control.
With this step, you can start by hammering the space between each nut. This action is necessary because you are repairing/removing the process, not a replacement. Impacting a hammer, especially a metal hammer, against the propeller can break it, separating the propeller from the wheel caps. Repeat this procedure with the hammer a few times around the wheel hub. You can then pry the brake rotor out a lot easier.
>> Check out: Resurface or Replace Rotors: Which Option Is Better?
Step 5: Use some other specialized equipment if the hammer does not work to remove stuck rotor
If you couldn’t solve the stuck rotor in the previous step, you will need some additional equipment to complete the process.
- Wrench
- Hex bolts
- Nuts
- Flat washers
Step 6: Insert the bolts into the threaded holes on the rear of the rotor
With luck, you should be able to see a threaded hole or two on the back of the brake disc. The purpose of these threaded holes is nothing but to help you unscrew a stuck rotor. You then continue to thread a bolt with washers through each threaded hole and secure them in place with nuts.
Next, with one wrench attached to the nut, use the other wrench to tighten the bolt. Make sure to switch between the two bolts and tighten them evenly. When the sequence of operations is correct and sufficient, the rotation between the rotor and brake disc bolts will pop out.
Helpful Tips To Quickly and Efficiently Remove A Stuck Rotor
After going through the steps of how to remove a stuck rotor process, if they still do not help you to solve and free your rusted or stuck rotor completely, you can apply several methods with the tools below to facilitate the removal process more easily and conveniently.
Tip 1. Rotate the rotor
You could try loosening the bolts you installed in the bolt hole behind the rotor, bringing the car into a neutral position, and releasing the handbrake. You can then rotate the disc rotor about 45 degree before tightening the bolts again. Applying force to another part of the rotor may also be what is needed to keep it from breaking.
Tip 2. Use a penetrating lubricant
A penetrating lubricant like PB Blaster or Liquid Wrench can be a necessary asset in your toolbox. By applying a generous amount to the wheel hub and back of the rotor, the lubricant can help dislodge any rust or corrosion.

Tip 3. Use a set of scissors
You will need a rotor puller large enough to clamp around the back of your rusted propellers. There must be an indentation on the center of the rotor face. Using this indent to secure the puller center pin, you can lock the mounts to the back of the rotor.
After oiling the center pin, you can start tightening the puller. If the rotor still won’t budge, you can hit the center pin of the puller with a hammer.
Tip 4. Add suitable heat
If the jammed brake rotor hasn’t come out yet, you may need to start heating with a propane torch. Applying heat to the areas in between the lug nuts on the brake caps can be essential to eventually dislodge the stuck rotor.
Tip 5. Use break bars
If you are trying to get rid of your rusted propellers, you may need to consider using a broken rod and some levers. If choosing this method, take some extra precautions. This heavy use of leverage can ruin the relationship, and then you’re in a worse place than you were when you started.
You will need a one-legged crossbar and a rigging bar. Then, insert the breaker head into the bolt head and place the horizontal lever on the breaker bar. Make sure to slide the crook bar down so you don’t bend the crook bar. Then gradually begin to apply pressure until the bolt begins to loosen. Then you should be able to remove it just by using the break bar.
If you’ve tried all of the above methods and still have no luck, you can always cut the rotor with an angle grinder. Of course, this will only work if you are installing a brand-new propeller and not repairing the old ones.
Now that we already know clearly how to remove a stuck rotor effectively, let’s look at some ways to prevent it from happening again in the future.
>> See more: When To Replace Brake Rotors? Every Thing You Need To Know!
Ways To Prevent A Stuck Rotor In Any Future Project
No one wants to do all that work again, especially if it can be avoided. This is often a time-consuming and tiring job that requires a lot of effort and some specific tools. And even then, the most stubborn propellers may have to do a combination of all the methods before finally being scrapped.

Clean rusted areas and corrosion
First, make sure you clean any rust and corrosion around the wheel studs using a wire brush or even attaching a wire brush onto a drill. Make sure you thoroughly clean the edges and tops of the wheel hub as this is where it will most likely rust.
Apply some grease
You can then ask the mechanic to apply some lubricant such as dielectric grease to the wheel hub and back of the wheel rotor. This is great to prevent the two metals from corroding together in the future.
Summary On How To Remove A Stuck Rotor
In constant contact with the elements, rust and corrosion can cause the brake rotor to weld to the wheel hub. If you are having trouble with a stuck brake rotor and cannot disassemble the two, it is best to arrange for a professional mechanic to check the problem.
Attempting to separate the hub from the rotor face may require specialized tools. Some technical know-how can also be of great help when you come across other essential parts, such as brake calipers.
When in doubt about anything rotor-related, don’t be stressed. You can leave the task of mastering how to remove a stuck rotor to the side. And contact a professional center or mechanic and let them handle all the heavy lifting for you. They will send certified technicians to your driveway shortly after, ready to fix any rotor problems.


