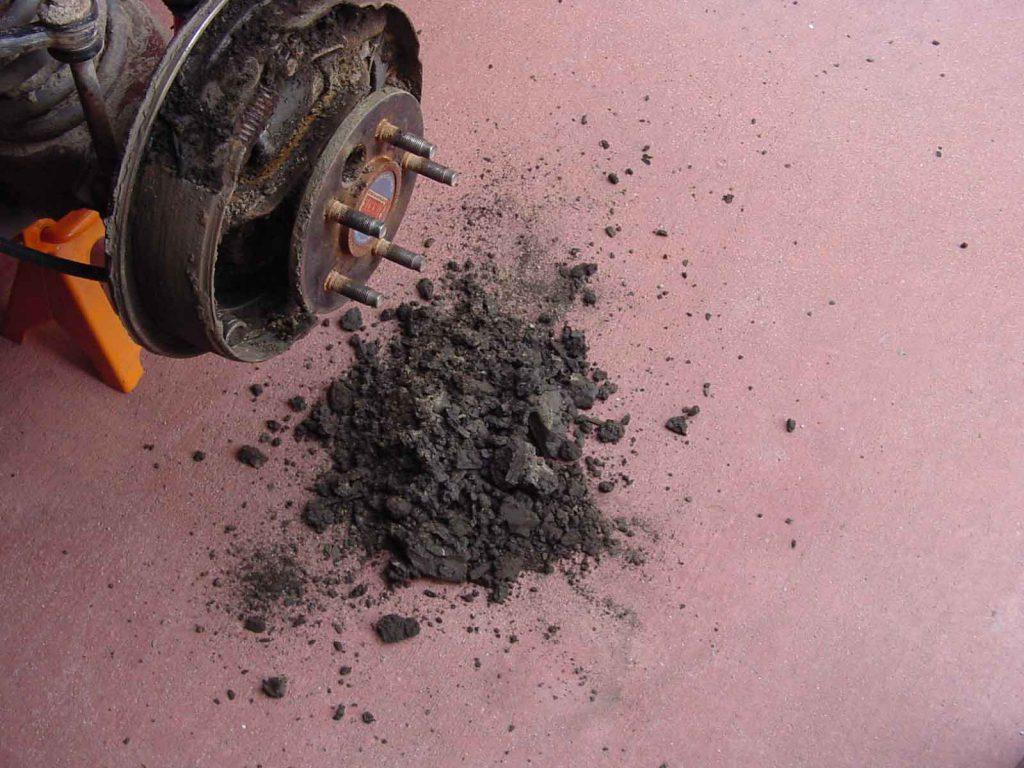
With time drum brakes become a home to debris and grime owing to its continuous usage. Taking proper care of the drum brakes thus becomes essential in order to maintain the car’s brake system. When you are confused about how to clean drum brakes, reading through the following process can be helpful.
Contents
How To Clean Drum Brakes – A 4 Step Process
The lubrication of the drum brake may wash away with exposure to wet or dusty terrains.
This, in turn, may lead to unwanted grinding noise from the car once the brakes are applied. Such a symptom indicates the need for cleaning drum brakes. Read on to know how.
1. Bleed Off the Brake Fluid
The first step towards knowing how to clean drum brakes involves draining off the brake fluid.
Locate the master cylinder and move on with emptying at least half of the brake fluid. Replace the drained brake fluid with the fresh one once the old is disposed of.
Remember to follow the guidelines and standards set by the authorities related to disposing of the oil.
2. Take the Wheel Out
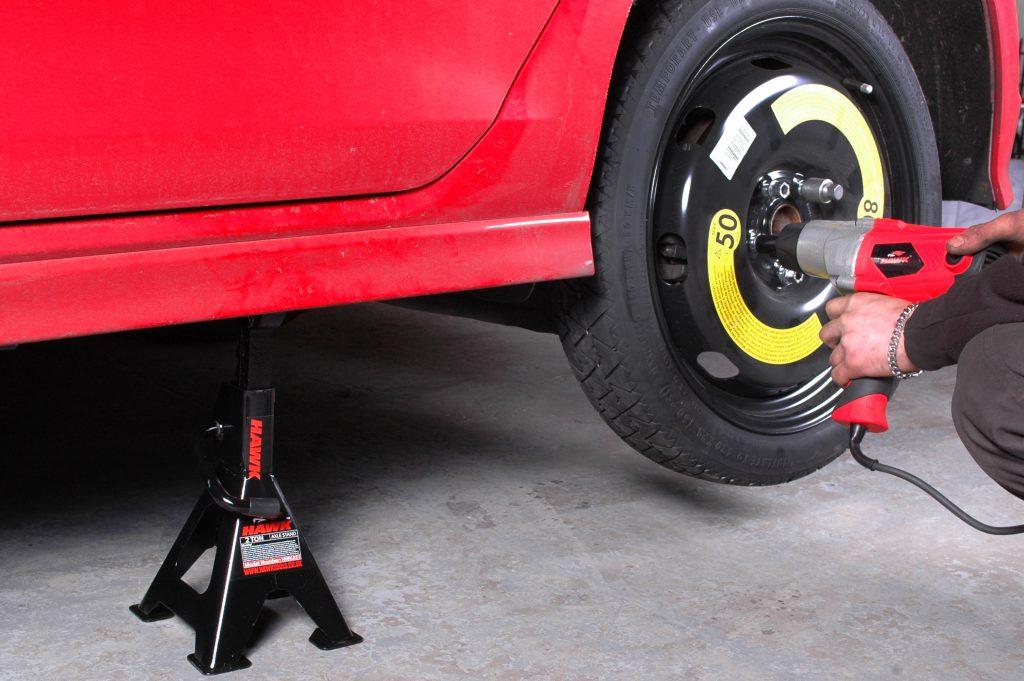
This process is similar to changing your wheel in case of a puncture. Grab a tire iron and loosen each lug by turning it anticlockwise.
Now move on to mounting the car with the help of the jacks. Following this again use your tire iron to remove the loosened lugs completely.

Now you can remove the tire by merely pulling it slowly from its place. If you haven’t done such a thing before, refer to maintenance tips for knowing the process of changing a tire.
SEE MORE:
3. Take Off the Drum Brake
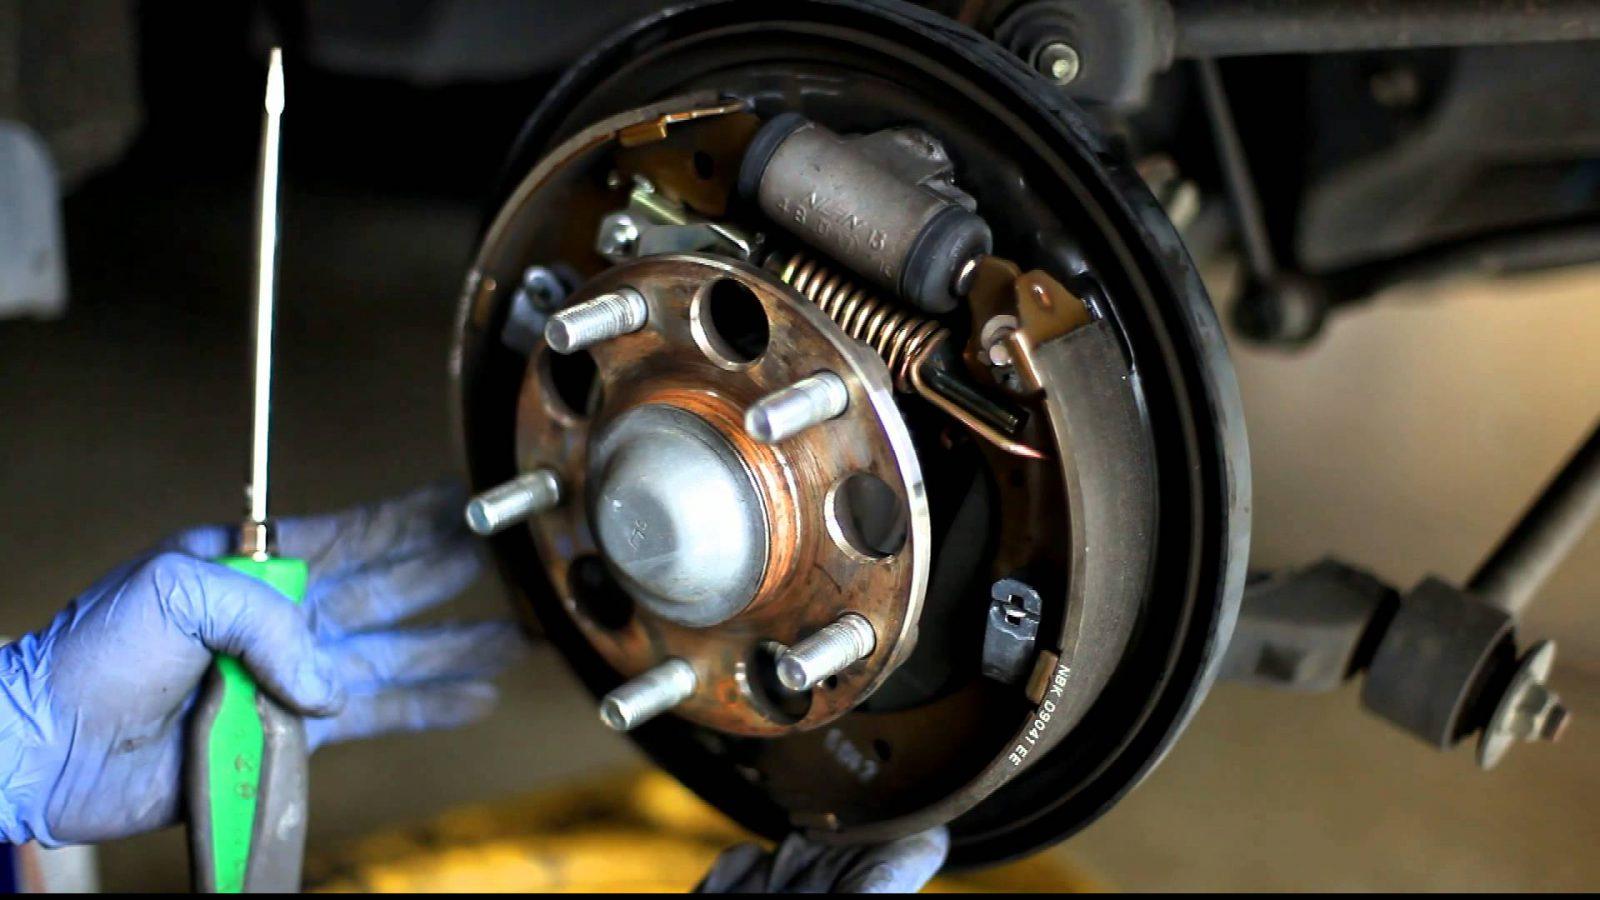
The first step involves locating the access hole present just outside the drum brake. Turn the brake drum to align the drum’s adjuster screw to the access hole.
Now turn the adjuster screw so that it comes closed down. By now the shoes of the drum should loosen out from the wheel.
Now you can move on to pulling out the drum from the car. If the drum fails to come off on its own, move on with unscrewing the drum with a screwdriver to remove it.
4. Clean the Drum
Once the drum brake component has moved out from the car’s system, you can move on with cleaning drum brakes.
You can either use a brake cleaner available readily in the market. Or simply use soap and water to get rid of the accumulated debris on the drum brake.

>> Looking for a quality cheap used car from Japan, click here <<
Now apply lubricant wherever the metal to metal contact is occurring such as the part where the shoe slides.
Now you are done! You may move on with putting the drum and the wheel back by following the mentioned steps in the reverse order.
FAQs
-
How often should I clean my drum brakes?
Cleaning frequency may vary depending on driving conditions, but it’s a good practice to inspect and clean your drum brakes during regular maintenance, such as when you change your brake pads.
-
What tools and materials do I need for cleaning drum brakes?
You’ll need a jack and jack stands, a lug wrench, a wrench or pliers, a can of brake cleaner, a wire brush, a clean cloth, and safety gear like gloves and safety glasses.
-
Can I clean drum brakes without removing the wheels?
It’s possible to clean drum brakes without removing the wheels, but it’s generally easier and more thorough to do so. Removing the wheels allows better access to the brake components.
-
How do I lift the car safely to access the drum brakes?
Use a jack to lift the car off the ground and support it with jack stands to ensure stability and safety while working on the brakes.
-
What is the process for cleaning drum brakes?
The process typically involves removing the drum, cleaning the brake components with brake cleaner and a wire brush, inspecting for wear and damage, and reassembling everything correctly.
-
How do I know if my drum brakes need replacement instead of just cleaning?
If you notice significant wear, scoring, or grooves on the drum, or if the brake shoe linings are worn down to a dangerous level, it’s time to replace the drum brakes rather than just cleaning them.
-
Can I reuse the old brake shoes and hardware after cleaning the drum brakes?
It’s generally recommended to replace worn or damaged brake shoes and hardware when cleaning drum brakes for optimal braking performance and safety.
-
Are there any safety precautions I should take when cleaning drum brakes?
Yes, always use safety gear like gloves and safety glasses, and follow proper safety procedures when working under a vehicle. Make sure the car is securely supported on jack stands.
-
What are the benefits of properly cleaned drum brakes?
Properly cleaned drum brakes can improve braking performance, extend the life of your brake components, and ensure safer driving conditions.
Check out this video from 1A Auto to learn how to clean and adjust rear drum brakes!
Conclusion
Cleaning drum brakes is a crucial aspect of maintaining your vehicle’s braking system.
By following the step-by-step process outlined in our today’s how to clean drum brakes guide, you can ensure that your drum brakes remain in good condition, providing safe and reliable stopping power.
Regular cleaning helps prevent brake dust buildup and extends the life of your brake components, ultimately contributing to the safety of your vehicle and its passengers.
So, don’t overlook this important maintenance task, and always prioritize the safety of your vehicle by keeping your drum brakes clean and well-maintained.


