
One day, the mechanic checked your brake system and told you that your brake pads were at 4 millimeters and you needed to replace pads because it was dangerous to be driving. Fear or not? So how to check brake pads by yourself to know when your car needs a new one? Luckily, checking brake pads is quite easy and this article will show you how to do it in a few simple steps.
Contents
Why Brake Pads Matter?
Brake pads are perhaps one of the most important safety parts of our vehicle, so it’s important to understand them. A typical brake system consists of a pair of brake pads, a brake disc, and a brake caliper for each wheel. The pads are installed in the caliper with their friction material almost touching both sides of the brake disc.
When you press the brake pedal, hydraulic fluid in the caliper pushes each brake pad against each side of the rotating brake disc. This results in friction that slows and eventually stops the vehicle. When you think about how many times this simple action takes place every day, every week, every month, and every year – it’s no surprise that brake pads gradually wear down, so they need to be replaced regularly.
Any vehicle cannot lack this important part. Not having brake pads means your car is always at risk of an accident. Because of that, they play a very important role in the structure of cars.
Brake pads are more susceptible to being worn out and are replaced more frequently than brake discs, so drivers need to pay attention to and regularly check this part to ensure safety while driving.
How To Check Brake Pads: Step-By-Step Guide
Some drivers are still not properly aware of the importance of the brake system. Even though they take careful care of their cars, regularly changing oil, and coolant, or checking tires… they easily forget about the car’s brakes, especially brake pads. Brake pads are an extremely important part of the safety of vehicle operation, but over time, the brake pads will gradually wear out and need to be checked due to the constant friction and heat they endure. So that’s why checking brake pads is an important process to avoid potential risks while driving!
What will you need to get started?
The good news is that you don’t need a whole garage full of tools to check the brake pads, here’s a list of basic tools required:
- Flashlight: A torch is the most useful tool when checking sometimes dark nooks and crannies in the brake system.
- A gauge or a ruler to read the thickness of the brake pads.
- Safety glasses: Always a good idea when working around your car
- A set of gloves can keep your hands clean If possible
- A jack (if you need to remove wheels): Used to lift and support wheels.
Get ready to inspect your brake pads:
>> Related post: Brake Pads Worn Out In 3 Months: What Are The Reasons?
Method 1: Check brake pads without removing wheels
Notice the signs of bad brake pads
You can check and know the health of your brake pads without removing the wheels by recognizing the symptoms of the worn brake pad. So how to tell if brake pads are bad:
- Your car makes a strange noise when braking: If the brakes make a noise every time you step on the pedal, the cause may be due to worn brake pads. Usually, these sounds will be squealing or clicking sounds.
- The steering wheel vibrates: When braking if the steering wheel shows signs of vibrating, there is a high possibility that the brake pads are worn out.
- The brake warning light turns on: Modern cars all have sensor systems and warning lights, including brake pad warning lights. When the brake pads are worn beyond the standard, the warning light will turn on.
If one of these symptoms happens to your car, you should take it to the mechanic ASAP to have checked and replaced brake pads timely.
Visually inspection
Sometimes there can be a lot of sounds coming from the wheels which makes you confused about whether or not your brake pads need to be changed so we need to visually check.
In many cases, checking brake pads visually can be very simple. Some vehicles have really good access to see the caliper in the rotor. They have big open ports like some sports cars so that you can easily observe the caliper and where the pad touches the rotor. It’ll be a solid block of material.
Tip: Shine your flashlight in for a clearer view. You’re looking for a thickness of at least ¼ inch. If it’s less than that, it’s time to replace your pads.
However, not all cars are built the same. If your rims block your view, fear not! Here’s another way to check:
>> Read more: How Many Brake Pads On A Car?
Method 2: Check brake pads by removing wheels
This method will require more steps compared to method 1, however, it will give a more exact result to help you know when to replace brake pads:
Step 1: Park on a level surface, engage the parking brake, and then use a jack to lift the car to remove the wheel and observe the brake pads more easily.
Step 2: To observe and determine the thickness of the brake pads, you need to remove the wheel. Based on the weight and grip of the tire, loosen the lug nuts and bolts.
Step 3: Take the caliper off so we can get a better look at the inside brake pad.
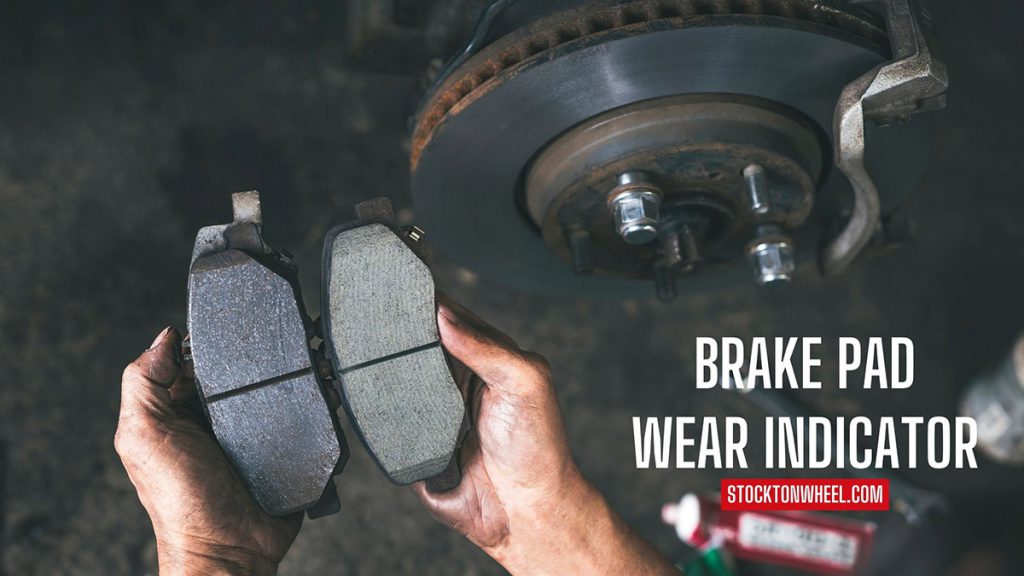
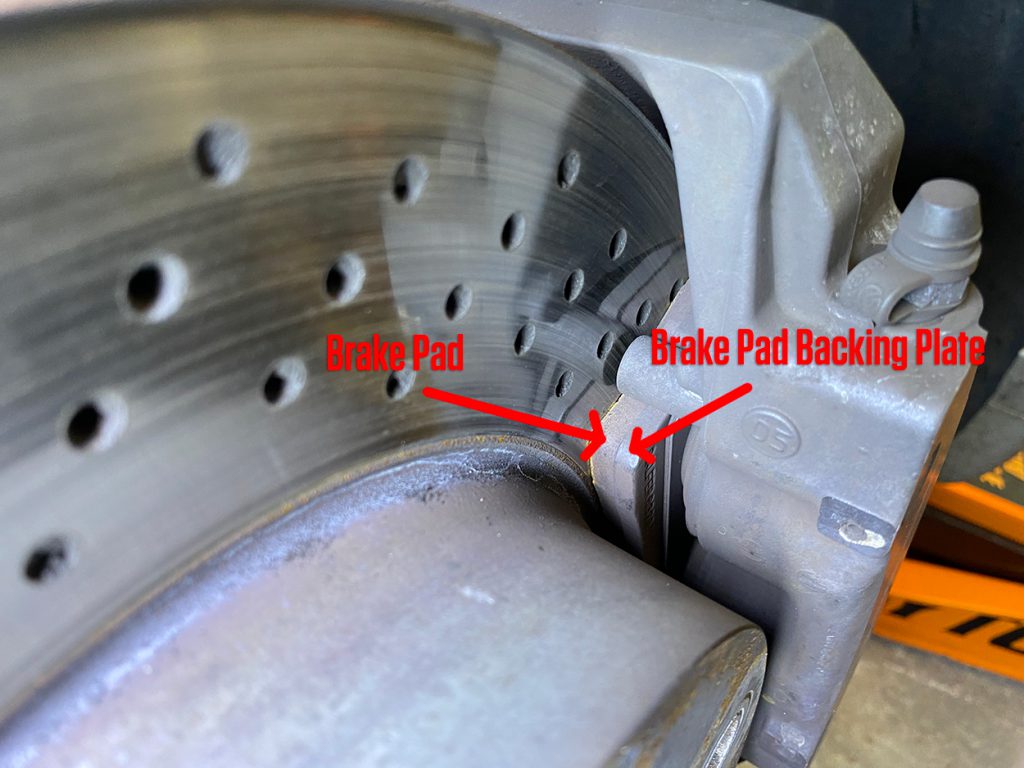
Step 4: Thickness check: When reaching the brake pad, just take a flashlight to check both the inner and outer pad visually. If you notice the friction material is close to 2-3 mm worth of thickness or you see the brake pad wear indicator (a thin metal strip) It means your pads need replacement. Don’t forget to check the condition of the brake pad, make sure it is not cracked or broken and is thick enough to use safely.
Step 5: Repeat these steps to inspect the other wheels after inspecting one side
Step 6: If the brake pads show no signs of wear, use a specialized brake pad cleaning solution to wash off dirt, grit, and sand on the brake pads and discs then reassemble the wheel.
Now, you’re all done!
Watch more:
How Often Do Brake Pads Need To Be Replaced
To ensure safety, when the brake pads are about 2-3mm left, they should be replaced. The thinner the brake pads are, the more their friction is reduced, and the decrease in friction will cause less effective braking. This will put you in danger in emergencies.
How quickly brake pads wear out depends on driving styles. However, the brake system, including brake pads, will wear out more when the vehicle is often used in crowded traffic, where the brake pedal is constantly applied to stop and go.
According to the automaker’s recommendations, you need to periodically check and replace car brake pads every 50,000 – 80,000 km or after every 2 years. However, in the case of the brake system working in high-intensity conditions such as frequently traveling on busy roads and using the brakes continuously, the brake pads will wear out faster. Therefore, the time needed to replace will be sooner. A brake system error that is not repaired early can also cause brake pads to wear out faster.
Remember, properly functioning brakes are essential for safe driving. By following these steps or consulting a mechanic, you can keep your car in top condition and ensure a smooth, safe ride.