Doing DIY car repair requires some technical knowledge, but there is some routine maintenance that anyone can do. You can change oil yourself, which is one of the easiest DIY car maintenance work. You’ll just need some oil change parts and tools to complete the job.
Contents
Change Oil Yourself: The Benefits
You can easily do this job at your home. Doing so will save you both money and time as you don’t need to take the car to a service station. Besides, regular change of oil will keep your automobile healthy and help it running at a high performance.
Oil Change Steps: How to Do It?
If you don’t have any car maintenance skill, you’ll need the help of the following guide to do the job correctly. Let’s check out:
Required Oil Change Parts
- Car jack and jack stands
- Oil
- Oil Filter
- Funnel
- Oil drain pan (preferably heat resistant)
- Socket wrench
- Rubber gloves
- Paper towels
- An old towel
Check the manufacturer’s manual to know what type of oil you have to use for the car. Besides, collect information about the year, make, model, and the engine displacement size to determine the type of filter you need.

Oil Changing Procedure
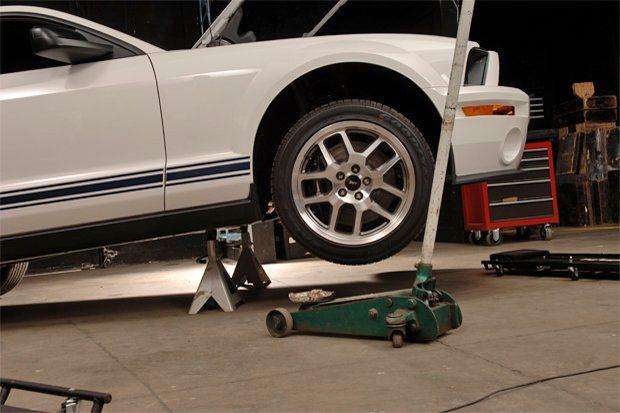
You have to lift the vehicle by using the jack before starting the process. At first, run the car for a minute or two because warm oil flows out smoothly. Then, find a jack that can hoist the vehicle at a height where you can comfortably crawl under it. You can also use the jack stand to ensure that the car won’t fall on top of you.
[efsbutton class=”btn” style=”” size=”” color_class=”” align=”left” type=”link” target=”false” title=”Join our FREE CAR GIVEAWAY Campaign here” link=”https://carfromjapan.com/campaign/car-from-japan-free-car-giveaway-2018″]
Drain the Oil
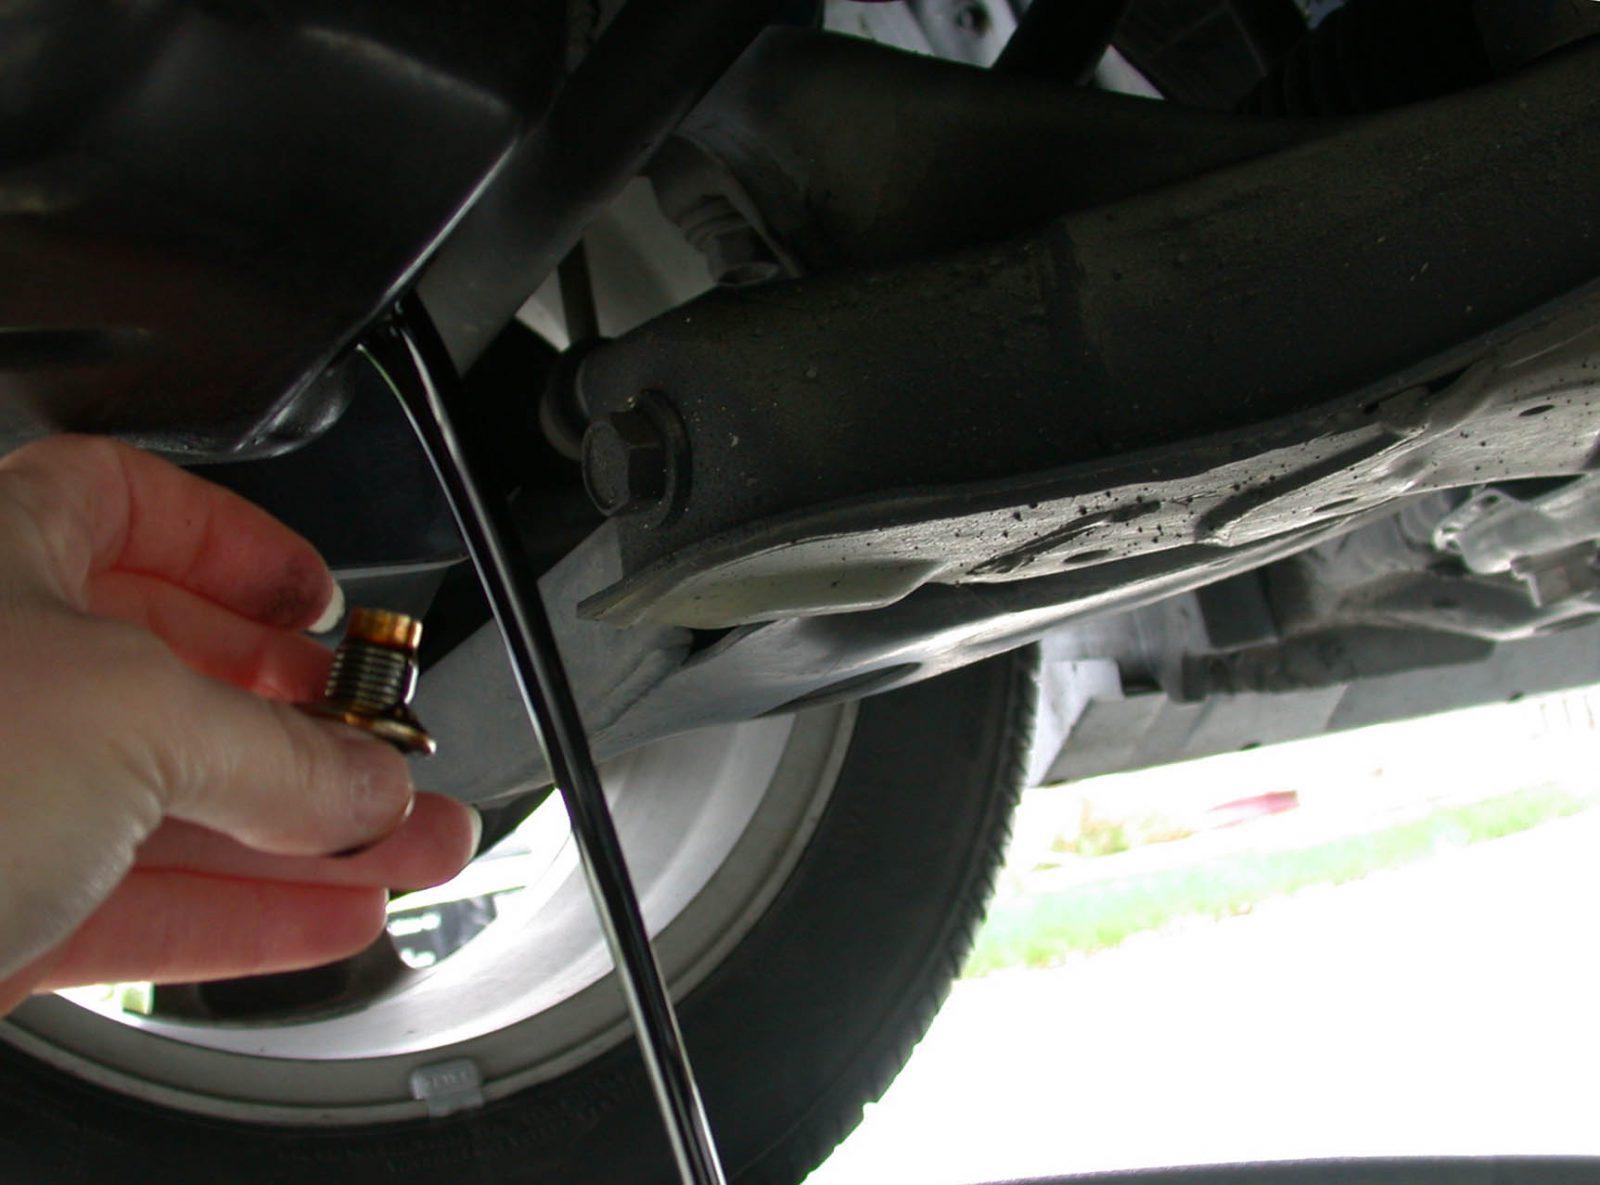
Locate the drain plug (looks like a bolt) and put the oil drain pan directly underneath it. Put on rubber gloves and loosen the plug by using a socket wrench. Once it’s unfastened, unscrew and remove it by hand. Oil will come out. Let your car be empty and then screw the bolt. Wipe off the spilled oil with paper towels.
Replace the Oil Filter
Remove the oil filter after moving the oil pan under it. Some more oil will spill out. Wipe off the opening with paper towels. Dab some oil along the new filter’s rim, but skip this part if it’s a paper filter. Place the new one at the right place and tighten the seal with hand.

Refill the Oil
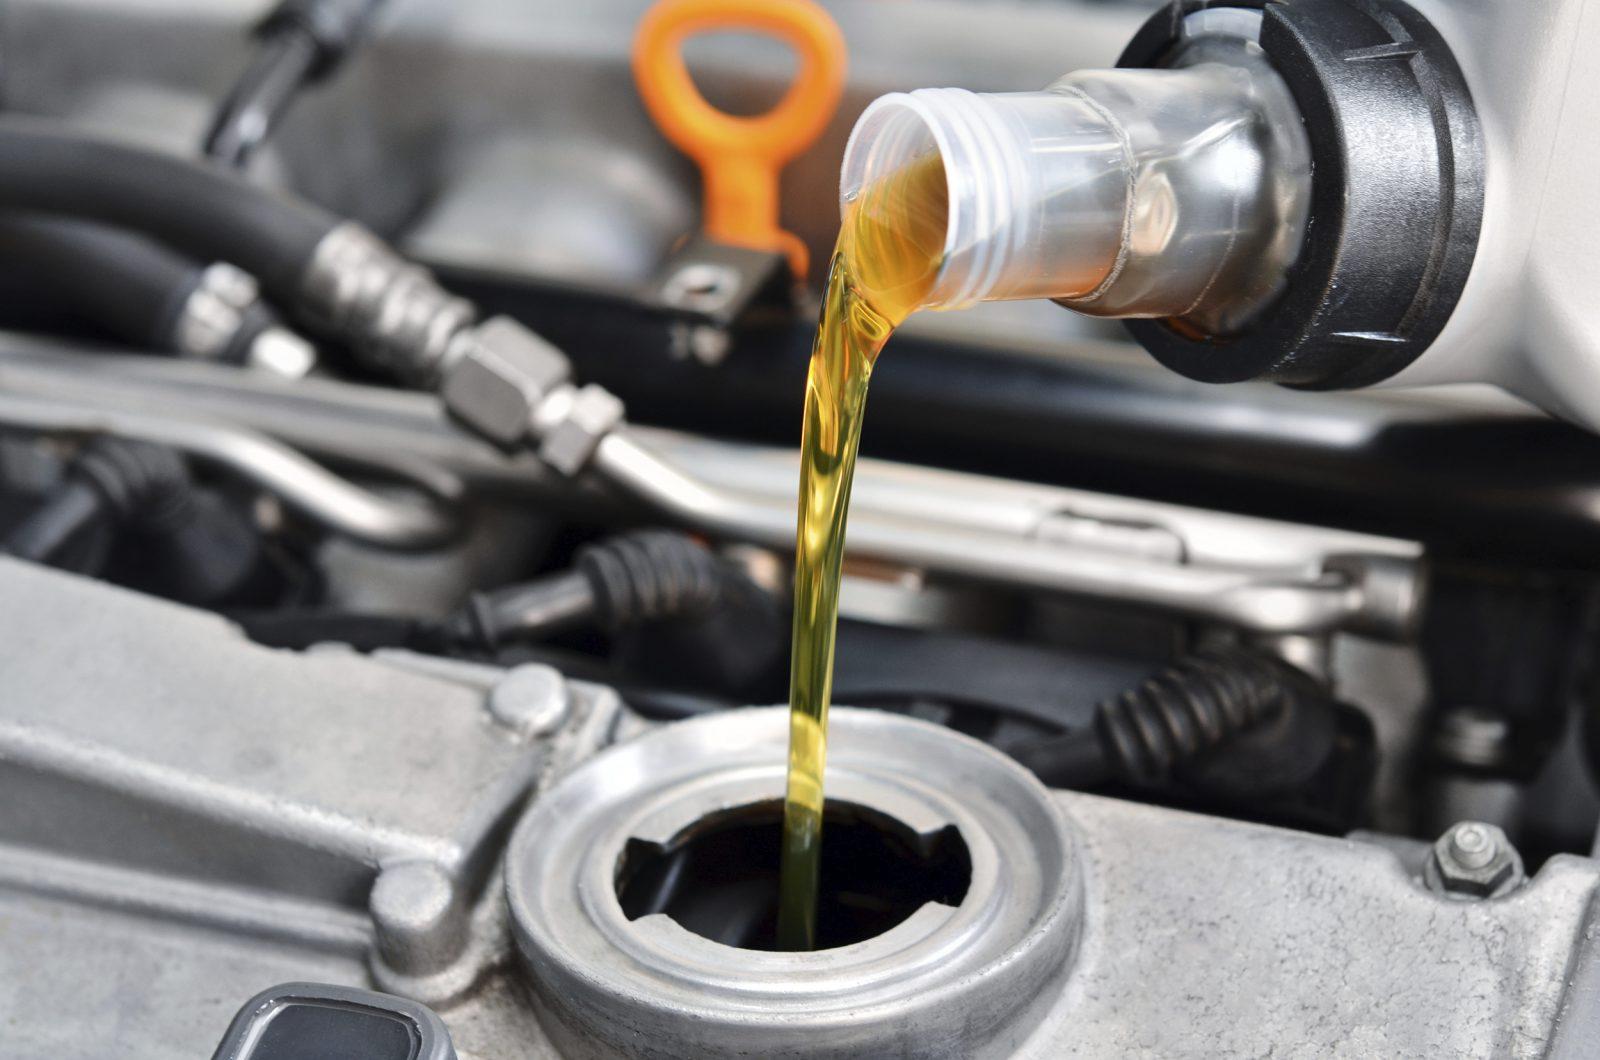
Read the manual to know how much oil the car needs. Remove the oil cap, put a funnel in the hole, and start pouring oil. When you are done, place the cap and tighten it.
Take off the jack and turn on the engine to let the oil run through the system. Don’t forget to measure the oil level with a dipstick to know if you have filled the tank.
Don’t to dump the removed oil in an unapproved area. Just pour it into a container and take to a gas station or auto parts store that accepts used oil. Remember that you have to purchase the oil change parts carefully so that they match to your car’s specifications.
[efsbutton class=”btn” style=”” size=”” color_class=”” align=”left” type=”link” target=”false” title=”Join our FREE CAR GIVEAWAY Campaign here” link=”https://carfromjapan.com/en/campaign/car-from-japan-grand-giveaway-2017″]


