
So, that lower control arm bolt is stuck solid, right? You’ve probably been pulling on a wrench until your knuckles are white, and it still won’t move. Don’t worry, this is a super common problem. Before you give up, let’s try a few tricks that can break it free.
Removing The Stuck Lower Control Arm Bolt: The Process
The entire process to remove stuck lower control arm bolts can be tough if you don’t have the proper knowledge of how it is actually done. So, let’s see what the actual process says:
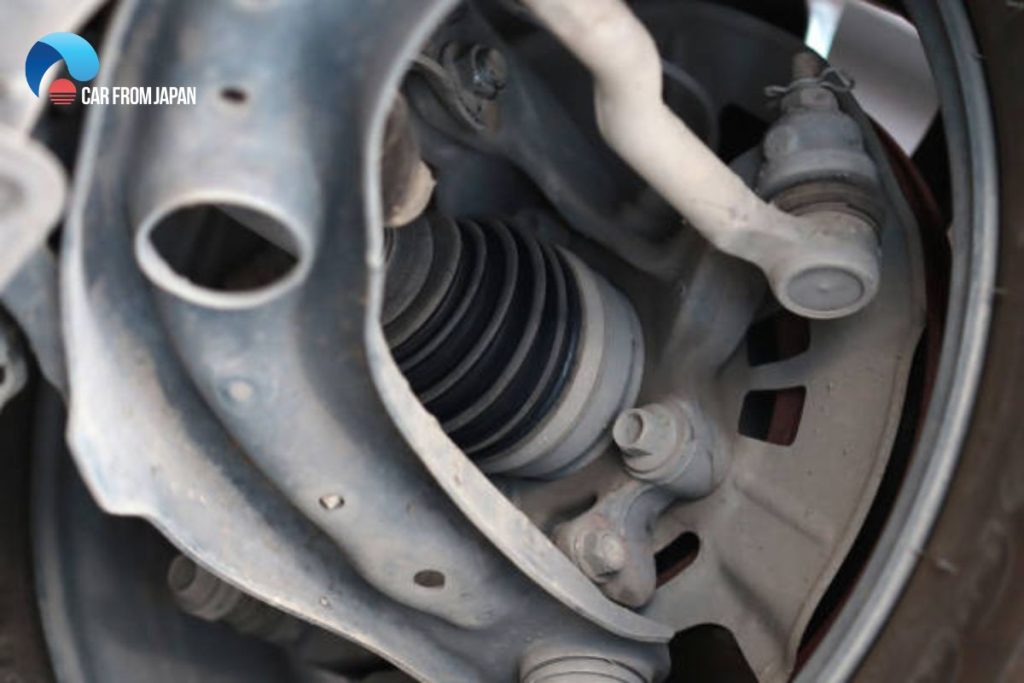
1. Start by releasing the ball joint
To begin, it is essential to release the ball joint. Simply take a wrench of 20 mm to 24mm or a socket to loosen the ball joint after removing the cotter pin. Strike the spindle to shock the taper fit loose.
Hold the lower control arm with a hydraulic jack if the job is happening on a live spring suspension shock. Remember to keep all those maintenance tips that you might have learnt from the experts, sometimes.
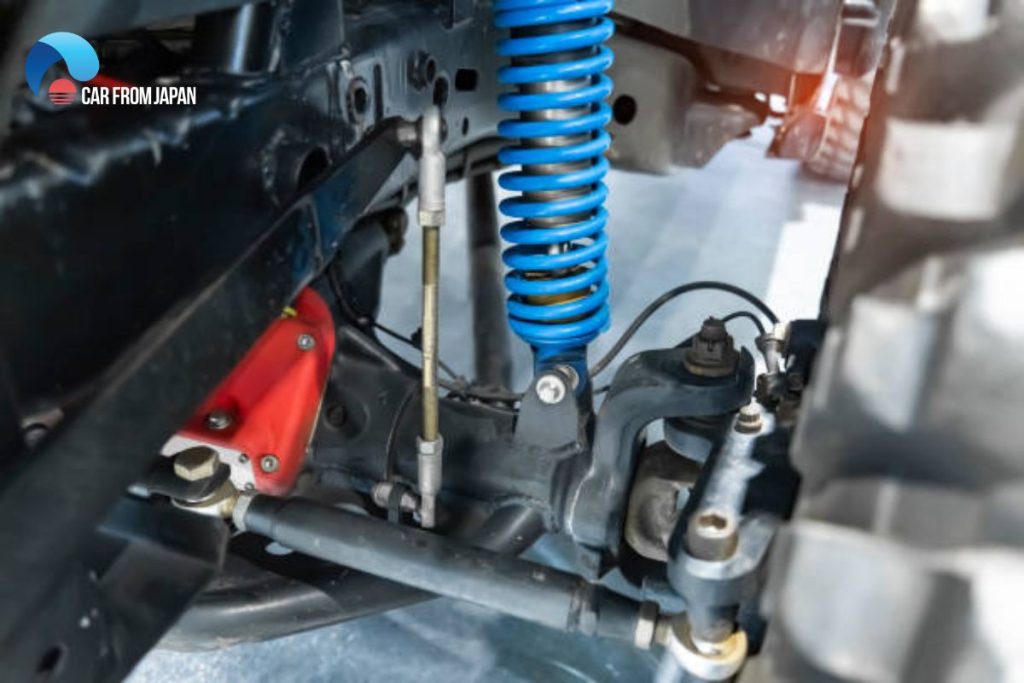
2. Eradicate sway bar link
The connection of the sway bar to the control arm then breaks by eradicating the sway bar link.
Use a wrench or socket to remove the nuts. Grasp the sway bar link and remove it from the lower control arm mount to avoid any disturbance.
3. Remove the control mounting bolts
Horizontal or vertical- Two lower control arm bolt are present in the vehicle. Using a socket, one can easily loosen and remove the bolts.
To remove all those bolts that have nuts on the backside, an additional wrench may be required. Hold the wrench tightly and firmly on the head of the bolt to avoid rounding.
Use a universal joint and socket to remove stuck lower control arm bolts. This will simply make this task much easier to perform. After removing the bolts, the arm becomes loose. So, keeping your hands on it will become much easier.
4. Remove the lower control arm
If the control arm is still in the mounts, just grasp the arm tightly and pull the same in the outward direction. Move it up and down to remove it from the mounts.
So, this is how the lower control arm bolt is removed, just by following a few easy steps. This will surely come in handy in case your car breaks down or there happens to be a car emergency.
Why not just try your hand at the same and work on those stuck bolts yourself at home? Save time and a few bucks with this process today!
FAQs
Why is the lower control arm bolt stuck?
The lower control arm bolt can become stuck due to rust, corrosion, or overtightening. Exposure to harsh environmental conditions can also lead to seizing.
What tools are needed to remove a stuck lower control arm bolt?
You’ll typically need a breaker bar, penetrating oil, socket set, hammer, and potentially a torch for heat if the bolt is extremely stubborn. Safety gear such as gloves and eye protection, is essential.
Is it safe to apply heat to the bolt?
Using a torch to heat the bolt can be effective, but it must be done with caution. Ensure there are no flammable materials nearby, and avoid overheating to prevent damage to surrounding components.
What if the bolt breaks during removal?
If the bolt breaks, you may need to replace it and possibly repair or replace the control arm. This can be a more involved and costly repair.
Check out this video from EricTheCarGuy for dealing with the issue when a bolt seizes into the lower control arm bushing!
Conclusion
Removing a stuck lower control arm bolt can be a challenging but necessary task for vehicle maintenance and repair.
It requires the right tools, safety precautions, and patience. While many DIY enthusiasts can tackle this job successfully, it’s crucial to be aware of potential complications like bolt breakage and the need for subsequent repairs.
If you’re uncertain or uncomfortable with the process, seeking the assistance of a professional mechanic is always a wise choice to ensure your vehicle’s safety and performance.
Regular maintenance and addressing stuck bolts promptly can extend the lifespan of your vehicle’s suspension components and keep you safe on the road.