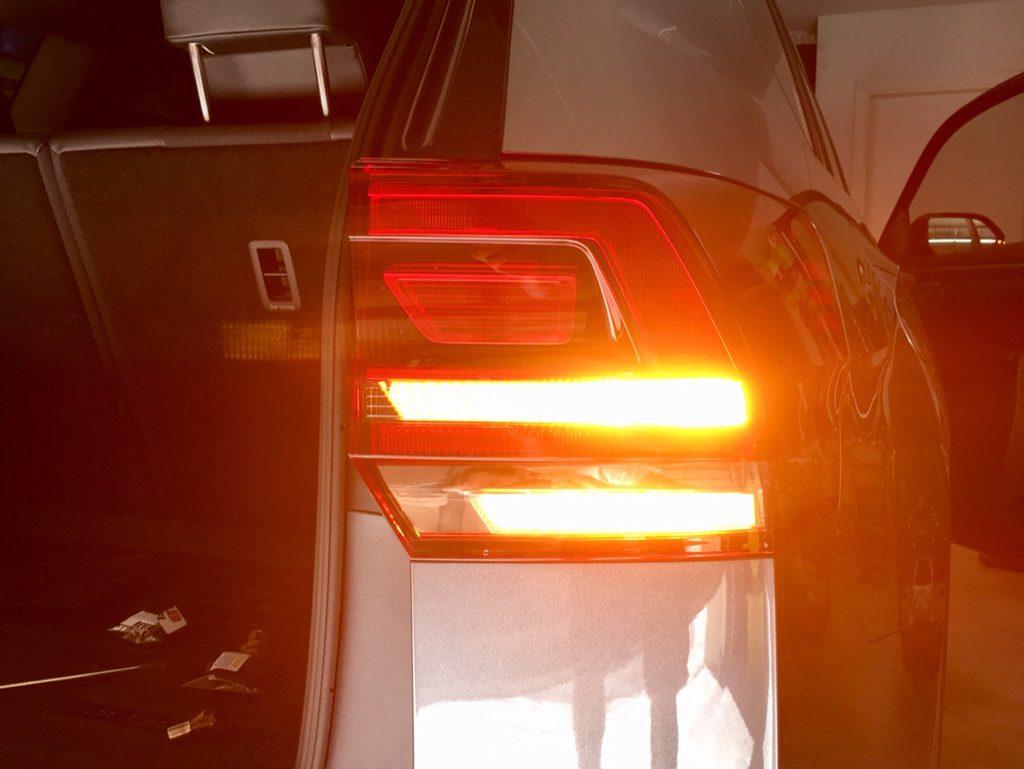
Whether broken, cracked, or even faded; driving around in a car with damaged taillights is an open invitation to an accident or traffic violation fine. The taillights are concealed units having light bulbs or LED; which help the driver to take a turn to the right or left smoothly. How many times we have seen a car in an accident, and noticed it had no taillights? The answer is too many times to keep a count. Unfortunately, the majority of car owners either ignores them or is unaware of their failure. It is the reason why learning how to replace tail light bulbs is an essential lesson for every vehicle owner.
Let us now understand the procedure for replacing a damaged or dead taillight. It will help you stay safe on the road and avoid any fines.
Contents
How to Replace Tail Light Bulbs
When it comes to the topic of tail light replacement; many car owners ignore it thinking the procedure requires an expert. However, all the process needs are some efforts and patience.
We recommend you instead search online to find the best maintenance tips for keeping the car taillights in the best of shape. With that, let us now look at how you can easily replace an old taillight with a new one without too much hassle.
Remove the Taillight Housing Unit
The taillights of the car in the shades of red, white, and yellow located behind a protection lens. Although these are at the same location in the majority of vehicles; still some might use different protection.
Now, you need to remove the lens housing from the car, which is usually held at a place by some head screws. At the same time, you need to keep the screws at someplace safe, as we don’t want to fix one problem and start another. It is the first step in how to replace tail light bulbs for car owners.

See More:
- Know Here Some Interesting Facts about the Car Tail Lights
- Reasons Why Tail Lights are working but Not Break Lights
Remove the Tail Light Housing
After you done removing the screws, you need to remove the entire light bulb assembly from its place. However, you would not be able to pull it all out, as there is wiring holding it in place; so we recommend not pulling it hard. The majority of light housing assemblies will come out, but some might have a removable outer covering. It is the second important step in knowing how to change tail light bulb on your car.
Remove the Bulb Holder
The bulbs in the taillight assembly receive support via a plug, which also keeps the assembly at one place. You need to find the connection between the wires and the light, which is the bulb holder to unscrew with only a quarter turn.
Remove the Old Bulb
Lastly, you will be able to see the light bulb. Now, you either pull the bulb straight or use quarter-turn the thing. Remove the damaged lamp, and replace it with a new one.

Endnote
Replacing a broken or damaged taillight is essential for not only preventing traffic fines but also to stay safe from accidents. With that said, we are sure that the information mentioned above would help you understand the process of how to replace tail light bulbs with ease.


