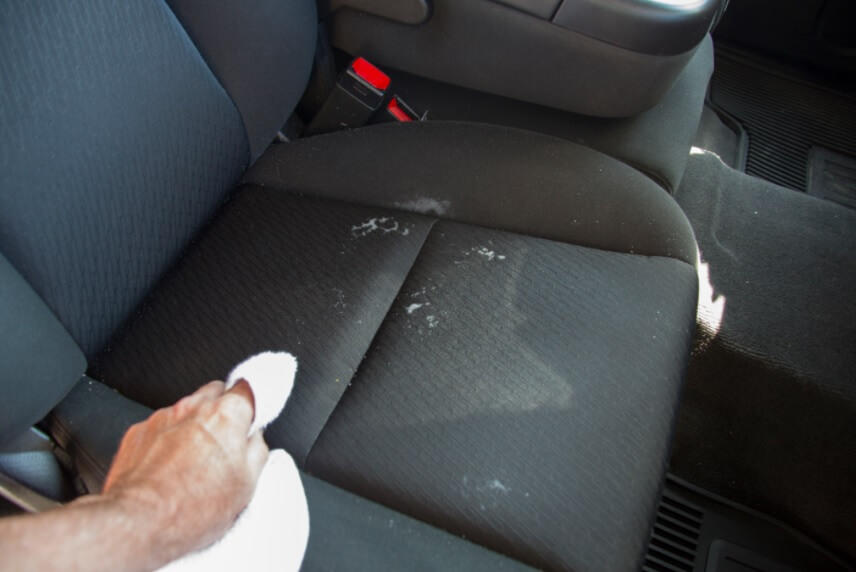
If you do not know how to get gum off car properly, it can damage the whole interior and even stick to clothes. This unfortunate circumstance will make the car and clothes dirty and create a very uncomfortable and messy feeling.
However, don’t worry too much. With easy-to-find and low-cost materials, car owners can remove gum from car seats at home with just some simple steps. You can apply them with no worries to ensure the aesthetics and hygiene of the car’s interior today.
Contents
How To Get Gum Off Car
Drivers on the road inside their car will have some free time and may feel bored or need something to keep busy and stay alert. Except for familiar hobbies like listening to music or the radio, one of the most popular activities among drivers is chewing gum. The taste and refreshing sensation the gum provide at any driving moment can be helpful for long-distance drivers. But overall, it still has unpredictable downsides.
Speaking of chewing gum, they were formerly mainly made from the sap of the chicle tree, a plant that grows popular in Central America. Nowadays, manufacturers have used petroleum-based polymers to make chewing gum to meet the demand while reducing costs and increasing quality. This synthetic material causes gum residue to stick to surfaces, making it difficult to remove. Meanwhile, many people have a habit of chewing gum when driving to prevent motion sickness or reduce stress.

But luckyly, according to the experience of many drivers, it is possible to remove gum from car seats with ice, nail polish remover containing acetone, or a degreaser. These cheap, easy-to-find ingredients have the effect of reducing the stickiness of the gum effectively.
Use ice
Using ice is one of the simple ways to get gum out of your car interior. With this method, you should prepare a plastic bag to put a few ice cubes in the bag before putting them on top of the gum. Do not place ice directly on the gum, as when the ice melts, the water will seep into the interior. If not dried, it may create a musty smell.
You only need to hold the ice pack on the gum until it hardens, then you can easily remove them. If the chewing gum residue still can’t be removed, keep applying ice. Once the residues are hardened enough, use your hands or a small knife to remove them. After getting the gum, you can wipe the entire place where the gum has stuck with a clean cloth. If the ice melts and moistens the interior, use a drier to avoid wasting time to clean mold out of car.
Use nail polish remover
Nail polish remover must be familiar to women. And they are also very effective in cleaning gum on car interiors. Before using nail polish remover on your carpet or furniture, you’ll need to test it on the fabric to make sure it won’t damage or discolor the items. First, you should test with a small corner of the place where you want to get rid of the gum to see if they affect the interior or not. Otherwise, just put nail polish remover on a clean cotton pad or cloth and place it on the gum. Do not pour nail polish remover directly on the gum because they have alcohol, so they evaporate very quickly and wet the interior.
Then, use a towel or cotton pad with nail polish remover to gently scrub the gum and remove the gum from your interior. Once all the gum has been removed, wipe away any remaining nail polish remover and gum.
Use adhesive tape
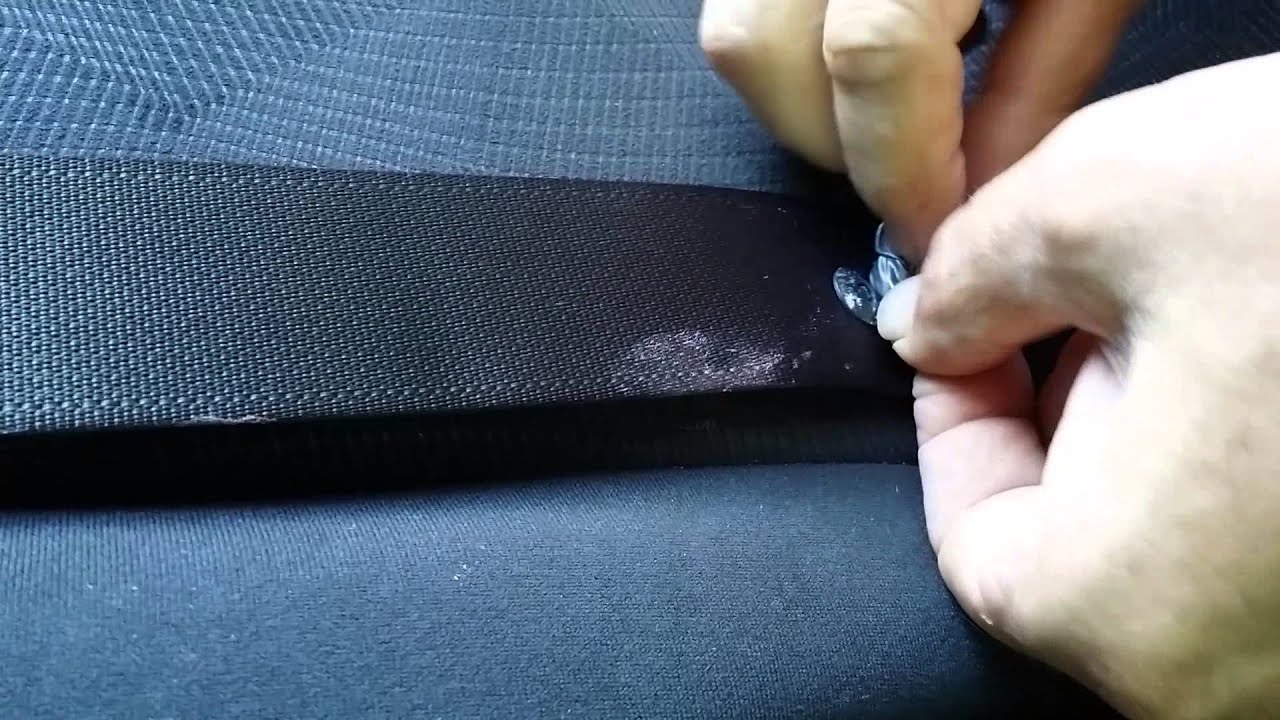
If you’re on the go and don’t have nail polish remover or ice, duct tape is another good idea to solve how to get gum off the car. Overall, it is the simplest way to clean gum from car interiors but is often used for small pieces of sticky gum that other methods may not be able to achieve.
If there’s a lot of gum you can’t remove using a regular piece of duct tape, an alternative method is to pull a tape strip off the roll large enough to wrap around your hand. With the tape side facing out, wrap the tape around your four unfolded fingers so you can use them to press the sticky portion into the gum pieces on the chair or mattress.
Adhesive tape is not only capable of cleaning gum but is also effective in getting the dirt off the car. In particular, small dirty debris such as hair or animal fur will be cleaned with the assistance of adhesive tape. With this method, your interior will not get wet and smell bad, but it is only ideal if small pieces of gum are stuck in your car.
Degreaser
Using a degreaser is also an effective way to remove gum residue. Spray the cleaner on a cloth or cotton pad and rub gently over the surface to reduce gum adhesion.
Remove chewing gum
After the gum residue has reduced adhesion due to the impact of ice or cleaning chemicals, use your hands or a blunt knife to get it off the surface gently. When practicing the method above, car owners should avoid scratching or perforating the chair’s surface, especially with high-grade leather seats.
>> Check now: Leather vs Cloth Seats – Which One Compliments Your Car Interiors?
For the remaining residue, cover with a cloth soaked in white vinegar for about 15 minutes. The acid in the vinegar will remove stubborn residue without affecting the chair material. However, the leather is easily damaged when in contact with water, so only use a damp cloth to handle the gum.
If vinegar does not give the desired effect, car owners can mix vinegar with warm water and liquid soap. Use a soft toothbrush or clean cloth dipped in the solution and gently scrub the surface. If this method still does not remove stubborn plaque, return to the ice application step and start over.
General Cleaning Method To Get Gum Off Car
After clearing the whole gum residue, you can now clean the car seats to wash away and deodorize the possibly smelly decontamination solutions. At this point, car owners should use suitable and effective cleaning solutions and methods depending on the seat material.
In the very end process of clearing gum off the car, if you do not have much time and want to conduct a quick cleaning, you can use a clean damp cloth to clean, then use a dryer to dry to avoid causing mold on the surface of the chair. These quick and easy steps can be applied when you clean your gum with a non-chemical cleaner like ice.
On the other hand, to avoid chemical substances or soap bubbles remaining in the chair, you should clean the chair in a more systematic and thorough order. And if you haven’t cleaned the cabin for a long time, this can also be a good opportunity to perform one large-scale cleaning.

Below will be a comprehensive car seat cleaning process for your reference if you are interested.
Cleaning felt car seats
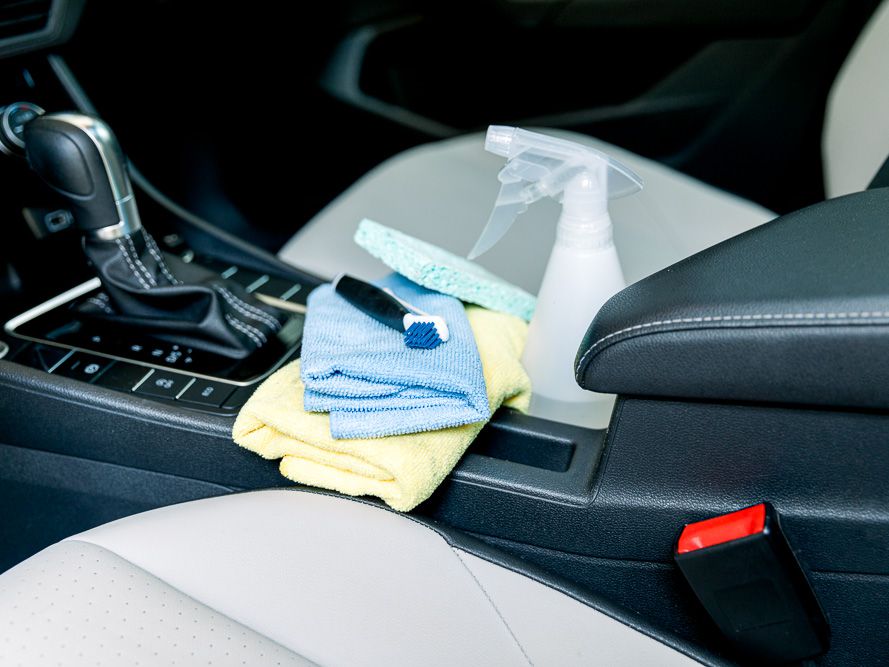
First, you will need to prepare a full range of specialized felt seat cleaning tools as follows:
- Microfiber soft dry towel
- Mini vacuum cleaner
- Specialized cleaning solution for felt car seats
- Clean water
Step to clean felt car seats effectively:
- Step 1. First, use a vacuum cleaner to suck up the dirt from the seat, especially in the stitches and seat slots, which often contain a lot of small food particles.
- Step 2. After vacuuming, use a felt seat cleaning solution to spray on the seat and take a soft cloth to wipe away the stains. If you use soap, mix soap with warm water, and use a damp sponge to rub on the seat. Care should be taken to make the chair foam but not wet with much water. Next, you can use a clean cloth dipped in cold water to wipe away the soap bubbles or foam. Repeat the above steps until you feel the car seat is clean enough.
- Step 3. Open all the car doors or place the car under the sun to help the car seat dry.
>> See More: How to Dry Out Car Interior in 4 Steps
Cleaning leather car seats
Some tools before cleaning car leather seats include:
- Vacuum cleaner.
- Soft microfiber cloth.
- Small brush with soft bristles for scrubbing small details.
- Detergent spray bottle.
Some notes before cleaning car leather seats:
- Get a suitable cleaning solution that does not contain chemicals to avoid damaging the skin. Solutions such as acetone, alcohol, and petroleum will help the leather seats remain soft, supple, and not deformed or degraded, causing loss of aesthetics.
- Observe before cleaning to identify and avoid contact of cleaning solution with holes or tears on the surface of the leather.
- Directly pouring large amounts of absorbent detergent into these areas can cause the leather surface to wrinkle, even affecting the durability of the foam padding inside. With parts that are torn or have holes in the surface, you should use less detergent to limit leaving a lot of dirt after cleaning.
- Spray cleaning solution on the cloth and wipe the surface instead of spraying directly on the seat to prevent liquid from running down the crevices, damaging the skin if not cleaned immediately.
- Use a soft bristle brush and soft microfiber towel when cleaning leather car seats to avoid scratching the surface or causing wear. Cleaners can use ponytail brushes and contoured handles for a firmer grip.
- Prioritize cleaning when there is still detergent on the chair to keep the leather seats soft, not scratched, or changed color.
Steps to clean leather seats
Determining the condition of the leather seats helps you come up with the right cleaning solution. To clean leather car seats effectively, you can note the following steps:
- Step 1. Check the condition of the seat surface, including holes and tears to prevent detergent from penetrating inside, causing the leather surface to be wrinkled.
- Step 2. Vacuum the dirt, especially in small crevices. Remove dust stains with a vacuum cleaner or air compressor to make the cleaning process faster.
- Step 3. Use detergent to clean car leather seats by spraying the solution directly on a microfiber towel and wiping the seats. Next, take a soft-bristled brush and gently rub it to avoid damaging the skin surface.
- Step 4. When the skin begins to foam to push the dirt up, use a dry microfiber towel to wipe the mixture. Next, apply a high-quality, pH-neutral balm that does not contain petroleum distillates, silicones, or waxes to the surface of the chair.
In general, cleaning after removing gum residue from leather and felt car seats is not too different. You only need to pay attention to choosing a suitable cleaning solution, take note of a few steps after removing dirt, and everything will be fine.
Wrapping Up On How To Get Gum Off Car
You can consider chewing gum as one of the cabin’s enemies because the consequences it leaves when it drops and sticks to objects are pretty unpredictable and troublesome. Of course, the gum cleaning process won’t take up too much of your time as long as you understand it. However, no one wants that to happen on a hot summer day or while you are enjoying a refreshing trip. Remind yourself and those around you to be careful when chewing gum in the car. And don’t forget to learn how to get gum off car quickly to prevent and deal with unexpected situations.
For more car maintenance tips, follow Car From Japan.


