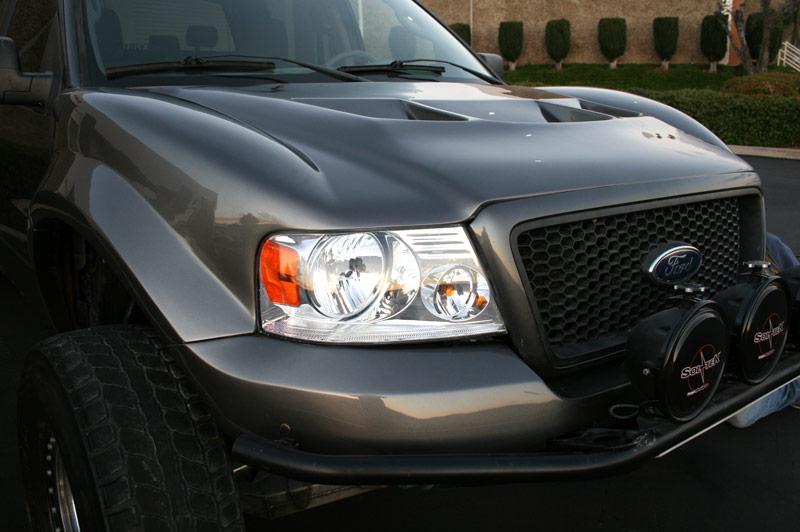
Hazy car headlights are not good news. It’s a safety issue as these diminish our vision during nighttime driving, which may lead to accidents. Besides, these also affect the aesthetic of your vehicle and decrease its value. Well, there’s nothing to be worried about. Several ways are there to show you how to restore headlights permanently, and these are so easy that even an amateur can pull the tasks off!
Contents
Signs of Car Headlight Failure
Car headlights are known to be one of the most indispensable lighting components in cars. In addition, the automotive lighting system is designed with a variety of tools to not only illuminate the lack of light at night, but the car headlights also have the task of alerting the vehicle when it engages the transportation. So before we move to How to restore headlights permanently, we will discuss the signs of car headlight failure first.
So here we will show some signs of failure of the car headlights that you should know for any kind of situation.
- When flashing headlights appear: The possibility of multiple headlights or blinking due to contact blinds and light switches is likely. Thus, the ability to short circuit inside the phase, the core, or the wiring to the battery.
- Incandescent light: Diffused ability reflector or bulb stuck in this case needs to be cleaned to ensure optimum illumination.
- The headlight is not lit: The lamp is not bright enough that the generator can rise too fast or operate too long. Or maybe the battery voltage regulator is out of power.
- A light does not appear: In case the lamp is not lit, a headlight can burn and need replacing.
Temporary Fixes in Restoring Headlights
Who doesn’t know about the toothpaste fix? C’mon! A Google search will pop up scores of pages suggesting to make your headlights clean with a mix of baking soda and toothpaste. It’s a cheap and easy solution that works but won’t last more than a couple of months or even less.
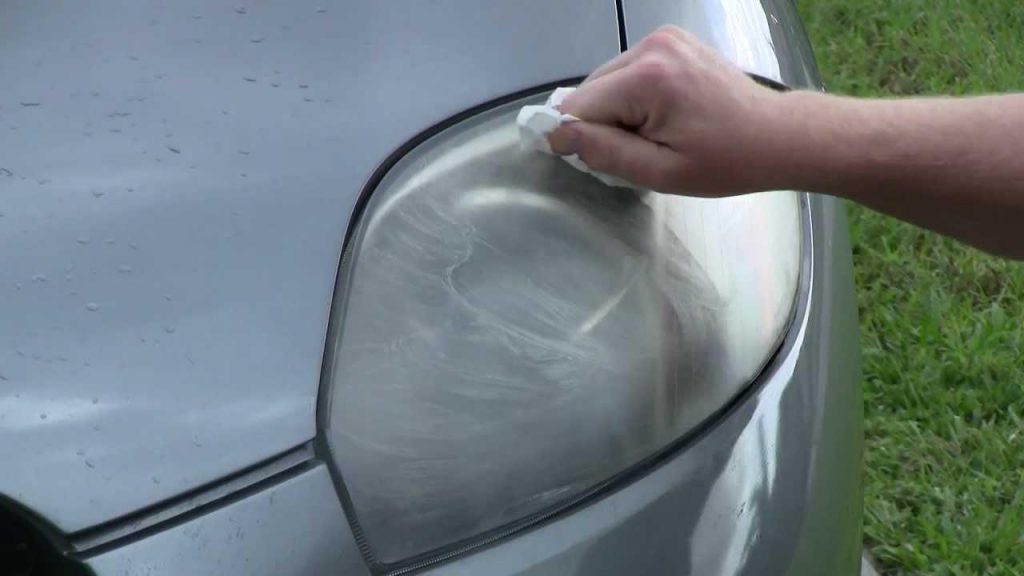
Another solution is to blend baking soda in distilled white vinegar and rub that concoction onto the headlights. It will also properly clean the lights but won’t last more than a few months. For more details, you can refer temporary ways below:
- Cleaning: Over time, headlights can become hazy or yellowed due to oxidation. Cleaning them thoroughly can improve their appearance. You can try using a headlight restoration kit, which often includes abrasive compounds and polishing pads designed to remove the haze. Follow the instructions provided with the kit for the best results.
- Toothpaste: Surprisingly, toothpaste can be used as a temporary abrasive to clean headlights. Apply a small amount of toothpaste to a soft cloth or sponge and rub it in a circular motion on the headlight lens. Rinse with water and repeat if necessary. This method can help remove some of the haze and improve clarity temporarily.
How To Restore Headlights Permanently?
This DIY project won’t take more than a day. It’s super easy, inexpensive, and is likely to last a few years! You won’t require to remove the lights (though you can if you want to) or do any complicated job.
Tools you need to restore headlights
- A can of UV-resistant clear coat
- Rubbing alcohol
- A spray bottle of water
- Sandpaper
- Tape
- Garbage bags or plastic sheets
- Scissors
Read more:
How to restore headlights
This simple DIY project will help you to make your headlights clean in a permanent way.
- Tape around the headlights so that you don’t accidentally scratch the body paint. Now, start the sanding but spray water on the surface to lubricate it. Start with 600-grit sandpaper, but 400-grit would be ideal if the lights are too dirty.
- Sand in a circular motion and keep spraying water with another hand. After that, horizontally use the sandpaper. If you start with the 400-grit, repeat this process with the 600-grit sandpaper.
This video will explain the whole process elaborately.
- When you are done, rinse the surface with water and then dry it with a paper towel to get rid of the sanded-off plastic components. Your next step is to rub the headlights with a piece of ultra-fine 2000-grit sandpaper. Rewash the lights after the sanding and use a paper towel to dry and clean it.
- Now, pour some rubbing alcohol onto the paper towel and rub it on the light. It’s the final cleaning step that will remove any oil residue (which may have been transferred from your hands or other sources).
- Now, the time has come to apply the clear coat. However, don’t forget to cover the bonnet, bumper, and wings with a plastic sheet or garbage bag before spraying the solution. You have to apply three to four layers of coats with five minutes of an interval between each time.
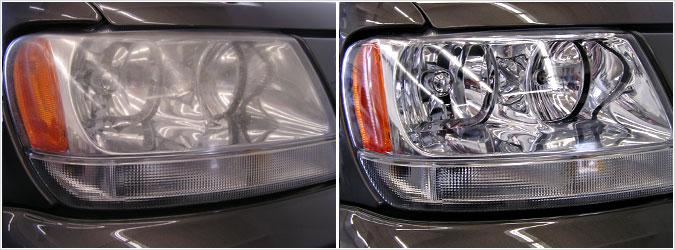
- Let the UV coat settle for a day before taking off the plastic sheets and tapes. You can leave it as it is or wet sand or a super-fine 3000-grit sandpaper. The process will be similar to the second step mentioned above.
- Finally, you may want to apply some wax to the lights. Scrape some car wax on a microfiber towel and rub it on the surface. You should choose the best RV wax for fiberglass for better efficiency. After that, use another dry, clean towel to wipe nicely.
Using Headlight Experiences
So after we showed the specific way How to restore headlights permanently, the following experiences in using headlights will help you to ensure safety while driving.
1. For vehicles that do not have a headlight switch, when traveling during the day you should switch to flashlight mode or switch to fog mode so that the battery can be charged better.
2. On the freeway, if there is a high divider beyond the car’s lamp range, use a headlamp for better visibility. The divider prevents light from flowing between the two sides, so you will not have problems with the headlights.
3. In highways with low divisions, or with only solid lines or dashed lines, use light bulbs to move them, avoiding glare for vehicles moving in the opposite direction. If the road is open, turn on the headlights to see, but when the car’s lights go in the opposite direction, switch to flashlight mode within 150 meters.
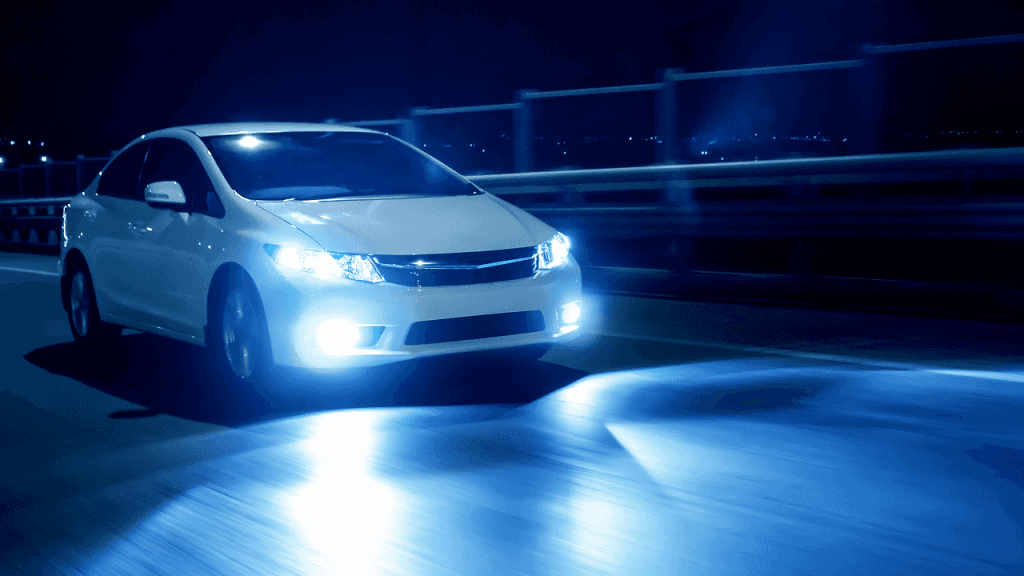
4. Do not use headlights when the car, because if the opposite vehicle forgets to turn off the headlights, the two vehicles at the same time will make the two drivers do not see the road, and the two cars will crash into each other. If you want to cross the car, do not stick the tail with the headlights, so maintain a safe distance and rock the lamp to signal over.
5. When going on the road or needing to pass or reminding other vehicles to lower the headlights, the headlights should be used in the open type. In cars, the headlights sometimes work better than horn cars, as cars on the move are usually closed, and difficult to hear the sound of the horn. While some gleams of light come into the rearview mirror, the driver easily recognizes the car behind.
Final word, congratulations! You have completed the How to Restore Headlights Permanently project. Enjoy the crystal clear lights with bright illumination. And if you are interested in our

