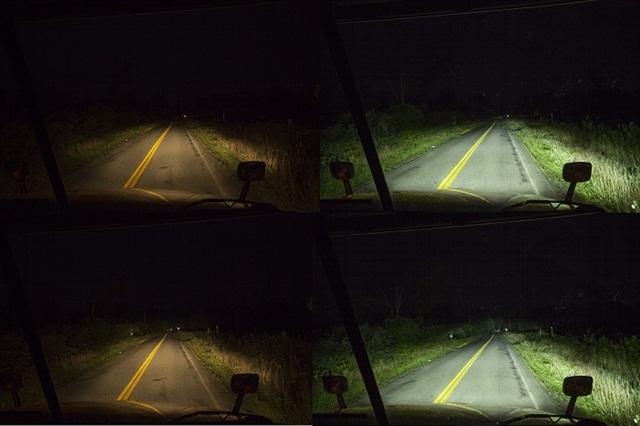
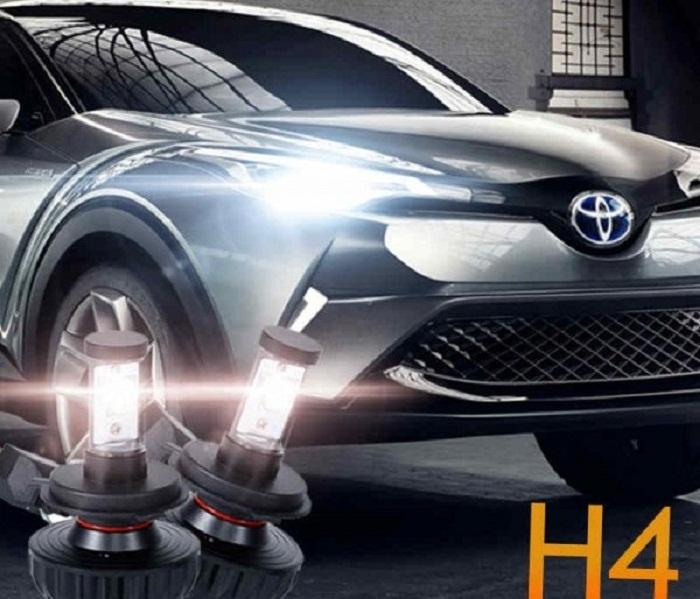
LED headlights project more brightness than regular lights. They are indeed nearly three to four times brighter than the factory halogen bulbs. You’ll find them particularly comfortable while driving in dark streets because they cast sufficient lights on the road, making the roads comparatively safer to drive. However, you’ll need to do LED headlight conversion if your need to change the halogen headlights of your car, pickup, or motorcycle.
All the vehicles with factory-fitted halogen headlight bulbs are suitable for LED conversion.
Supplies Needed for LED Headlight Conversion
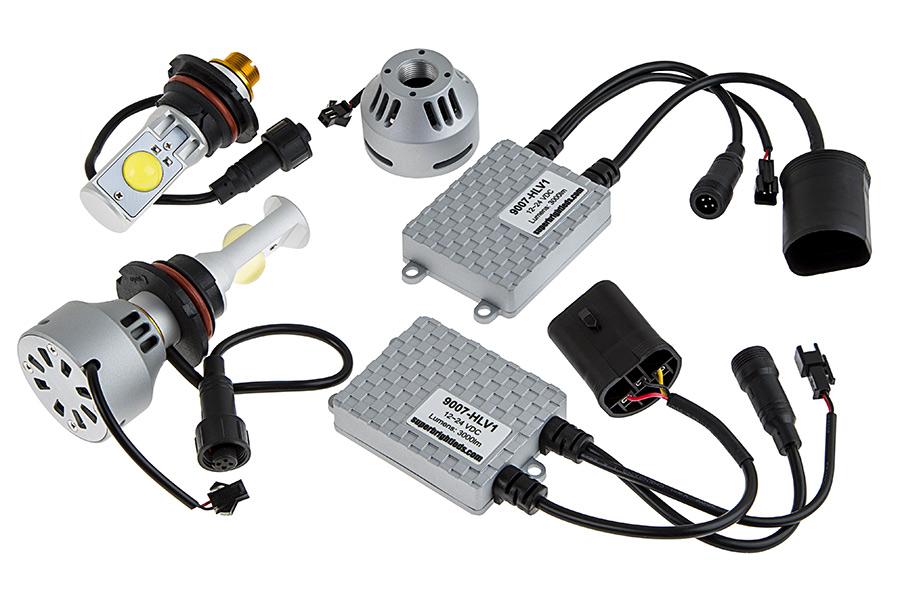
- An LED conversion kit
- A screwdriver
- Wire crimpers
- Wire cutters

Directions for LED Headlight Conversion
Before starting the installation process, you have to take some photos of the halogen headlights. Place your car at a generous distance from your garage door, switch on the headlights, and take a couple of picture of the reflection of lights on the door. They will help you compare the difference between two lighting options.
Park your car in a suitable place, turn the engine off, and remove the key from the ignition. Let’s check out how you can do the LED headlight conversion by yourself:
Find out the headlights location. Pop up your car’s hood and locate the position of the halogen lights. Now, gently unplug the plastic wiring connector from the bulbs. You may need a flat screwdriver to do the unplugging.
Remove the bulbs from the socket. Some bulb types may have a metal clip attached to them. So, you need to remove that clip first. Then, just turn the bulbs anti-clockwise to detach them from their sockets.
Install the LED headlights. Put the LED bulbs in the headlight socket and rotate them clockwise. Be careful not to touch the bulbs with your bare hands while securing them to the socket.
Secure the ballast wiring. Now, it’s time for attaching to the LED ballast wiring. The ballast has two ends. So, one end will be inserted into the original wiring harness, and the other end will be attached to the newly installed LED bulbs.
Correct the alignment. Switch on the engine and turn on the headlights to check if they are in the correct positions. It’s important because you definitely don’t want to blind other drivers with your bright, new headlights. Adjust the headlight alignment screws to set the lights at the proper position.

Secure the ballasts. It’s the last step of your DIY LED headlight conversion. You can use either plastic zip ties or double-sided tape for securing the ballasts. However, the ballasts are often exposed to excessive heat, moisture, and vibration. So, if you want to keep them protected, mount and secure them on the back of the headlight housing.
Congrats! You have successfully done your LED headlight conversion. Now, go for a test drive to see how the new pair of headlights work.


How to get those led bulbs.?
Sr, we have no idea about it. Btw, thank u for asking us
Thanks for your new technology how do I get it? I like them advise me please
Thank u for your interested in our article. We will search more information about it and have updates. Please keep following us