Both LED and HID lights are better options than halogen headlights. They are cheaper, brighter, and consume less power. We’ve already covered how to do DIY LED headlight conversion if you want to change your factory-installed halogen lights. This time, we’re going to show you the process of installing HID headlights.
HID headlights produce bright lights and offer more visibility while driving at night. Their bigger size also makes them more suitable as headlights, fog lights, or separate spotlights than the comparatively smaller LED lights.
Installing aftermarket HID headlights is pretty straightforward. Let’s check out the following procedures:
Supplies for Installing HID Headlights
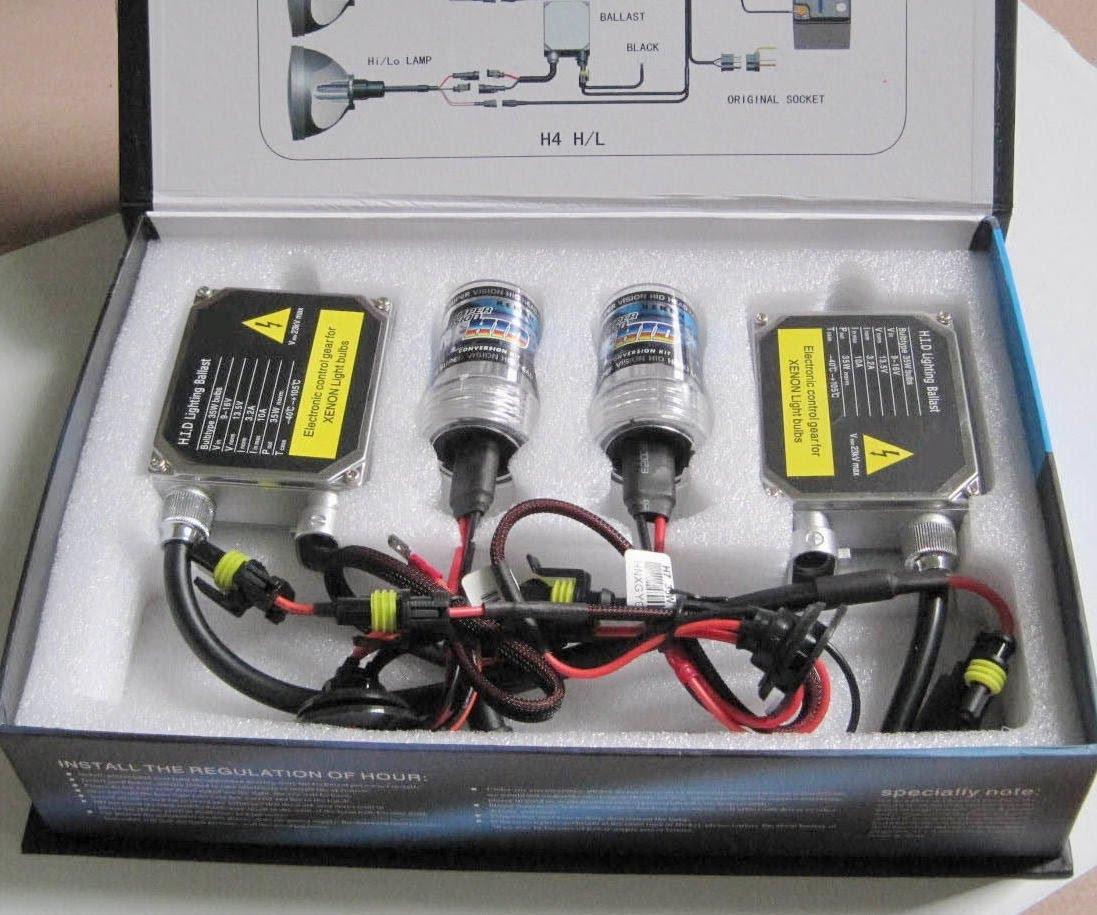
- An HID headlights kit
- A screwdriver
- Battery terminal wrench
- Electrical tape
- Cable ties

Directions for Installing HID Headlights
Mount the ballasts. The first step is to mount the ballasts inside the vehicle. The HID kit is supposed to come with a set of screws and brackets for mounting the ballasts on the frame of your car.
You can also use zip ties for the attachment if you think using screws and brackets will make any physical damage to the body of the vehicle in any way.
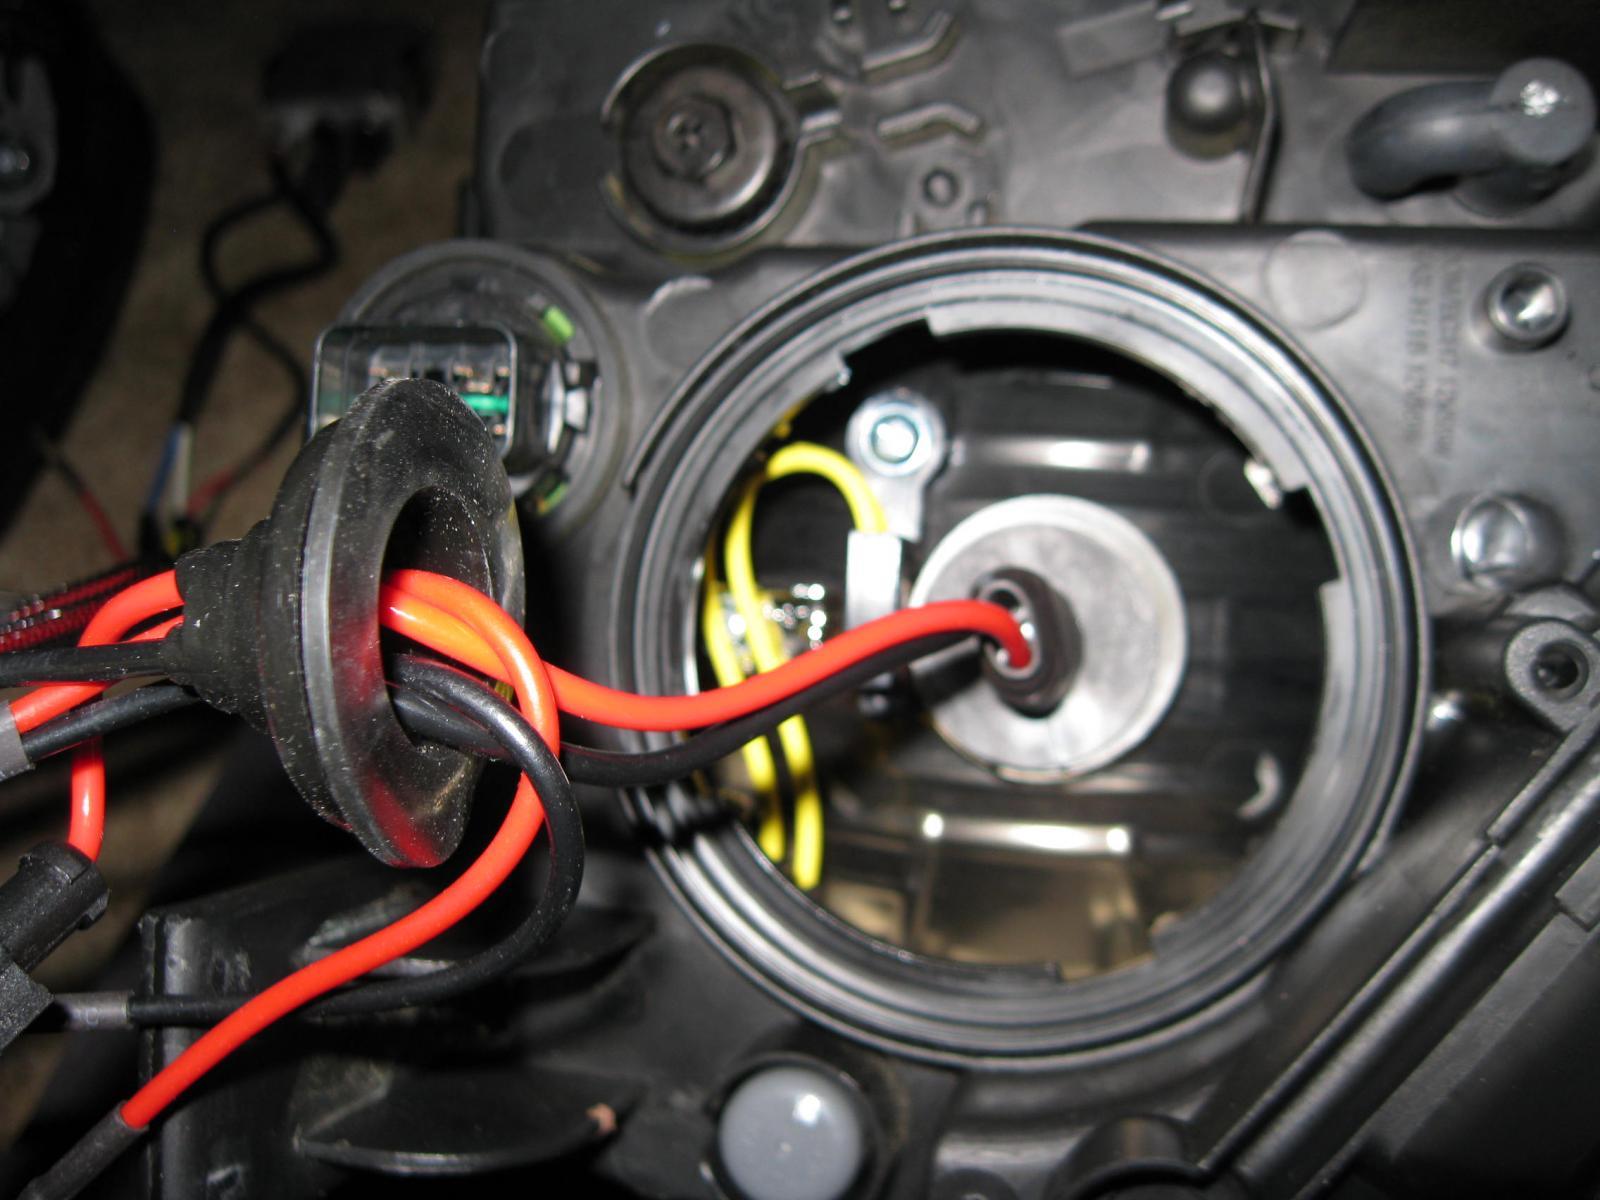
Insert the HID bulbs. The next step is to insert the bulbs into the headlight housing. Remember not to touch the bare bulbs with your greasy finger as the grease can ruin them.
Give the battery connection. The HID kit comes with a blue HID battery connector. Your next task is to attach this connector to the car’s original battery connector. Attaching one connector for two bulbs will be enough because it just does the job of transmitting the headlight signal to the HID kit.
Set up the connection between bulbs and ballasts. The kit comes with wires that you have to use for connecting both the bulbs to the ballasts. The next step is to attach the ground cables to the car’s frame, which necessary for the kit to work properly.

Secure the wires. You need to secure the wires running from one bulb to the other so that they don’t come in the way of the closing hood. Tuck them with zip ties along the frame above the radiator.
Attach the relay. Connect the relay to the positive battery terminal in the last step of this installation process. However, don’t remove the terminal completely as it will increase complications. You can attach the relay just by removing the bolt and then re-attaching the bolt after it’s done.
So, this is the easy way to install aftermarket HID headlights. However, the installation process can be different depending on the type and model of your vehicle and the type of the aftermarket HID headlights.
Purchase a kit that is compatible with your vehicle’s model and follow the instruction manual that comes with the kit.


