
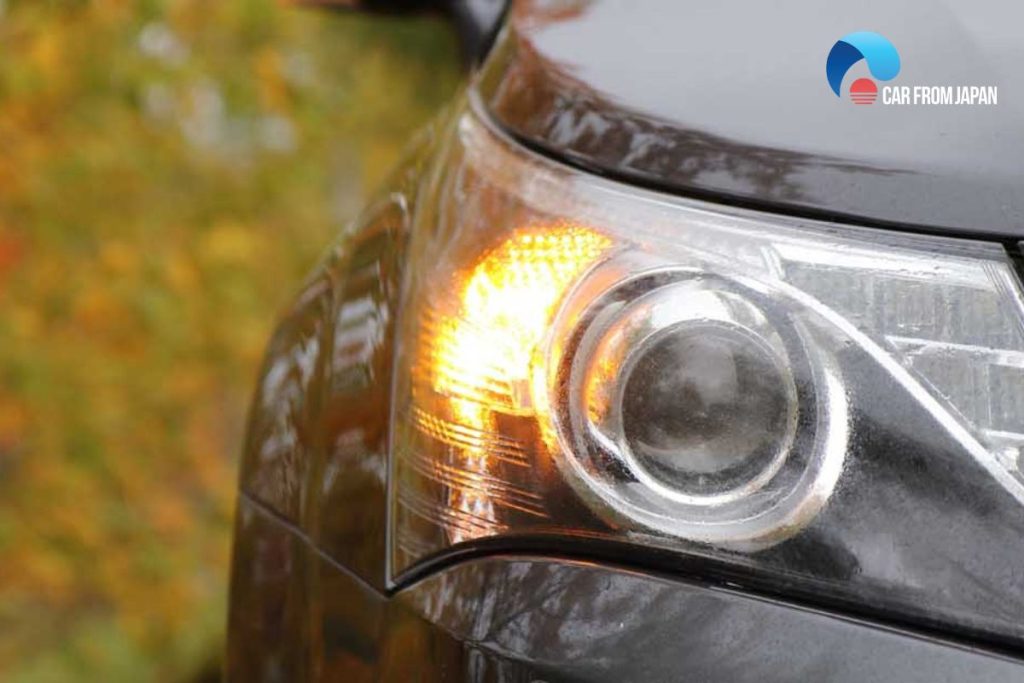
Did you know that most new cars come with automatic headlights? If your car is not equipped with this feature, it can be difficult to drive at night.
Automatic headlights are designed in a way that they turn on when it’s dark outside and automatically switch off when the sun comes up.
Let’s figure out how to add these lights onto an older vehicle, so you can finally get some relief from driving in the dark!
Contents
- Installing Automatic Headlights in an Old Car
- Common Automatic Headlights Problems
- FAQs on Automatic Headlights on Older Cars
- Will adding automatic headlights drain my battery faster in an older car?
- How do automatic headlight systems work without a modern ECU?
- Are there analog versions of automatic headlight systems for older cars?
- Can automatic headlights be integrated with DRLs (Daytime Running Lights) on older vehicles?
- Do automatic headlights work well with older sealed beam headlamps?
- Can faulty ground wires affect automatic headlight function in older cars?
- Conclusion
Installing Automatic Headlights in an Old Car
Older cars may not have automatic headlights, but that doesn’t mean you can’t upgrade them. Installing automatic headlight bulbs into an older car is quick and easy to do with the right tools.
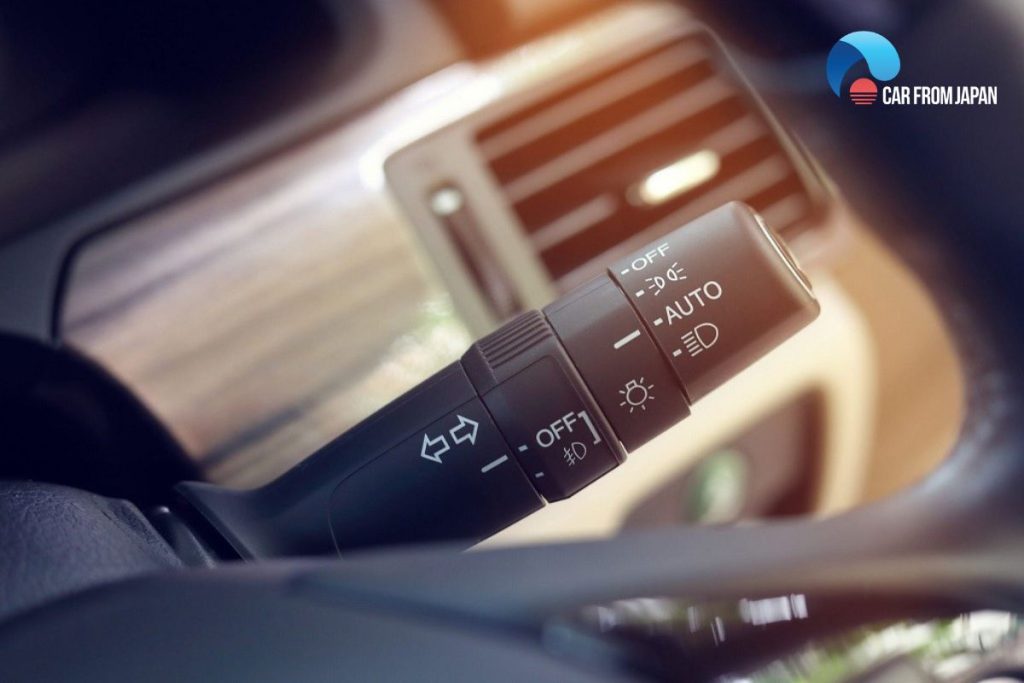
These lights work when a photoelectric sensor is around the windshield area. The sensor alerts a control unit about the lighting situation outside. Depending on that message, the control unit turns on and off the headlights.
There are plenty of aftermarket automatic headlight kits that make it easier to install this setup into an old car.
A good kit will be around $50 and you can set it up at home to keep the cost down. Let’s walk you through how it’s done in just a few steps!
Set the photoelectric sensor up
You have to find a suitable spot that gets the most amount of sunlight. It could be the windshield’s base or near the rearview mirror. The sensor works when it’s exposed to sunlight.
Once you have the right location, attach the sensor using some double-sided tape or even a bit of adhesive glue if needed. If it comes with a mounting stand, then you can just use that.
Mount the control unit
You have to find a suitable spot and it could be the center console or underneath the dashboard. The backside of the glove compartment is also a good place for mounting this control unit.
For installation, use the mounting hardware that comes with the kit. You can also use glue or double-sided tape.
Do the wiring
You will need to wire both the sensor and control unit. Wire them with power and ground cables and crimp tightly.
The connections have to be tidy and safe as much as possible. Then, do the wiring between the control unit and the factory light switch.
If you are doing this without any expert’s help, don’t forget to take help from the car’s wiring diagram. Otherwise, there could be a mistake in joining the wires.
See More: A List of The Best Headlights For Driving At Night
Test the lights
The last step is to test the automatic headlights. With the lights turned on, place your hand over the photoelectric sensor and make sure it turns off when you block out sunlight.
If everything works as it should, then congratulations are in order!
Common Automatic Headlights Problems
Encountering problems after installing your automatic headlights? Don’t worry, troubleshooting is often straightforward.
Here are the most common issues you might face!
Headlights don’t turn on/off automatically
If your newly installed automatic headlights refuse to cooperate, the first step is to check the fuse. Locate the fuse related to the automatic headlight kit (usually indicated in the kit’s instructions) and ensure it hasn’t blown.
Replace it with a fuse of the correct amperage if necessary. Next, meticulously inspect all the wiring connections.
Ensure they are secure, properly crimped, and free from corrosion. A loose or poorly made connection can disrupt the flow of electricity.
Beyond the electrical connections, examine the placement of the light sensor (if your kit uses one).
Make sure it’s positioned correctly and isn’t obstructed by anything that could interfere with its light detection. Sometimes, simply repositioning the sensor can resolve the issue.
If you’ve checked these common culprits and the headlights still aren’t functioning automatically, consult the kit’s troubleshooting guide for more specific advice related to your particular system.
Headlights flicker or stay on dimly
Flickering or dimly lit headlights after installing an automatic system can indicate a few different problems.
A common issue is a weak or inconsistent power supply. Double-check the connection to the power source, ensuring it’s securely attached to a suitable 12V supply.
A loose connection or a wire tapped into a circuit that doesn’t provide sufficient current can cause flickering or dimness.
Another possibility is a problem with the grounding connection. A poor ground can cause a variety of electrical gremlins, including fluctuating headlight brightness.
Inspect the ground wire and ensure it’s firmly connected to a clean, unpainted metal surface on the car’s chassis. If the ground connection seems sound, the problem might lie within the automatic headlight module itself.
In this case, consulting the manufacturer’s instructions or seeking professional assistance is recommended.
FAQs on Automatic Headlights on Older Cars
Will adding automatic headlights drain my battery faster in an older car?
Not necessarily. Properly installed systems draw minimal power.
However, if wired incorrectly or combined with aging electrical systems, they could contribute to parasitic drain issues over time.
How do automatic headlight systems work without a modern ECU?
Retrofit kits for older cars often operate independently of the ECU.
They rely on a standalone light sensor and a control relay to switch headlights on and off based on ambient light.
Are there analog versions of automatic headlight systems for older cars?
Yes! Before digital ECUs, analog photocell-based systems were used in some 1970s–1980s luxury cars like Cadillacs and Lincolns.
These can be replicated or restored for an era-authentic upgrade.
Can automatic headlights be integrated with DRLs (Daytime Running Lights) on older vehicles?
Absolutely. Some kits offer dual functions, switching between DRLs and full headlights depending on light levels.
This can modernize your vehicle without compromising classic styling.
Do automatic headlights work well with older sealed beam headlamps?
Yes, though brightness and response time may differ from modern LEDs or halogens.
The system simply controls the power to the lights; it doesn’t change their inherent performance.
Can faulty ground wires affect automatic headlight function in older cars?
Yes, poor grounding is a common issue in older vehicles and can cause flickering or failure of automatic lighting systems. Always check grounds during installation or troubleshooting.
Check out this video from Technology Connections to learn more about old car headlights!
Conclusion
If you are worried about whether it is possible to add automatic headlights onto your old car, don’t be.
It’s a quick process that can be done in under an hour if you have all the right equipment and tools close by. Have fun with your newfound lighting system!