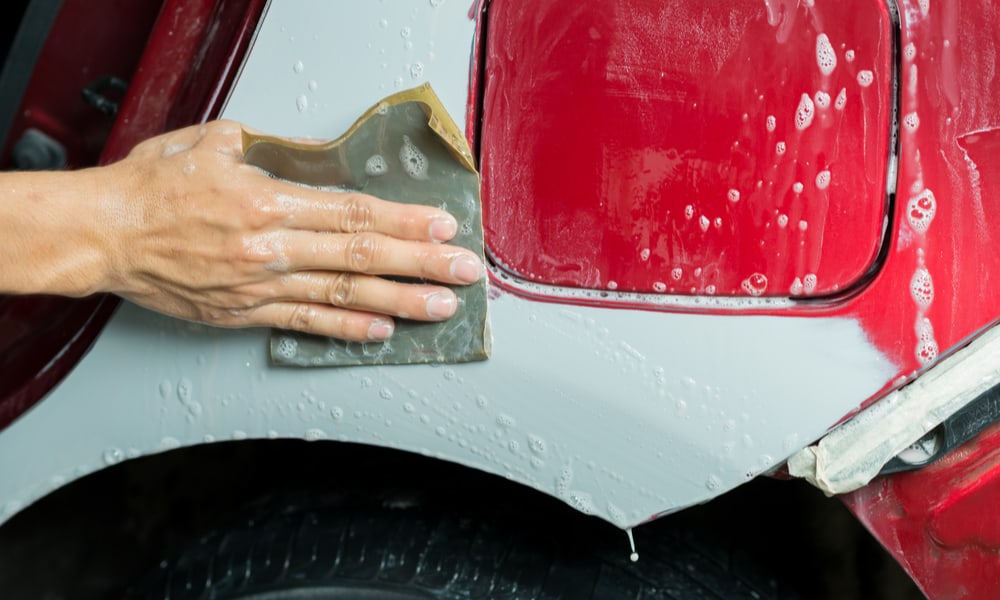
If you have a new car paint and worry about something called “orange peel” or just want to provide an even finish to your car. Wet sanding is a solution. Let us introduce you to how to wet sand a car at home. But first, do you know what is wet sanding a car?
Contents
- What Is Wet Sanding A Car?
- How To Choose Sandpaper?
- How To Wet Sand A Car?
- Step 1: Prepare the location and car for the wet sanding
- Step 2: Prepare Sandpaper And Cleaning Liquid
- Step 3: Soak A Half Of Each Sheet Of Sandpaper For Five Minutes
- Step 4: Start To Wet sand Your Car
- Step 5: Move The Sandpaper In Multi Direction
- Step 6: Repeat The Process
- Step 7: Rinse The Sand Area
- Step 8: Time for Buffer and Rubbing Compound To Polish
- Step 9: Apply The Wax
- The Benefit Of wet Sanding A Car
- When You Should Not Wet sand Your Car
- Conclusion
What Is Wet Sanding A Car?
As the development of technology, the world, people are non stop seeking for the greatest rather than the goodness. Similar to the car, dissatisfied with the good enough, people now strive for the perfect car paint. That’s why wet sanding was born. It helps to remove the deep scratches and remove any debris that may have fallen on a fresh paint job. Wet-sanding is also highly effective in removing any orange peel effect from auto paint and can transform the entire appearance of your vehicle.
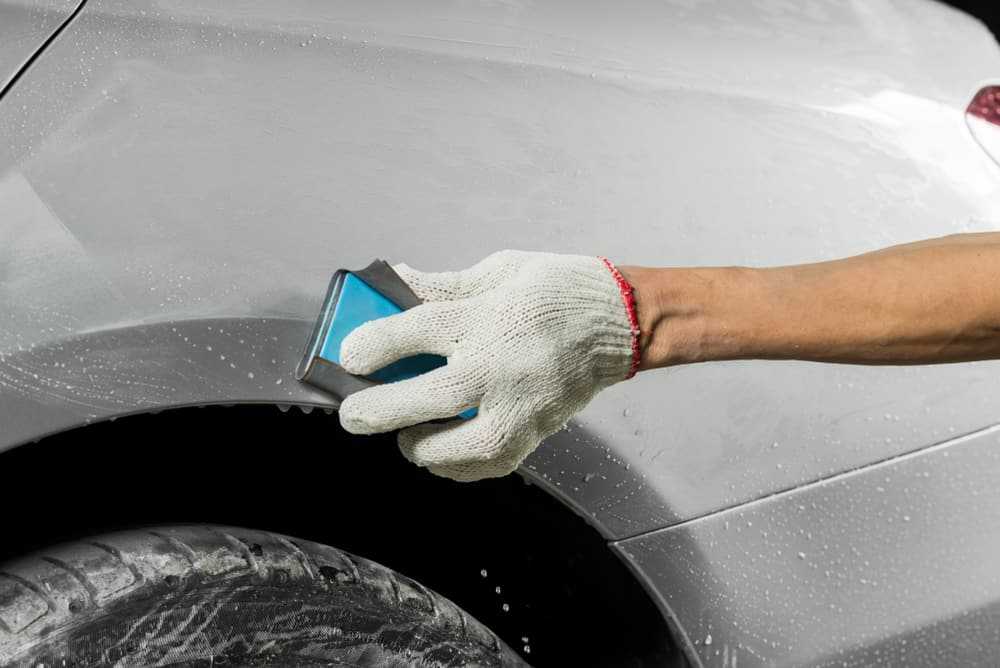
Therefore it is important to give wet sanding an definition before going to know how to wet sand a car by hand.
Wet sanding a car is the process of sanding away some part of the surface of a car by using an abrasive product. The abrasive product involves peeling away part of the surface of a car. It is impossible to do it with the utmost care and attention. But you need to distinguish between the wet sanding and the polishing. When you polish a surface, you are using abrasive particles on the surface in a rotary motion. The abrasive element is moving over the surface of the car locally. On the other hand, the wet sanding will try to cut away the tops of the area so if you work on the uneven surface, it will remove the top before the flat area.
That is all about the definition of wet sanding a car. Now, let’s move on to choosing the right sandpaper.
How To Choose Sandpaper?
The first important step of how to wet sand a car is choosing the right sand sandpaper. It’s important. That’s why you should put more attention on choosing sandpaper.
There are a lot of sandpaper types in the market so choosing the right one for your car is needed. Otherwise, you will damage the paint rather than make a great paint layer. Firstly, check your car problem. If your car has a coat of rough primer, a 400 grit sandpaper is a good starting point. 400 grit sandpaper is coarse enough to remove any bumps on the surface. After that, switch into a 600 grits sandpaper as you paint the car.
In another case, where you wet sand a finished paint job, a 400 grits sandpaper is not a bad choice. In this case, you should use milder sand paper such as 800 grits or 1000 grits level. Do not ruin your car by choosing wrong sandpaper. Pay attention when doing this job since a mistake of choosing wrong sandpaper will lead to a really damaged car. From now on, let’s talk about how to wet sand a car.
How To Wet Sand A Car?
Step 1: Prepare the location and car for the wet sanding
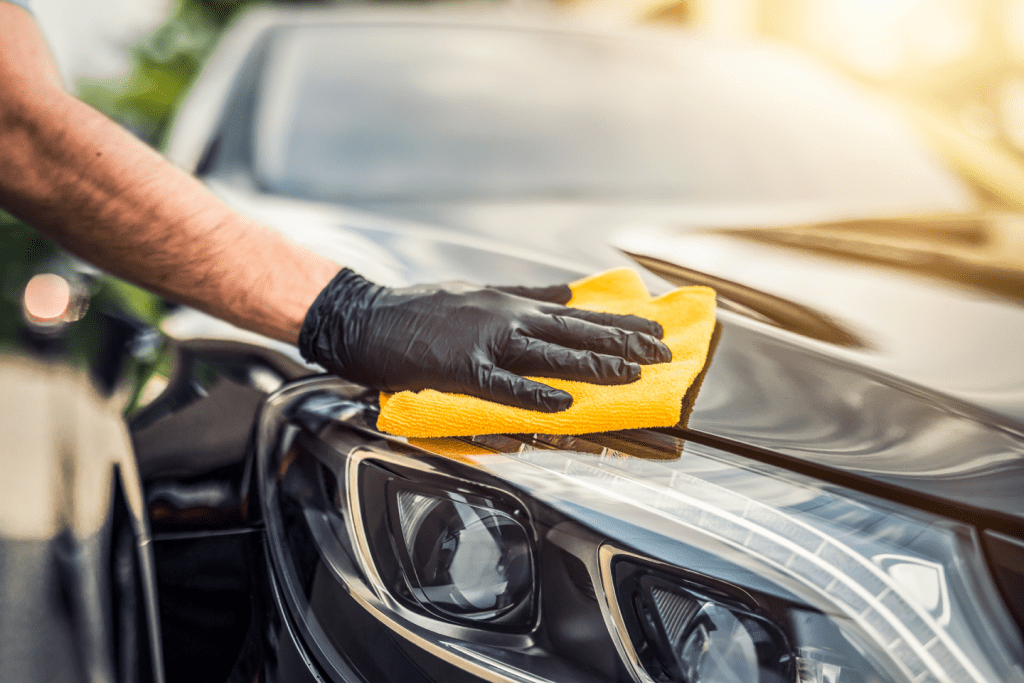
Finding a good location is the important step of how to wet sand car paint. A good location is defined as a place where you can rinse the car since the water will remove some paint and it is likely to stain the floor. The part you are going to wet sand needs to be cleaned by water or with soap. It will give a clear look so you easily get in the car part. Since you are going to use the sandpaper. Do not let any sand or dust get stuck into the sandpaper cause more scratches on the paint.
Step 2: Prepare Sandpaper And Cleaning Liquid
Take the sandpaper out of the package and cut it into small pieces. It depends on the car part where you want to wet sand. At the same time, prepare a bucket of water. Add some automotive soap into it but avoid to use the automotive soap that also serves as a wax or polish. If you do not have automotive soap you can use dish soap. Wet sanding requires a lubricant to prevent the sandpaper from burning the paint.
Step 3: Soak A Half Of Each Sheet Of Sandpaper For Five Minutes
The third step of how to wet sand a car is soak the sandpaper for 5 minutes. Place the sandpaper sheets along the edge of the bucket so half of each sheet is soaking in the soapy water. Meanwhile the halves that are soaking in the water should be completely saturated in the soapy water, the dry part will help you ro attach the sandpaper securely to your tool of choice.
Step 4: Start To Wet sand Your Car
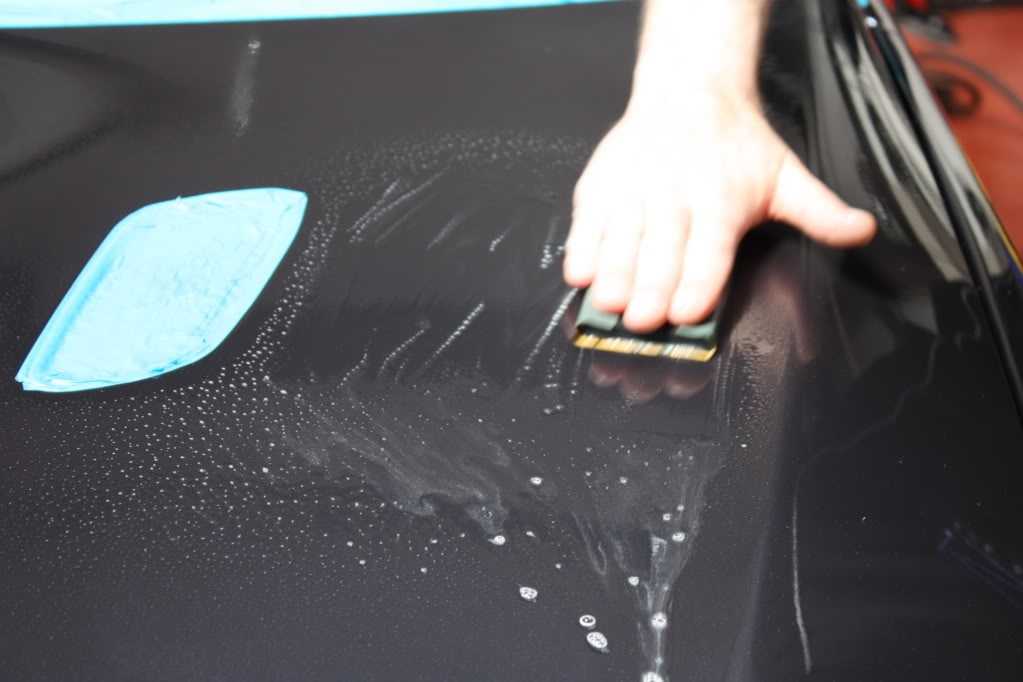
Wet sanding your car by hand is not a good choice. You should use a sanding squeegee or pad. Put the sandpaper on the sand pad, it will prevent the inconsistent finish. Now, start to sand gently in circular motions and a light of pressure. After a few circles, check the paint surface again. If your sanding does not seem to be affecting the clear coat, apply a little more pressure so it will. If you put too much pressure on it, you will scratch your car. Gently sanding the car will reduce blemishes and will reduce the amount of energy you will expend.
Step 5: Move The Sandpaper In Multi Direction
So now, it is time for moving the sandpaper around. So it is good to switch the direction of your circular motions from time to time so you can catch the different angles. By that, the entire paint surface is evenly. In this step, keep in mind that you do not change the pressure you apply to the sandpaper. You can check if you are going with the right pressure or not. Look at the color of the paint should bleed into the water and tint it slightly. If the water gets any darker, you are sanding too hard. You can add some more water to the area where you sand.
Caution:
- Be careful with the edge on your tools.
- Take the frequently break
- Avoid scratching the paint with the handle of the tool or one of the edges the sandpaper is wrapped around.
Step 6: Repeat The Process
So you already sanded the car paint. Now you can repeat the process with the higher sandpaper grits to make sure the paint is evenly. This will help to remove any shallow scratches or abrasions left by the first stage of wet sanding.
This step of how to wet sand a car also gives you a chance to repair any damage which was made by you. But only the light damage can be fixed. So try to minimize the mistake during the sanding stage.
Step 7: Rinse The Sand Area
After the sanding and resanding process, time to rinse your car. Use a hose to rinse off any soap or debris left on the vehicle. Be sure you rinse it thoroughly because you will need to apply a glaze or wax to the area once it dries.
Step 8: Time for Buffer and Rubbing Compound To Polish
So now, what you need to do is apply some rubbing compound to a buffer pad and use a power to polish the area. Turn on the rubber, use the medium speed and a light amount of pressure when buffing the rubbing compound into the paint.
Keep in mind that do it gently, strong pressure on the paint can burn it So start lightly and add more pressure only when you need.
Step 9: Apply The Wax
The last step of how to wet sand a car is applying the wax to the paint layer. Applying a wax to the paint is important even after buffing, the paint looks like the finished product. It is like a protection to your paint. So remember to use a high quality automotive wax on the area of sanding. Wax layer also can help prevent the buffed area from fading at a different rate than the rest of the paint.
The Benefit Of wet Sanding A Car
Remove Deep Scratches
Firstly, it can help to remove deep scratches. It is one of the main benefits of wet sanding your vehicle. It also can remove any debris that may have fallen on the fresh paint job. Orange peel is another problem which also can be removed by wet sanding.
Even Out new Paint
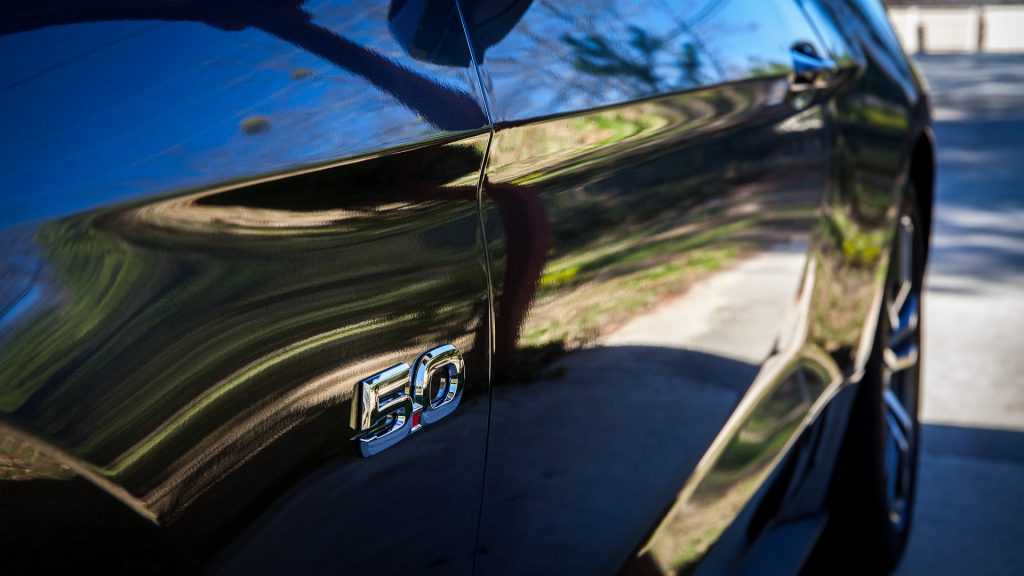
New paint sometimes needs a few touch ups and the wet sanding techniques is an effective way to even out new paint. This process will make your car appear to be in pristine condition and is often used with professional automotive detailers.
Level Touch Ups for Easy Polishing
Wet-sanding is also used to level touch-ups on your vehicle, which makes the polishing process much easier. For sure, it is always important to use a professional that specializes in wet-sanding. As you are trying to do this on your own is a risky process that can permanently damage the paint job on your vehicle.
SEE MORE:
- How Much Does It Cost To Paint A Truck?
- Rubbing Compound Vs Polishing Compound – The Difference
- Automotive Touch Up Paint – The Right Way To Use It
When You Should Not Wet sand Your Car
Since wet sanding your car will help you to save the paint layer. There is a case in which you should not sand your car. It is time when the scratch in your car paint is too deep. So that, if you insist on sanding your car, it is likely harmful to your car more than good. Therefore, do not do it if the scratch on your car is too deep.
Conclusion
It is all 9 steps of how to wet sand a car which we have just introduced to you. With simple tools and preparation, you can wet sand your car at home and by yourself. Just keep in mind that using gentle pressure is important. Don’t lose control to put more power on that process. Otherwise, it’s likely to damage your car more than save it.
Also, remember to follow our maintenance tips which will be really helpful for you to better understand and cure your car.

