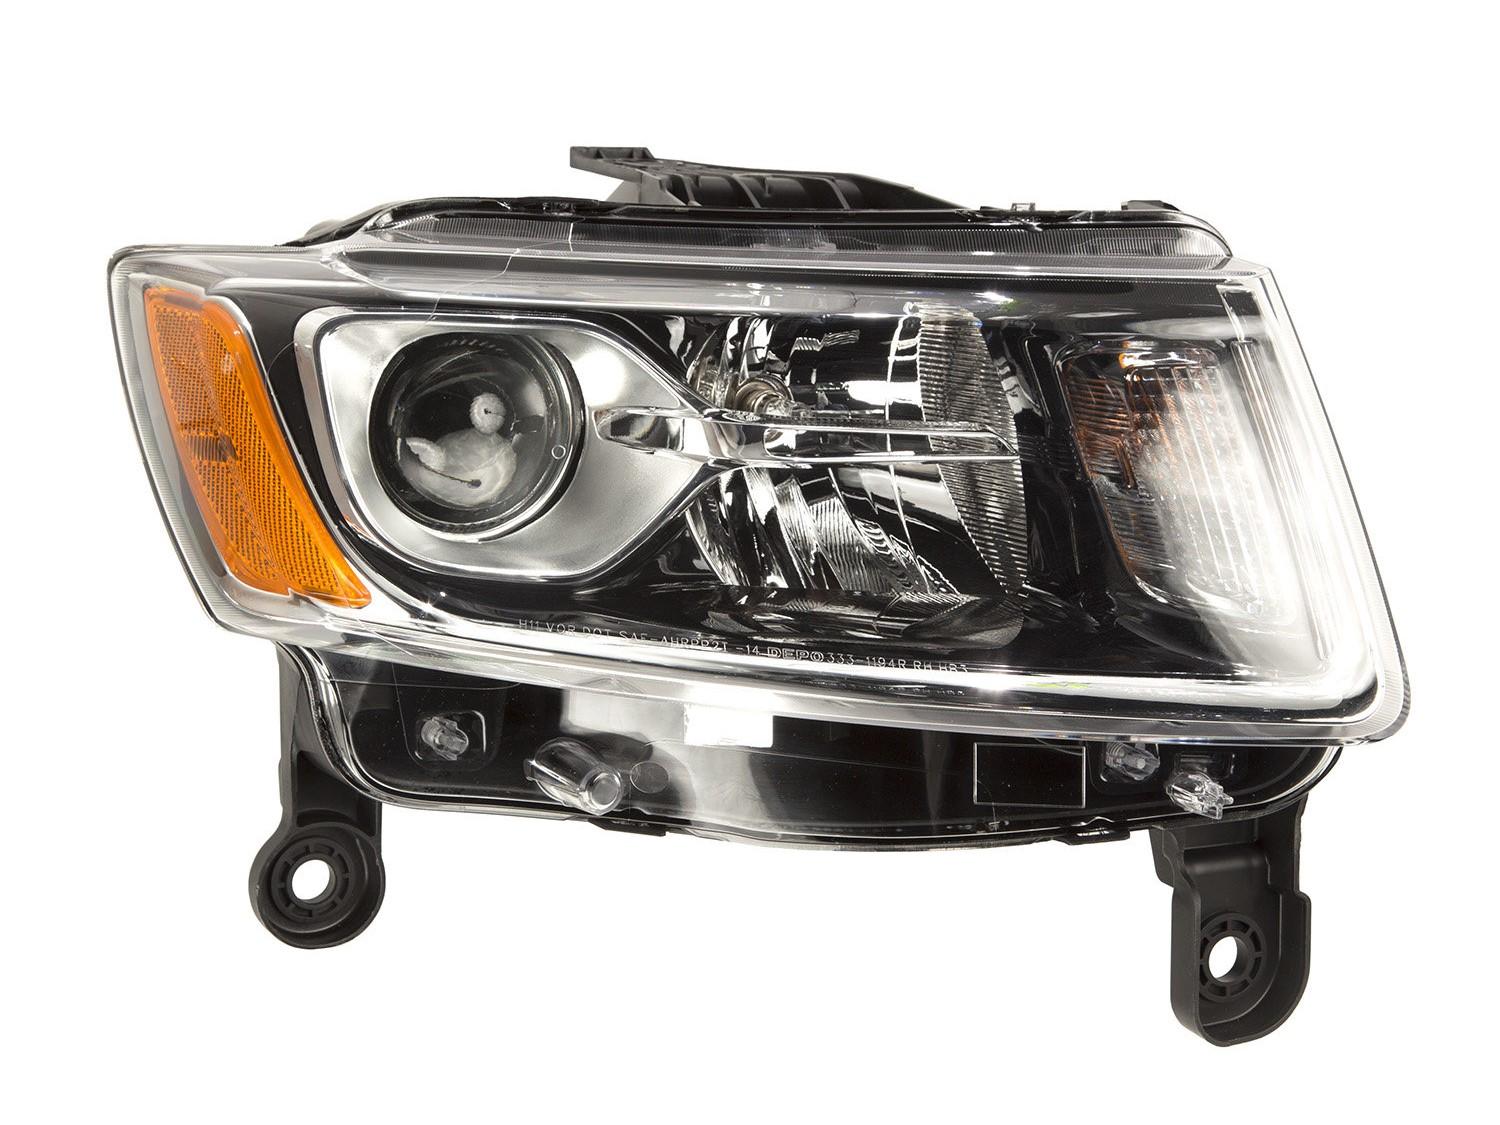
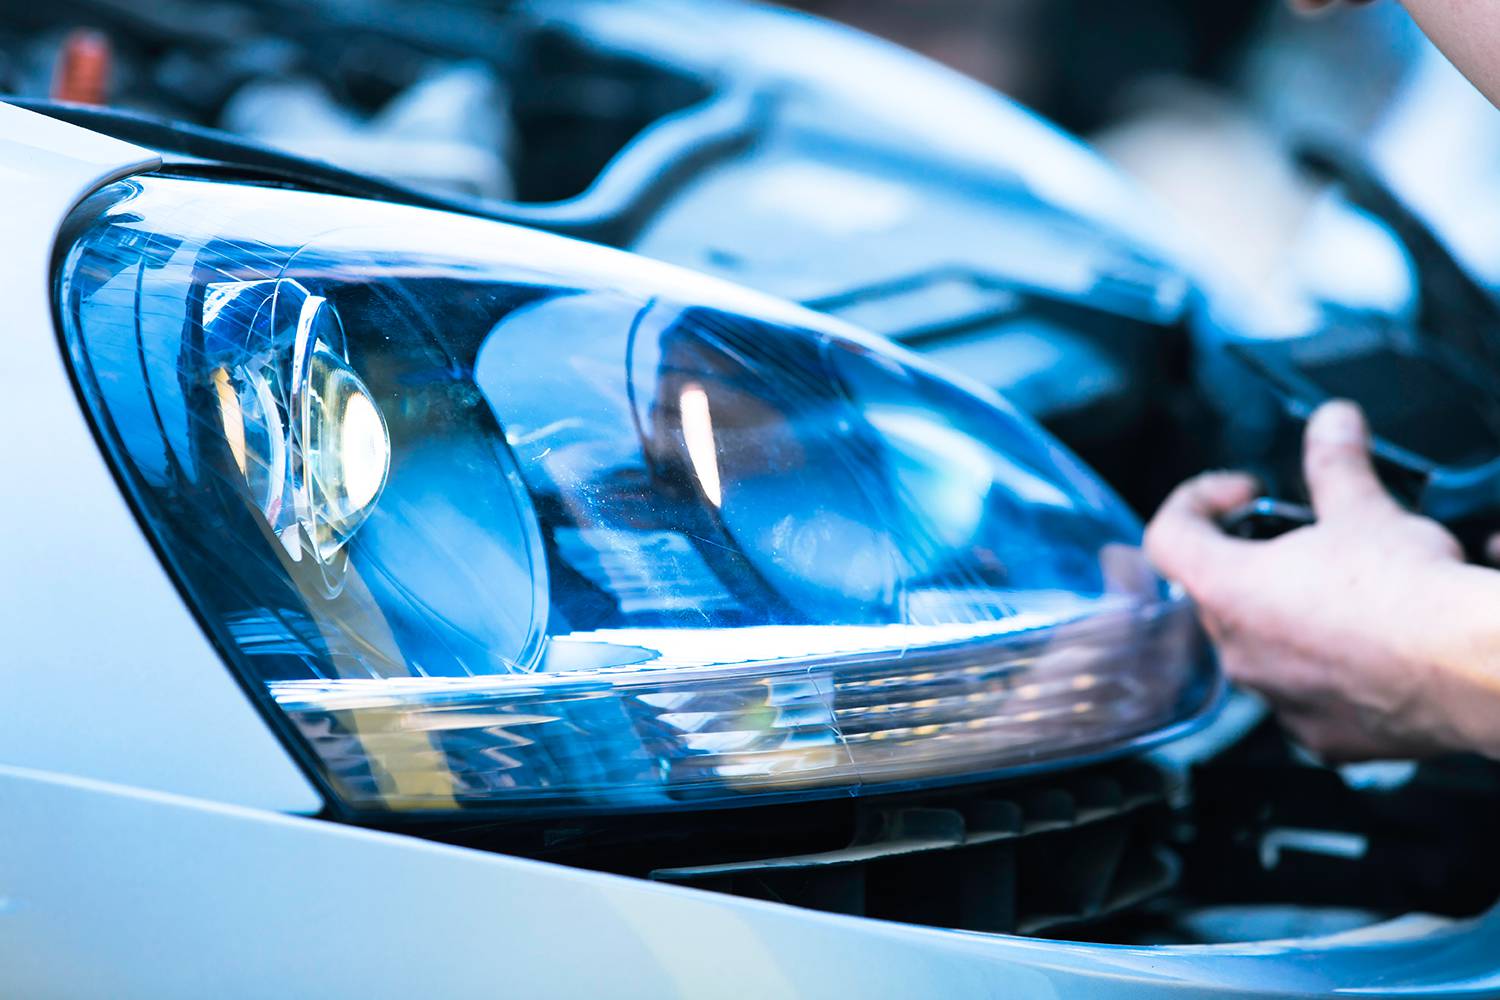
Headlight replacement is a mandatory repair task when they are dim or fading fast. The lights are an integral part of road safety as they help with improving the vision and give the drivers more time to react to potential hazards. If you are curious to know how to replace headlight bulb, keep reading. The brief guide also includes details about types of lights and their pros and cons.
Contents
Types Of Headlights
There are three different kinds of headlights that you will find in the vehicles these days—halogen, LED, and Xenon (or HID). Each has its unique advantages and downsides.
Halogen: The most popular and common type that you find in the majority of automobiles. The bulbs feature a tungsten filament and halogen gas. People prefer them due to their inexpensive price tag and simple replacement process.
LED: Being a recent addition to the automobile industry, these bulbs gained popularity within a shorter period. They are efficient and produce a whiter light than halogen bulbs. The price is higher, but the longer lifespan makes up for that.
Xenon/HID: Use of these lights are still limited but many high-end models offer them as standard headlights these days. Looking more stylish than their halogen counterparts, they are also brighter, whiter, and have a longer lifespan. Instead of a tungsten filament, they have electrodes that charge the gas inside and produce illumination.

SEE MORE
LED Vs Halogen Headlights
If your car requires a headlight replacement, you should know what type of lights it uses and its unique features. Here is a comparison between the two most popular options.
Halogen bulbs produce light through the tungsten filament that glows when the electricity heats it up. It produces lots of heat but without damaging the car. The color temperature of the halogen lights is between approximately 3200K and 5000K, so the illumination is kind of yellowish. Their estimated lifespan is from 200 to 400 hours.
The advantages of this type are their inexpensive price and the simple installation process. You can just slot them into the place without having much mechanical skill.
LEDs are obviously a better choice than their halogen counterparts if you can ignore the higher price and slightly complicated installation process.
The lights feature semiconductors that release energy in the form of photons when current flows through them. They draw less power to operate but run cooler and brighter. The color temperature is between 4000K and 6000K, and the average lifetime of each bulb is around 5,000 hours.
Headlight Replacement Guide
The headlight replacement should be done when the lights show signs of fading. You should replace both bulbs because if one fails, the other will follow it shortly.
1. Tools You Need
The task does not require plenty of tools. If you have a car, you most probably have the equipment already:
- Screwdriver
- Hex or Torx bits
- Cotton gloves
- Headlight bulbs
One thing necessary to know is the type of bulb attachment in your vehicle. An older model is likely to feature a sealed unit having a lens, reflector, and lighting filament. On the other hand, newer cars mostly have replaceable bulbs that twist out.
Check the owner’s manual or look at the back of the headlights under the hood to find out which style your vehicle has.
2. Removing Sealed Headlight Units
Follow these steps if you have an old car with sealed headlight units:
- Unfasten the mounting screws, frames, and plates that are holding the headlight casing. Loose the screws that facilitate the headlight adjustments but don’t remove them from their slots.
- Dislodge the headlights and then take the wiring socket off the rear part of the headlight assembly. You have to pull off the socket of the sealed beam lamp.
- Take the new sealed beam unit and plug it to the wiring socket. Place it into the headlight mounting bracket. Tighten and attach the screws that you loosened and removed.
- Switch on the headlights to see if they are shining.
3. Removing Replaceable Headlight Bulbs

- A removable headlight unit is likely to have a protective cover guarding it against the back part of the headlight assembly. Remove that protective shield and then loosen the plastic harness holding the bulb. Slide the harness aside.
- There is a clip that attaches the bulb to the headlight unit. Remove it and then detach the light from the harness.
- Insert the new bulb into the harness. Do it after wearing a glove because dirt and grease from your hands can damage the bulb.
- Reattach the clip to secure the bulb to the harness and then push it to the back of the headlight assembly. Twist the harness to lock it in its place.
- Check if the headlights are working.
You can see that headlight replacement is not a tough job at all. Just make sure that their alignment is correct before taking the car out for driving.


