
A solenoid valve is a transmission component that controls fluid pressure. Simply put, transmission solenoid valves prevent the transmission from bogging down because of too much fluid or seizing up due to lack of fluid. The maze-like component directs fluid where it is required when changing gears. Therefore, if the valve is defective, you will more than likely notice your transmission has problems changing gears. This article provides useful information on how to diagnose if your vehicle has a bad transmission solenoid or not.
The signs of a transmission solenoid valve acting up are universally recognized among all transmission. It will also include a step by step guide to replacing a bad solenoid valve in a used 6L90 Transmission which is commonly found in many General Motors (GM) trucks and GM performance vehicles. However, most of the techniques and basic steps found in the transmission solenoid replacement guide are universal for just about any transmission solenoid replacement.\
Contents
Common Signs and Symptoms of a Bad Transmission Solenoid Valve
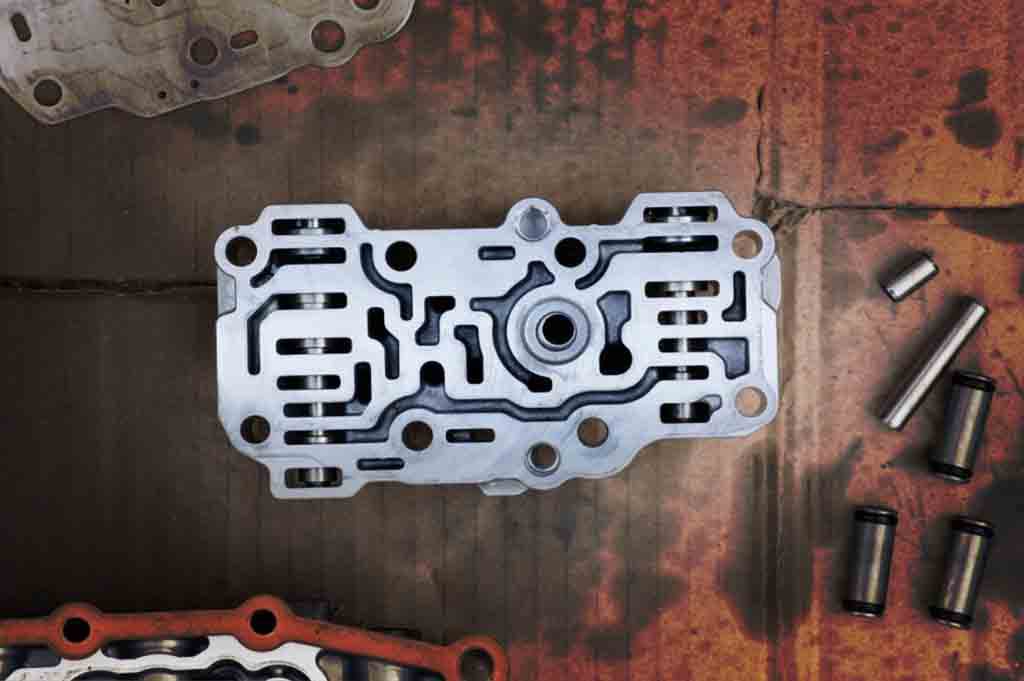
The valve body controls the transmissions systems. It contains numerous valves that direct hydraulic fluid flow which activates the right clutch pack and most suitable gear shift. Driving a car with defective components can make the driving experience difficult. Besides the risk of causing accidents, the repair cost can increase significantly after a short period. Below are some of the most common tell-tale signs that your transmission solenoid valve needs replacement.
1. Delayed Shifts
They appear as the vehicle taking longer to shift between gears and could be accompanied by a noise. Sometimes you may experience a delayed shift when shifting from park to drive or reverse. A harsh or delayed shift could be a sign that your solenoid valve is problematic.
2. Incorrect Downshifting
Another common symptom is the transmission shifting into a lower or higher gear at the wrong time, ie. – Incorrect downshifting. For instance, you will want the transmission to shift down when driving uphill and give you more power. Instead, a problematic transmission may shift into higher gear, making it difficult to drive. Similarly, the transmission can shift sporadically into a lower or higher gear when driving on the highway. This is a common sign of a bad transmission solenoid.
3. Banging sound
Banging gears when reversing, slowing down, or accelerating could signal a faulty transmission solenoid valve. It is therefore imperative that you have the transmission checked in this case.
4. Gear Slippage
If your vehicle sometimes feels like it completely slips out of gear, it could be a sign that your transmission’s solenoid valve is going bad. As a result, the vehicle fails to shift into higher gear, making the engine operate at an unusually higher RPM.
5. Engine Lights On
When your vehicle has any of the above problems, the malfunction indicator lamp or check engine light will commonly turn on. It is therefore important to always investigate further into a check engine lighting up in your dash.
How To Replace The Transmission Solenoid Valve On Your Ride
Disconnect The Car Battery
Use a socket set and wrench to remove the negative cable and then disconnect the positive terminal. After disconnecting the battery, you can now remove the dipstick from the 6L90 transmission safely.
Loosen the Fill Plug
Ensure that you loosen the fill plug before draining the transmission, otherwise, you risk having the fill plug stuck thus making it more difficult to refill the pan later on. In many car models, the fill plug is located above the oil pan on the left upper back of the 6L90 transmission. Therefore, you must remove the front driveshaft to access the plug.
For all-wheel-drive models, the front driveshaft is mounted in the transfer case. Simply unscrew bolts which hold the front driveshaft into the transfer case. Then lower the drive shafts gently from the transfer case and access the fill plug.
Remember, the whole idea is to make the plug loose. Removing it will pour down the fluid. You can easily loosen the plug by using a breaker bar. Replace the plug after draining the oil pan thoroughly.
Remove The Fluid Compartment
The next step is removing the fluid compartment from the bottom of the 6L90 transmission by unscrewing bolts using a socket wrench. Place the bolts carefully on the oil pan to avoid making them dirty. The transmission fluid lubricates the bolts and keeps dirt at bay. After unscrewing the bolts remove the gasket from the rim of the transmission pan, it is acceptable to reuse the bolts if they are still in good shape.
Place a transmission fluid container under the transmission, remove the drain plug at the bottom of the transmission pan, and thoroughly drain it. Replacing the plug prevents the fluid from draining on the floor and your clothes. Proceed to drain the fluid into the pan by unscrewing the fluid plug located at the bottom of the transmission. Since the pan may still have some fluid left in it, remove the pan carefully and dump the remaining fluid in the drain pan.
Unscrew Fix Plate Bolts
You can find more information on how to unthread screws and remove the fixing plate in the car owner’s manual which is always an accurate source. That said, here is how to go about it generally. First, identify the solenoid. Once you locate it, remove wires from the unit and pull it from the fixing plate. Some solenoids are fastened to the fixing plate using screws so those will need to be unscrewed. If tabs are used to fasten the solenoids, simply press them before pulling the solenoid off.
Replace the Valve Body and Solenoid
The valve body is attached to the transmission housing. Turn the locking ring counterclockwise to release the plug from the valve body and remove the sleeve behind the transmission. Then, remove the bolts attaching the valve body to the transmission.
To replace the solenoid, simply pull the wires away and use a flathead screwdriver to pry the solenoid off of the bell housing mount. Lastly, inspect the new solenoid and put it perfectly in place of the old one. Colour-coded wires are typically present to help you match the right wire to the proper slot on the solenoid.
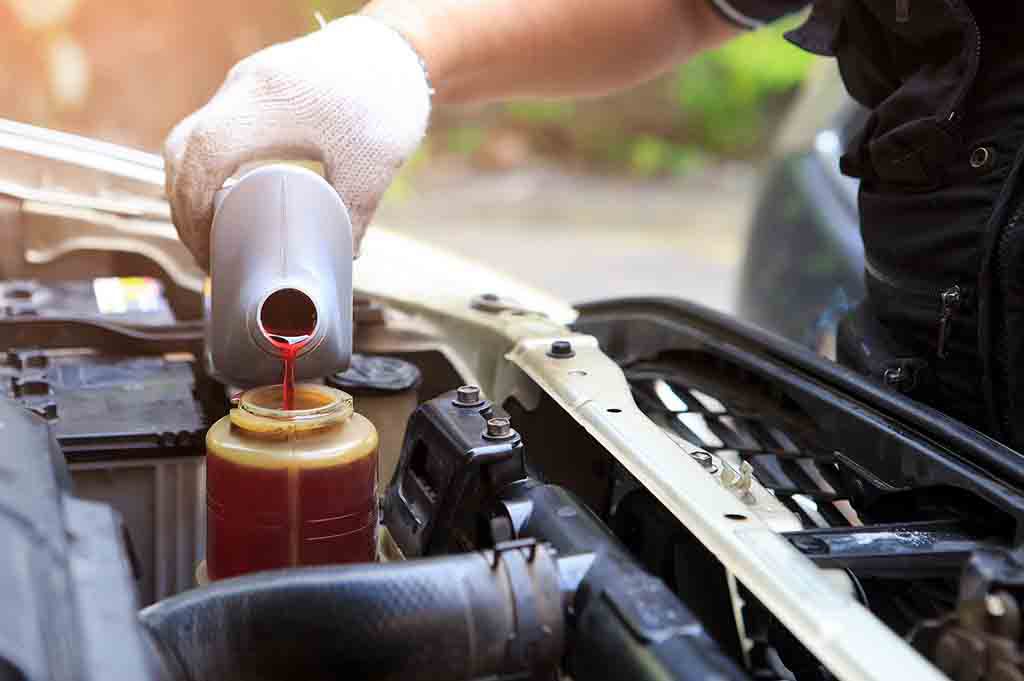
Reassemble The Components and Add Fluid
After replacing the valves, refill the fluid and reassemble the components back. Ensure you mount all the parts back up with great care, paying attention to proper positioning. Once all of the parts have been reinstalled, make sure to fill the transmission up with the correct amount of original equipment manufacturer’s (OEM) recommended Automatic Transmission Fluid (ATF). Finally, power up your vehicle – pro tip: give it a few minutes to warm up before driving – and take it for a drive to make sure the problems you were experiencing have been solved.
If the problem goes unresolved, then you may need to take it to your local used transmission mechanic for further evaluation. If the transmission is damaged badly enough you could end up having to get a replacement vehicle from Carfromjapan.com or a replacement transmission from Reman-transmission.com.