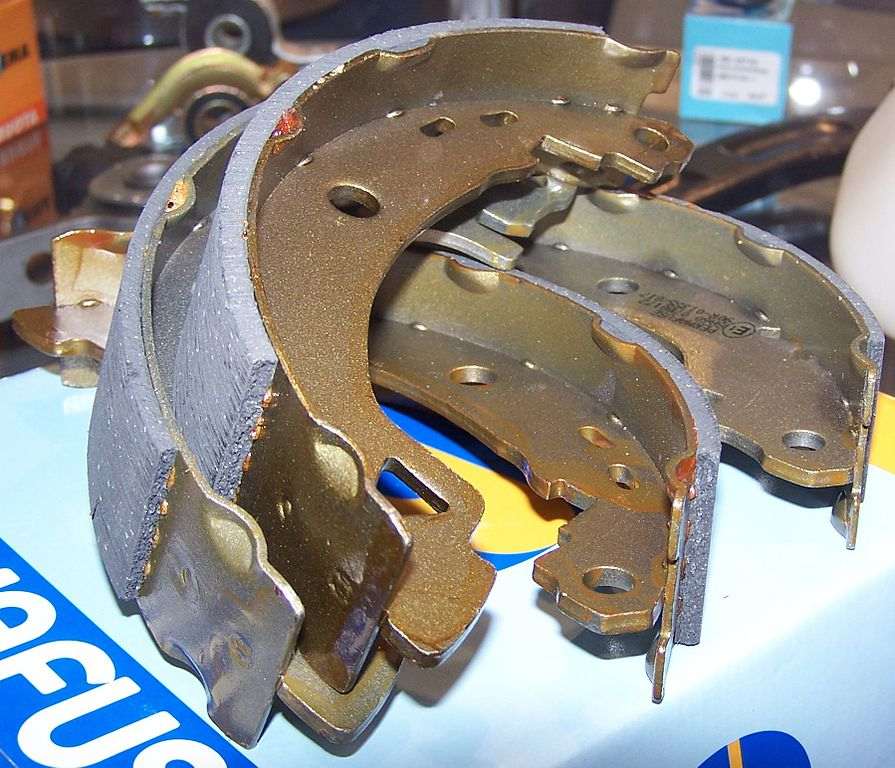
Motorists and mechanics alike should know the basics of replacing, repairing, and maintaining drum brakes. These brakes are most often found on the rear axle of a car since they have to clamp down to a rotating drum without rubbing against it. Drum brake replacement is necessary when they don’t work like they’re supposed to or feel spongy. They should also be replaced if their surfaces start to wear away from age. You should know how to change drum brakes to carry out this task in your garage.
Contents
How to Change Drum Brakes in a Few Steps
Here’s a breakdown of how you can change drum brake in your car. First, you’ll need some mechanical skills and plenty of patience as well as some tools. Keep these tools in hand before starting the task:
- Socket wrenches
- Pliers
- Brake fluid
- Lube grease
- A few replacement drum brake parts, including drums, shoes, brake pads, axle nuts, and bolts
- Lube
- A jack
- Jack stands
- Drum brake tool kit
Now, follow these steps for replacing drum brakes without much hassle:
Loosen the Lug Nuts
Before lifting up the car with a jack, you should loosen the lug nuts of the rear wheels. This task is easier when the entire weight of the car is pinned on the wheels. The nuts in some wheels could be covered with hubcaps, which you need to remove first.
Jack up the Car
Now, it’s time to secure the car on jack stands. Put blocks or tire chocks behind the front wheels, so they don’t roll when you lift. After setting up the blocks, lower the car on the jack stands.
Remove the Brake Shoes
The next step of changing drum brakes is the dislodging of brake shoes. Locate the brake adjustment screw under each caliper with your socket wrench (check your owner’s manual for specifics). Turn the screw counterclockwise until you’ve removed enough play to let you push back the shoes.
Next, lift up the wheels so that they’re approximately a foot off the ground. Take off the protective dust caps and unscrew the flat plate cover from above each drum with your wrench. Be careful not to drop any of these parts into a brake assembly hole.

Now, use your socket wrench to remove all of the bolts on one side at once unless there’s some kind of assembly holding them in place (again, get specifics from your owner’s manual).
Remove the Wheel
After that’s out of the way, you can lift up the wheel again and remove it. Sometimes, you can get extra leverage by removing one tire on each side and using it to pull on the brakes. The quick-release (or linkage) bolts are usually in the same place as well. Be careful not to bend or break any brake lines.
SEE MORE
Move out the Old Drums
The next step is to remove the old drums from underneath your car. Some people like to separate them by taking the caliper off. Others use a crowbar and some leverage. Some wrenches feature built-in drum removal tools.
Most people do this by using their hands to pull the brake pads out of the way, but making sure that you don’t bend any lines. Gently push the shoes away from each other to free up some extra space in between them so that you can get your new ones in place. Do this with all four of the shoes at once, if possible.
Installing Drum Brakes
The last step in how to change drum brakes is the installation of the new one. Put the new brakes in, which should be easier than taking the old ones out.
First, separate the fresh brake parts into different groups, so you can see what goes where. If your drum brakes have grooves on them, then you’ll want to get rid of them with a file.
Use some grease lube to fill up all of the holes and cavities and put your hardware into place with socket wrenches. Use the rest of your lube to grease up each of the bolts or screws on both sides so that they’re pretty snug.
Lubricate the brake lines and thread them back through the caliper’s mounting holes by hand.
If you are looking for an easy-to-follow video tutorial of the whole process, check this one:
Test the Brakes
When everything’s done, don’t forget to check whether the brake is working or not. Pump the brakes through the brake pedal. Examine the parking brake too. It should be functioning correctly without feeling soft.
Conclusion
This is how to change drum brakes without taking professional help. Before putting back the new drum brakes or replacing some parts of the old one, remember to clean the drum brake assembly. Servicing the drum brakes in this way will save on your car maintenance expenses.


