
Sometimes you may have a spongy or squishy feel when you engage the brakes. It happens when the level of the brake fluid in the master cylinder drops too low, and air bubbles get caught in the lines.
Bleeding brakes are the process of removing those air bubbles from the brake system and flushing out old fluid and contaminants.
Knowing how to bleed brakes for drivers will save you hassle and money!
Contents
- The Reason Behind Brake Bleeding
- Step-by-step Guideline On How To Bleed Brakes
- Tips For A Successful Brake Bleeding
- FAQs on How To Bleed Brakes For Cars
- Why do some cars require bleeding with the ignition ON or engine running?
- Why does my brake pedal still feel spongy even after bleeding all four wheels?
- Why is old brake fluid darker, and does that affect bleeding?
- Can mixing DOT 3 and DOT 4 fluid cause bleeding problems?
- Should the brake fluid reservoir cap be open or closed during bleeding?
- Why does the brake pedal firm up temporarily after bleeding, then go soft later?
The Reason Behind Brake Bleeding
When you press on your vehicle’s brake pedal, it’s brake fluid that makes it happen.
Your foot action moves the plunger in the brake master cylinder whose job is to pump brake fluid through the brake lines and to the brakes.
The fluid then creates pressure on the brake pads, which after that squeeze your car’s brake discs and slow all down.
Brake fluid is designed to work properly for several years before needing replacement. It needs to be replaced because over time brake fluid loses moisture resistance and begins to absorb small amounts of water.
This not only reduces brake performance but also can corrode key parts of the system.
Replacing the fluid after each appropriate interval is an effective and cheap way to ensure that your vehicle is safe enough. You can avoid having to pay for expensive brake repairs later on.
An essential part of replacing brake fluid is bleeding the system. The job simply means removing the brake system of trapped air, and expel some of the old fluid as well.
Step-by-step Guideline On How To Bleed Brakes
You’ll need to have some tools and follow the right procedure to bleed the brakes of your vehicle before learning how to bleed brakes. Let’s take a look!
The materials needed for bleeding brakes
- A brake bleeder wrench
- A clean glass jar
- A can of brake fluid
- A helper
Procedures for bleeding brakes
Follow the bleeding brakes procedure step by step for how to bleed the breaks your car the right way:
Step 1: Prepare before getting into action
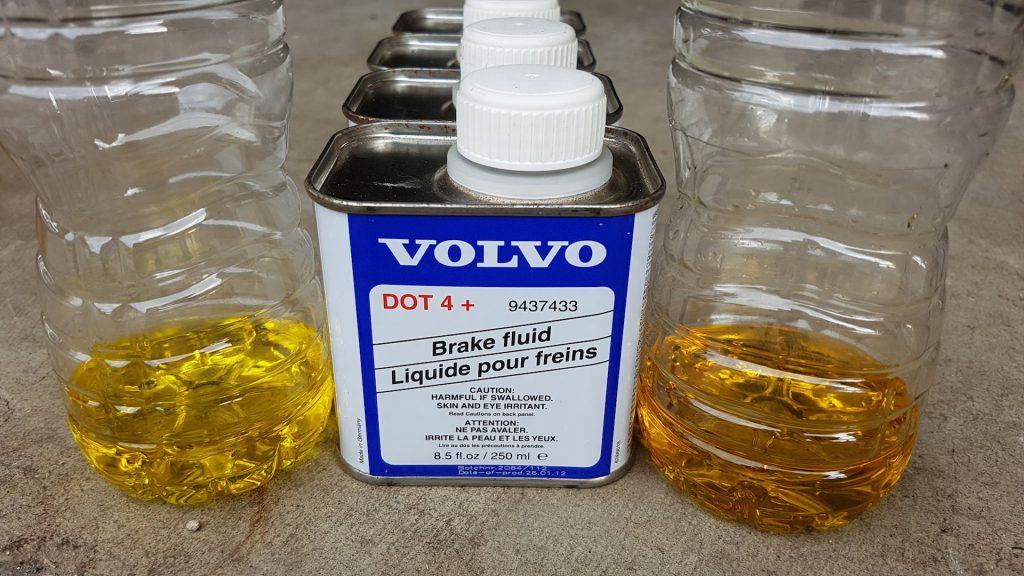
Consult the owner’s manual to know which specific type of brake fluid your vehicle requires, and also what intervals the fluid inside needs to be replaced.
Brake fluid has many different types, and they don’t mix well. Get to the auto parts store or dealer’s parts department to buy the correct fluid before you start working on the bleeding job.
Good-quality brake fluid is easily affordable; you may need two or three 12-ounce cans for how to bleed the brake lines.
Step 2: Getting your car ready for the job
Using some jacks and stands, you can first jack up your vehicle on a level, of solid ground. It should be a garage floor or driveway surface.
You then support the car with four jack stands placed at the jacking points shown in the owner’s manual. It needs to be safely and firmly on solid footing while in the air.
Remember the process of bleeding brakes will have you got partially under the car at times so it should be safe for you. Finally, you remove all four wheels to begin.
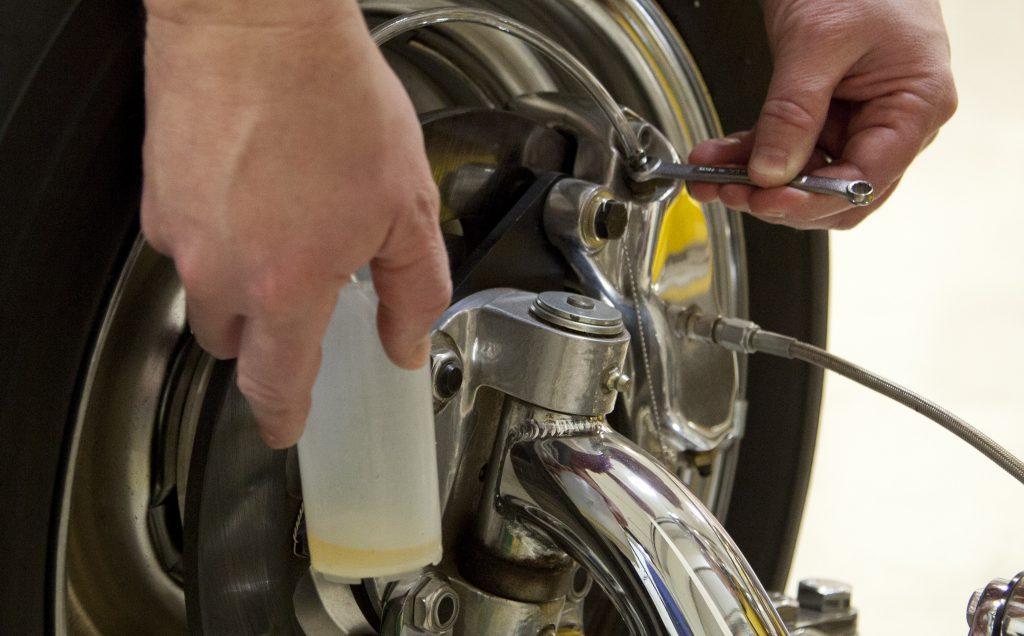
Step 3: Locate the brake bleeder screw

The first step is to jack up your car and crawl underneath. To do that, find the brake bleeder screw located behind each of your brakes.
Then driver can use the wrench to loosen but not remove the screw. If it’s stuck, spraying some penetrant around it will make your job easier.
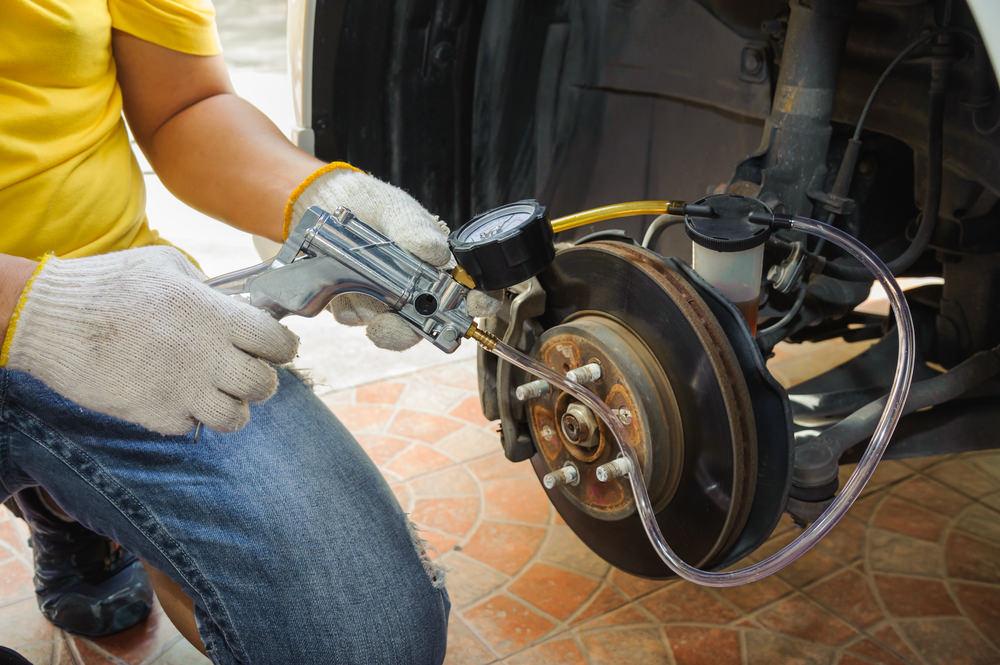
Step 4: Connect and fill
Connecting and filling the jar is an important step for drivers to know how to bleed brakes.
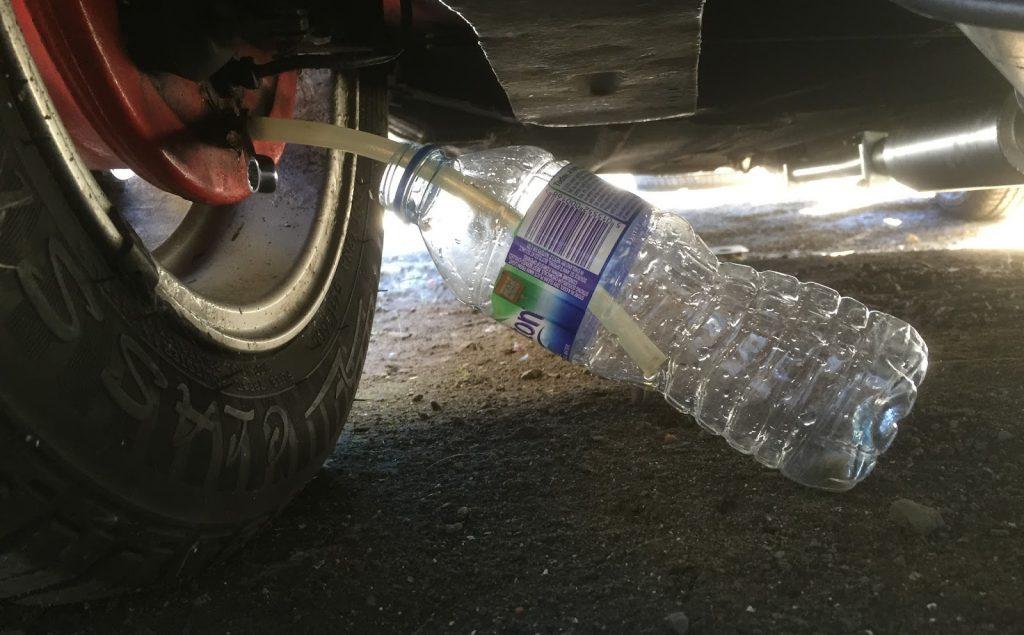
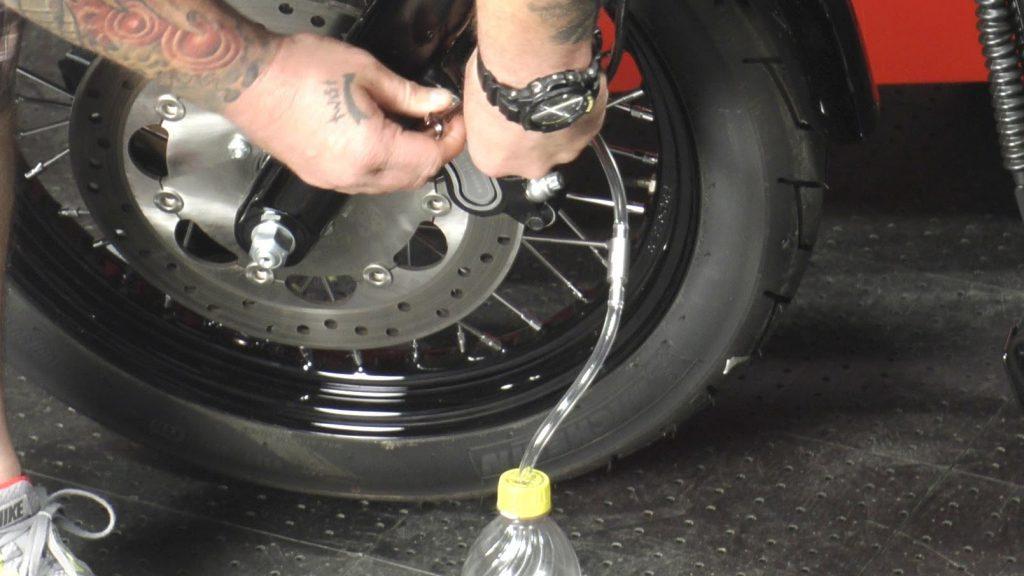
Fit one end of a hose into the end of the screw, and then put the other end in the glass jar or a bottle. Fill the jar with brake fluid at a level so that the hose’s end is submerged.
If you can’t find any flexible hose, keep the jar near the nozzle so that it can catch the liquid squirting out of the nozzle.
Step 5: Test the brake fluid
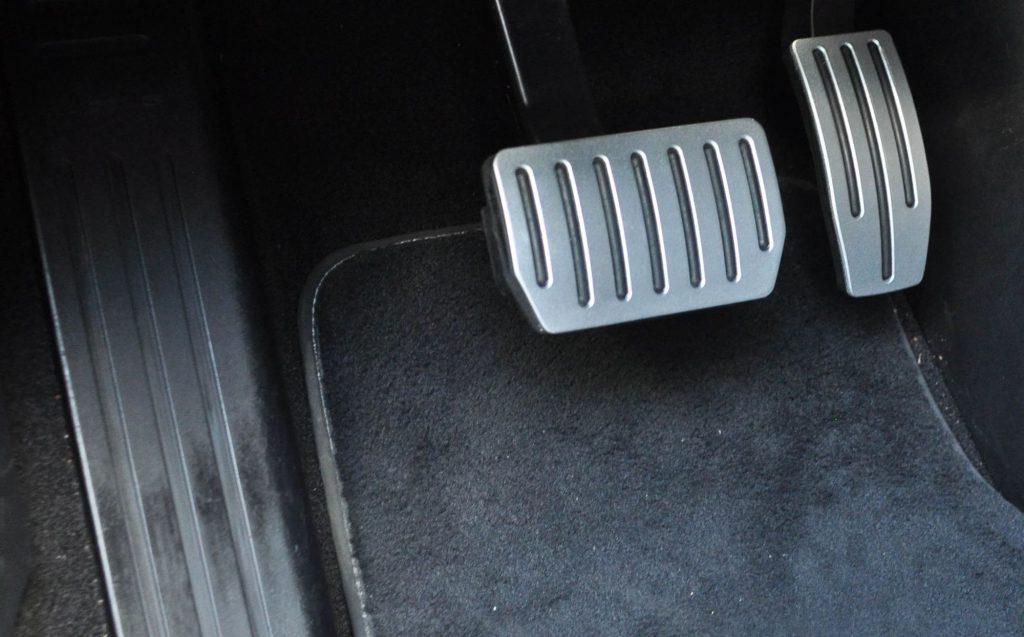
Ask the helper (might be a friend or someone else) to sit in the driver’s seat and push the brake pedal several times. After that, open the bleeder screw while asking the helper to hold the pedal down.
Brake fluid will come out of the nozzle, and you’ll see the bubbles (if there’s any) clearly. This is an essential step in how to bleed brakes.
Step 6: Remove the bubble
Now, tighten the screw when the helper is still holding the pedal down. After, tell him/her to release the pedal and repeat this process of loosening and tightening the screw until the fluid contains no more bubbles.
How to bleed brakes is something he/she does not need to understand, they just need to help with the pedal. Tell the helper to shout “Down” when pressing the pedal and “Up” when releasing it.
Step 7: Bleed the brakes

To master bleeding brakes, you have to bleed each of the brakes by repeating the same process. However, it is necessary to fill up the master cylinder with brake fluid before bleeding each of the brakes.
If you don’t do it, the cylinder will be drained out of fluid and draw air into the lines. In that case, it is necessary to bleed the master cylinder too.
Step 8: Master cylinder checking
After bleeding all four brakes, you ask your helper to apply full effort to the brake pedal followed by a sudden all-release. Look closely at the motion of the fluid in the master cylinder reservoir.
If there is a substantial fluid eruption, there would be air bubbles still trapped in the system. In that case, you have to repeat the bleeding procedure to remove that air.
Step 9: Tighten the screw
Read More: Wonderful Tricks To Push The Smoke Out Of Your Car
After bleeding the last time and filling up the master cylinder to the full level, tighten the last bleeding screw.
Double-check until all the bleeder screws are tight. Again this time, apply solid pressure but not all of your strength to tighten them – or else you may snap them off – before reinstalling the car’s wheels.
Drive the car a while to see if the brakes seem right when you push the pedal.
Congratulations, it’s all done!
Learning how to bleed brakes is not a complicated task. However, you will need patience and perseverance to complete the project successfully.
Tips For A Successful Brake Bleeding
Knowing and following the instructions on how to bleed brakes is one story. Bleeding brakes successfully and effectively, however, is a different story.
But worry not, we will help you by providing our greatest tips on bleeding brakes to clean air bubbles from the brake system.
1# Call your friend

In most of the cases, having another hand is always more helpful. When it comes to bleed brakes, 1 friend or two definitely will shorten the processing time and effort for car owners. Do not forget that you need a person to press the pedal.
Not only that, it can also prevent you from a catastrophe. So a little help doesn’t sound too bad right?
2# Ignore the bleed block
Bleeding brakes should be carried out with the bleed block, however, you can save a lot of time without it. So if you are in a hurry and need to finish the job quickly, ignoring the bleed block can speed things up a lot.
Driver should remember to be very careful when removing bubbles with the brake pads inside. If brake fluid contacts the pads, it will render them useless. Also, brake fluid is another thing to be looking for.
Since the caliper pistons move outwards, the bleeding process can lead to fluid overfilled. You will need to expel the fluid for the pistons to be pushed back.
Although containing risks, this time-saving method is quite powerful when you are in a hurry.
3# Protect your surrounding

Here comes the bad news for the house cleaner: DOT brake fluid is very aggressive, especially with the floor. This corrosive fluid spillage will devour carpets and even laminate wood very quickly.
So if you decide to learn how to bleed brakes in the kitchen or living room, be sure to protect your surroundings. A few layers of newspapers or mat will be able to save your bacon.
4# Degas your brake fluid
In the process of bleeding brakes, degassing or removing tiny air bubbles is essential.
This technique is well-known to mechanics since it can rid most of the air outside new brake fluid. Even though many drivers believe it makes no difference, it is the main reason for bleeding the brakes.
5# Always remember to clean up
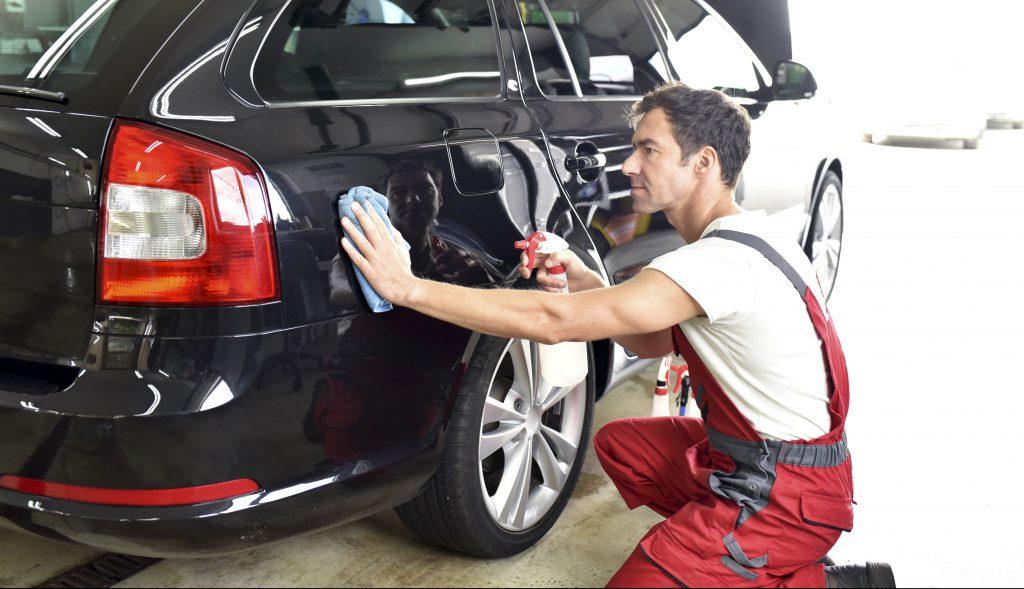
Last but not least, cleaning up. This is by far the most important tip since it usually is too late for cleaning.
To finish the process smoothly, it is necessary to wipe down the surfaces of the brakes. This will remove the left-hanging fluid around. We suggest using paper towels for the lever, along with a wet cloth to wipe it away.
FAQs on How To Bleed Brakes For Cars
Why do some cars require bleeding with the ignition ON or engine running?
Modern vehicles with ABS or electronic brake boosters need the system pressurized or the pump active to purge all internal air pockets.
Why does my brake pedal still feel spongy even after bleeding all four wheels?
You might have missed air trapped in the master cylinder, or your rubber brake hoses may be internally swelling under pressure.
Why is old brake fluid darker, and does that affect bleeding?
Dark fluid indicates moisture and corrosion buildup. It can create internal rust flakes that trap air bubbles, making proper bleeding more difficult.
Can mixing DOT 3 and DOT 4 fluid cause bleeding problems?
Not immediately, but it can lower the boiling point and thicken unevenly, making air release slower and pedal feel inconsistent.
Should the brake fluid reservoir cap be open or closed during bleeding?
Loosely covered, open enough to vent air but not so open that debris or moisture can enter. A sealed cap can prevent proper fluid flow.
Why does the brake pedal firm up temporarily after bleeding, then go soft later?
That’s often trapped micro-bubbles rising back into the lines over time, or a slow internal leak in the master cylinder letting pressure bleed off.
To understand more about how to bleed brakes, check out this video from Car and Driver!
So now you know more about how to bleed brakes and several notices. Hope you can find this piece of information insightful and see you in our next Car maintenance tips!