
Is your car struggling to start? Does it feel sluggish and lack power? Are you hearing strange noises coming from under the hood? These could all be signs of a failing distributor cap. This often-overlooked component plays a critical role in your engine’s performance, and when it starts to go bad, it can lead to a range of serious problems. Recognizing the bad distributor cap symptoms early can save you time, money, and frustration.
Contents
What Does The Distributor Cap Do?
In all cars, SUVs, and trucks in this era, the distributor is a vital part of the engine management system.
The distributor consists of a rotor rotating inside a distributor cap. As you turn the ignition key, the engine runs, sending a high voltage through the ignition coils to the distributor rotor, specifically sending the electricity into an electrode of the distributor rotor.
The rotor is connected to the ignition coil thanks to a spring-loaded brush in the distributor cap. This electrical current turns the rotor, allowing it to transfer electrical power to separate electrodes located inside the distributor cap.
From there, the distributor cap passes the electricity to the spark plugs through a series of spark plug wires in a specific way, and ultimately to different cylinders in the correct firing order at precise moments to ignite the air and fuel mixture inside each cylinder.
In summary, the role of the distributor cap, together with the rotor, is to facilitate the distribution of incredibly high voltage to the appropriate spark plugs at the right time while keeping the distributor’s internal parts separate from the engine, thus keeping them clean.
What Are The Causes Of A Bad Distributor Cap?
There are wear and tear that can cause the distributor cap to fail, which would then require replacement, including:
- Cracks in the housing: Due to exposure to freezing temperatures in the winter and then sudden heat when the engine’s running, causing the housing to crack. Can cause a car’s engine to miss, which may lead to rough idling as well as hesitation during acceleration.
- Burned distributor cap terminals: Due to overexposure to extremely high voltage constantly. Can cause the engine to skip a cylinder from the firing order.
- Corroded terminals: Excessive carbon build-ups and any oxidation due to moisture condensation on the distributor cap may cause contact to stop or be frail.
- Caked-up or greasy terminals: Over time the terminals can become dirty with dirt and grime buildup, and might cause the engine to skip a cylinder from the firing order and create strange engine noises.
- Exposure to liquids: Another type of one-off event that might make your distributor cap fail is if you drive through a deep puddle. The water can get into the distributor cap and short out the electrical current, leading to failure.
- Broken spark plug wire tower
Bad Distributor Cap Symptoms
As above, a worn, corroded or wet distributor cap is a bad distributor cap, and these incidents are common.
You need to become familiar with the following symptoms of a bad distributor to repair the damage in time, or else your engine will suffer:
Starting and accelerating problems
A functional distributor cap is essential to the generation of engine combustion. Therefore, a bad distributor cap, no matter what type of damage, would most likely cause difficult starting problems.
This is especially so in cold weather, because extremely low temperatures may cause the cap to freeze. And when the engine runs, the cap which is covered in plastic, will be subjected to a sudden burst of heat, which would cause it to crack.
This is very common with vehicles being parked outdoors or in an unheated garage with low temperatures. A cracked distributor cap can cause a car’s engine to miss, which may lead to rough idling as well as hesitation during acceleration.
Or worse, if the cap were to fail, well, it will not be able to facilitate the distribution of electricity to the spark plugs, thus there will be no combustion to get the vehicle started.
Rough idling
In addition to cracked distributor cap housing, another reason for rough idling is burnt distributor cap terminals. The terminals are the small electrodes on the bottom of the distributor cap.
Over time, with constant exposure to very high voltage, these terminals will naturally become covered in carbon buildup or worse, become burnt. When this happens, the engine will skip a cylinder from the firing order, causing noticeably rough idling.
Stalling and backfire
Another common symptom of a bad distributor cap is stalling or backfiring from the exhaust while coasting with the car.
This is a sign that you have a broken distributor cap. The distributor rotor must turn properly to transfer the electricity to the spark plugs.
If it does not, optimum combustions won’t happen, the engine loses power and stalls. The longer this problem is neglected, the worse it will get.
Another reason is a failed rotor that is not sending enough voltage to the spark plugs.
Shaking
If you have a faulty distributor cap, you will most probably experience some degree of vibrating to a more pronounced shaking that can be felt throughout the vehicle.
This is because the distributor rotor is not spinning properly and the cap is not distributing the voltage properly in the right power stroke of the cylinder, thus messing up the timing and firing process.
If you often notice this sort of shaking during idle, or when the car is stopping at a red light, then it’s highly likely that the culprit is a distributor cap.
Unusual engine noises
Another symptom is strange noises from the engine, specifically because the cylinders are trying to fire but fail, including a tapping, clicking, or sputtering sound.
The most likely reason for this squealing noise is the distributor cap being caked up with dirt and grease or other pollutants, and as the air circulates through the engine, the clogged distributor cap will create a squealing noise.
If you find a dirty, clogged distributor cap upon inspection, just clean it with WD40, which will be detailed further below. If the squealing continues, you might need to have the whole distributor replaced.
Difficulty turning over
Sometimes you will notice that along with engine stalling, the car does not turn over. This usually happens when the engine is cold and not when it is hot.
When your engine starts, your battery sends electricity to your spark plugs, and the resulting spark will power the initial ignition. This then drives your crankshaft.
The “turning over, which refers to this movement of the crankshaft after the initial ignition, is what allows your engine to start moving.
Your engine starting but failing to turn over points to issues with a bad distributor cap. In case the cap is intact, the problem would lie with the crankshaft or timing belt.
Check engine light comes on
In case there is an improper combustion process in the cylinders caused by a bad distributor cap and rotor, this will be detected by the engine control unit (ECU) and thus the Check Engine warning light will illuminate on your dashboard.
In most cases, the Check Engine Light will come on when the distributor cap is cracked or corroded, or if it is distributing voltage incorrectly or inconsistently, thus messing up the firing order and timing.
Of course, your Check Engine light can mean several different things, but if you see this light on along with other symptoms above, you will need to inspect the distributor.
With a vehicle after the 1996 model year, you would only need to read the code from your OBDII on-board self-diagnostic system to find out what’s wrong.
However, the problem is that if your vehicle has a distributor, it was most likely made before the area of this electronic diagnostic system, so it’s not a simple matter of scanning for codes using your code reader.
Bad Distributor Cap: How To Fix
Cracked distributor cap
To prevent cracking, which would lead to rough idling and hesitation during acceleration, the only thing you can do is inspect the distributor cap regularly for telltale signs of cracking.
Whenever you can, try to park your vehicle in a protected environment in the winter, or at least try to protect it as best as you can from freezing conditions.
Dirty or corroded distributor cap
Distributor cap terminals can also become corroded due to water vapor in the crankcase reaching the distributor shaft (the shaft sitting on top of the distributor and driven by the camshaft gear) and then concentrated inside the distributor cap.
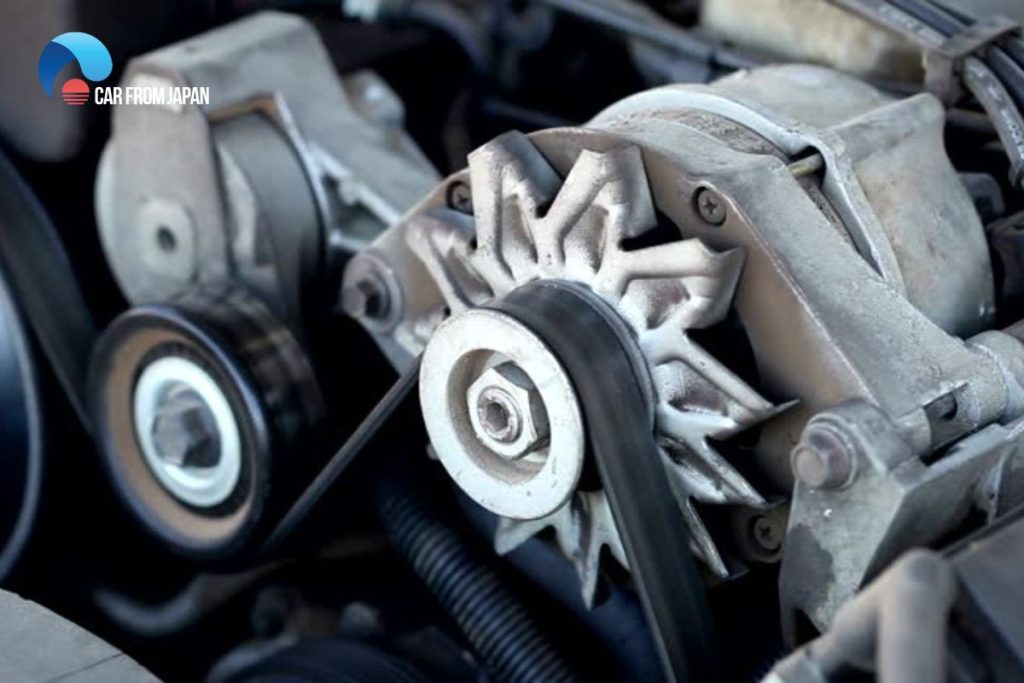
When the engine cools down, the water vapor condenses and reacts with the metal contacts inside the cap to form corrosion. Another source of excess moisture is when the alternator overcharges the battery, producing battery acid that may build up inside the distributor cap.
A reason for corroded distributor cap terminals is that the wires may be porous and therefore attract moisture into the distributor cap. It is also prone to collecting dirt and grime, or other pollutants that can make their way into the system.
Fortunately, upon regular inspection, if you detect a corroded or dirty distributor cap, you just need to clean it with a multi-purpose cleaner/lubricant like WD40, which can remove corrosion, dirt, and grime from metal car parts and protect the metal from corrosion.
Below are some steps to clean distributor points to ensure perfect contact:
Locate the distributor
Your distributor is a plastic gray component near the center of the engine under the hood.
The distributor cap looks like a crown, and the spokes on its top are connected to thick black cables. These cables are spark plug wires.
Label and remove spark plug cables
Label the spark plug cables so that you can reassemble them in the correct order once you’re done with cleaning or replacing the distributor cap.
You can then pull the spark plug cables gently out from the distributor cap.
Unscrew the distributor cap
Unscrew two screws on the side of the cap and try to pull it up gently to remove it.
Clean the terminals with a contact cleaner
Use a soft-bristled detailing brush that is abrasive enough on the metal contact terminals to remove any carbon build-ups and any oxidation, which may cause contact to stop or be frail.
Spray some contact cleaner and lubricant like WD40 on the internal contacts.
- Dry out: Use a clean rag to rub the cap dry completely. If you have an air compressor, use it to speed up the drying process.
- Reassemble: Now just reassembled everything, a reverse process of everything you did. Put the distributor cap into place.
It is best to use a new distributor cap seal, and for extra protection, apply a silicone seal around the base of the cap.
Connect the spark plug wire in the correct order. You can then start the car to see if it is running smoothly without any strange noise again.
Distributor Cap Replacement
Cost
The distributor cap and rotor replacement cost can be anywhere from $70 to $130, including both parts and labor costs.
In most cases, you can expect to pay between $30 and $60 for parts and another $40 to $70 on top of labor.
Because distributors and distributor caps are prone to wear and tear, and thus can malfunction or fail if not replaced regularly, many newer vehicles now make use of a distributing-less system known as a direct ignition system.
How Often Should I Replace The Distributor Cap?
Most vehicles are recommended for routine servicing every 25,000 miles, during which the distributor cap and rotor are often inspected for signs of wear and tear and will be replaced if needed.
Regardless of whether or not they are damaged, the shop will often replace the distributor cap and rotor at the same time during checkups that happen every 50,000 miles. If you don’t drive your vehicle that much, it’s also a good idea to replace these parts together at least every three years or so.
How To Replace The Bad Distributor Cap?
The design of the distributor caps and rotors might differ depending on your vehicle’s make and model, engine size, and other factors.
Fortunately, the process for replacing them on most engines is quite straightforward and rather similar, so if you fancy yourself a DIY type of man, you can do this in your garage.
Purchase a tool kit
The first step is to get a replacement kit for the distributor cap and rotor. Most manufacturers of OEM parts sell the cap and rotor together in a kit since usually they are replaced at the same time.
You might find certain kits that come with replacement hardware, gaskets as well as new spark plug wires, or kits made for specific vehicle models,
What you will need:
- A replacement distributor cap and rotor kit
- A few clean rags
- A contact cleaner and lubricant, like WD-40
- Socket set and ratchet
- The flat screwdrivers and Phillips’s head
Remove battery cables
An important safety warning for anytime you are working with electrical components: make sure you consult your manufacturer’s service manual first, and always remove the battery cables from the terminals.
Remove the positive and negative terminals before proceeding to remove any components on the vehicle. It is always recommended to fully before attempting to complete this job.
Remove any ancillary component to gain access to the distributor
In most cases you’ll have to remove a few components to have free access to the distributor cap and rotor, but most likely only the engine cover or air filter housing.
Consult your service manual to safely remove these ancillary components.
Locate the distributor
You won’t have to raise the vehicle on a hydraulic lift or jack stands. Just pop the hood open and you’ll find the distributor typically located on the top of the engine or the side.
Mark the spark plug wires
Before and during the removal process, take some time to mark down the location of each component.
Notice the distributor cap, spark plug wires, and the rotor on the bottom of the distributor, so that it will be easier, later on, to put everything back in the correct place and order.
Failure to correctly connect the spark plug wires and install the new distributor cap can result in ignition problems, such as engine misfire.
A good tip is to use a marker or tape and mark the location of each spark plug wire in clockwise order, starting at the 12 o’clock position on the distributor cap. This will ensure that when you reinstall the spark plug wires in the original order.
Remove spark plug wires
After you’ve marked the spark plug wires, gently pull them out from the distributor cap.
Remove distributor cap
Now that the plug wires have been removed, you can remove the distributor cap. It is usually secured by two to three bolts or clips on the side. Use a socket, extension and ratchet to remove them one by one then take the distributor cap off.
Mark the location of the rotor
With the distributor cap removed, you’ll see the rotor in the center of the housing of the distributor, which has a pointed end and a blunt end.
Take note of the rotor’s placement and place a screwdriver along the edge of the rotor to mark where the pointed end of the new rotor should be placed.
Remove the distributor rotor
This part requires attention. If your rotor is secured by a small screw, usually in the middle or along the edge, it is important to use a magnetized screwdriver to suck it out.
This is to avoid this screw falling into the distributor shaft and finding its way into the engine, which might create a host of problems.
If there’s no screw and the rotor just fits freely on the distributor shaft, simply take the old rotor out of the distributor. Before you throw it away, you should compare it with the new rotor to see if there’s any mismatch.
Put in the new rotor
With the distributor now free and open, some folks might want to use an air compressor to loosen any debris or excess carbon buildup inside the distributor.
That is fine, but the following notes are what you must do to install the new rotor:
- Put the new rotor in the same position and direction as the old rotor. Use the marks you made before to make sure the pointed end is facing the right direction.
- If the rotor is secured with a screw, always install the new screw from your replacement kit in the rotor hole instead of recycling the old screws.
Install new distributor cap
Make sure the screws or the clips align to the holes on the distributor cap, and the cap fits flush on the distributor.
Reinstall spark plug wires and coil
Use the marks for the spark plug wires to reinstall each of them on the same tower as before. The coil wire goes to the center post on the distributor cap.
Reconnect the battery cables
Put the engine cover and air filter housing back in and reconnect the battery cables. And now you’re done. Start your vehicle to see if everything is working properly.
Conclusion
A bad distributor cap can cause a range of frustrating issues, from rough idling to unexpected stalls or shaking. Knowing these symptoms can help you catch the problem early and prevent more serious damage. A simple inspection and replacement can often get your engine running smoothly again.
Hope this article will bring you some insightful information and see you again with more car maintenance tips with Car From Japan!
My 1995 Toyota Corolla wouldn’t kick over. The engine sounds strong, but the car won’t start. My mechanic says I need a new distributor since my distributor is the original one (24 yrs old). He also said he would change the spark plugs as well. The car usually runs smooth, although I recently had a power steering pump replaced, but the tightness in the steering wheel when parking was not improved. What might be the reason for this? Shouldn’t a new power steering pump work well?
Did you replace Power Steering Fluid?