
Have you been looking for how to install a single front camera for a car?
Where do you put it, how do you wire it up, and what tools do you need?
Still other front camera cars and wireless front camera for car owners find themselves at their wits’ end when they’re not quite sure of the next steps in front of them, and honestly, it’s not surprising.
This guide will take you through the step-by-step process of how to hardwire your one front dash cam.
The article is straightforwardly written, so you’ll be able to walk through it, even if this subject matter is entirely new to you.
We’ll walk you through what to prepare, how to set up the camera, connect the power, and run the wires to keep them hidden.
Contents
What Is a Single Front Camera for Car?
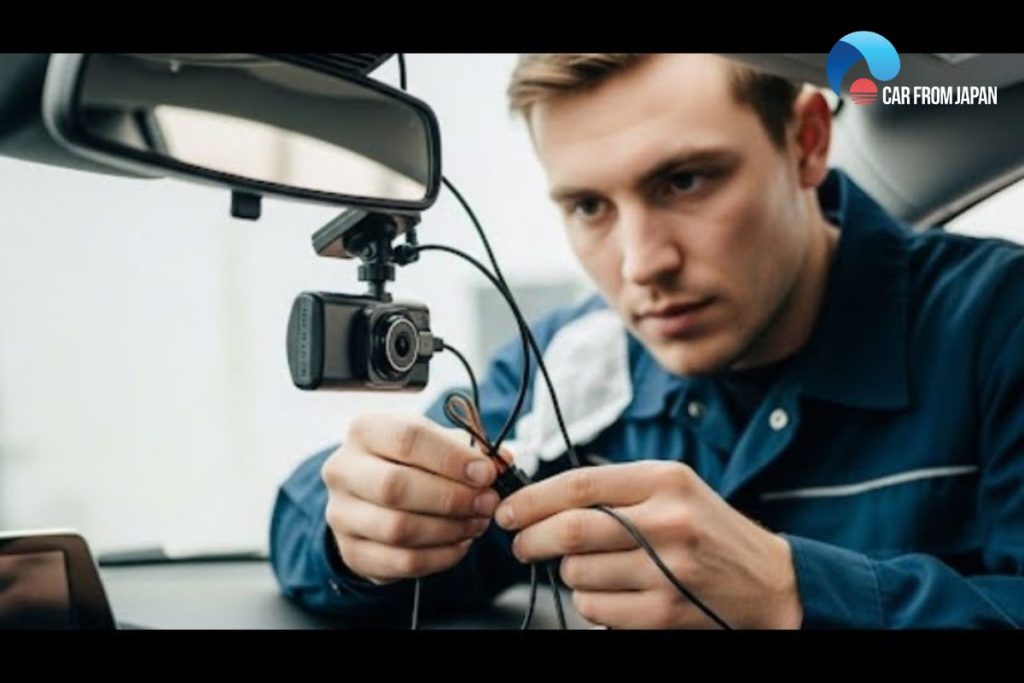
A single front camera for car is a small recording device mounted on the inside of your windshield. It’s designed to capture video of the road ahead while you drive.
Unlike dual dash cams, which also record the rear view or the inside of your vehicle, this setup only covers the front.
Most front cameras for cars are powered through your vehicle’s outlet or fuse box. Some models connect with your phone over Wi-Fi and save footage on a memory card.
They’re designed to run when the engine is started, and they hang out just behind your rearview mirror so they won’t obstruct your field of view.
And if you’ve heard about something like the front view camera for a car or wireless front parking camera for a car, it’s likely just another name for the same concept: a camera that only points in one direction of your vehicle.
Tools & Accessories You’ll Need
Before you start installing a front camera for car, it helps to have a few basic tools ready.
Most of these are either included with the dash cam or are easy to find at any auto parts store.
- Dash cam unit: This is your main camera. For this guide, we’re using a single front camera for the car, so there’s just one device to mount up front.
- Power cable: Usually a USB or 12V plug that connects the camera to your vehicle’s power source.
- Fuse tap kit (required to hardwire the camera instead of using the cigarette lighter). It is hard hard-wired kit for your DY700, it connects the camera directly to the fuse box.
- Trim removal tool: If you need to tuck wires behind the panels, this tool is your savior because it won’t ruin your car’s interior.
- Zip ties or cable clips: For securing the wires and making it all look good.
- MicroSD card: Stores your footage. Just be sure to use a high-quality one that’s recommended by the camera manufacturer.
- Alcohol Wipes: To wipe the glass before adhering the mount. Aids it in sticking around longer.
These are the main items you’ll need for setting up most front cameras for cars. Some models, like a wireless front parking camera for a car, may come with fewer cables, but it’s still a good idea to have these tools handy before you begin.
How to Install a Front Dash Cam?
It is not that difficult to install a front camera on a car. Whether your camera attaches to your cigarette lighter for power or if you want it hardwired into your car’s setup, the steps are mostly the same. The trick is to take your time and keep the wires neat.
Here’s how to do it:
Step 1. Choose the Right Spot for the Camera
Most people install the front view camera for a car right behind the rearview mirror. This keeps it out of your line of sight while still giving a clear view of the road.
Before sticking it down, plug in the power to test the angle. Make sure it’s not tilted too high or too low.
Step 2. Clean the Windshield
Use the alcohol wipes that came with your camera (or just get your own) to wipe down the spot where you will mount your camera. Adhesive can deteriorate over time from dust, oil.
Step 3. Mount the Camera
Remove the sticker from the mount at the back and push hard on the glass!) Hold it there for a few seconds to make sure it attaches well.
Some models come with suction cups, but adhesive mounts are more common for a single front camera for car.
Step 4. Connect the Power Cable
You have two options:
- Plug into the cigarette lighter: This is the easiest and works for most setups. Just run the cable along the trim to keep it out of sight.
- Hardwire it to the fuse box: If you want a cleaner look or need the camera to record while parked, use the hardwire kit. This was also mentioned in both the Wolfbox and Redtiger guides.
Step 5. Tuck and Hide the Wires
Using the trim removal tool, carefully push the cable behind the headliner, down the A-pillar, and around the dash. Attach the wire with zip ties or clips as you work. Body airbags should not interfere with any wiring.
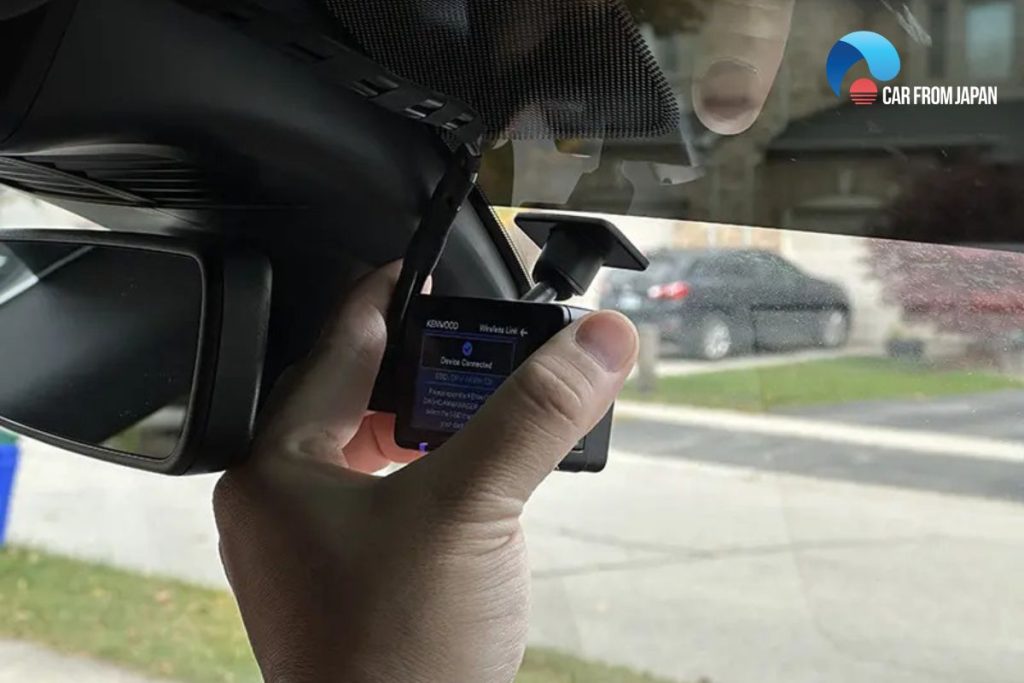
Step 6. Start the Car and Test
Once everything is connected, turn on the engine. The camera should power up automatically. Check the live view to make sure the angle is good and that it’s recording properly.
If it has Wi-Fi, open the app (like the Redtiger app) to double-check settings.
Pro Installation Tips
Once your front camera for car is installed, a few small details can make a big difference.
These are not sophisticated insights, but the kind of things people tend to recognize after the fact, when it’s difficult to do anything about them.
Here’s what you need to know to get it right the first time:
- Pull the front camera for the car and open it. Check the angle before mounting.
- Wipe the windshield with alcohol to clean it before pasting the camera.
- Don’t run the cable near curtain airbags.
- Use a high-quality SD card to prevent losing the recording.
- Label your cables if you have added connections or accessories.
- Use a hardwire kit if your wireless front parking camera for the car supports parking mode.
Common Mistakes to Avoid
But even if the install appears straightforward, some easy-to-make errors could make a mess of things if you’re not careful.
- Sticking the front camera on the car before checking the angle can lead to poor footage.
- Not cleaning the glass before mounting often causes the camera to fall off.
- Running wires near airbags can create a safety hazard.
- Using a low-quality SD card may result in lost or unreadable recordings.
- Leaving wires loose can block your view or distract you while driving.
- Skipping the hardwire kit on a wireless front parking camera for a car may disable parking mode.
Final Thoughts
In this blog, we covered everything you need to know to install a front camera for a car by yourself.
We explained what a single front camera for a car is, what tools you’ll need, and walked through each step of the setup, from finding the right spot to hiding the wires and powering it correctly.
We also posted some helpful tips to install it more cleanly and noted some mistakes to avoid.
Whether you’re setting up a basic wired model or a wireless front parking camera for a car, the steps are nearly the same. Hope this guide helped clear up your questions and gave you the confidence to get it done right.