DIY car repairs are an easy way to save money. Here we discuss how to change an oil filter at home. This will also save you some invaluable time. The procedure is easier than what you think. Moreover, it will keep your car in good conditions, and reduce the volume of fuel intake. First we discuss the tools necessary to perform a car oil change.
What you will require:
- New oil – check your handbook for the correct oil
- Metal ramps
- Oil filter – check your handbook for the correct filter
- Spanners
- Some old clothing
- Old bucket or oil draining pan
- Clean rags
How to change an oil filter:
Step #1
To change your car’s oil filter, keep the tools and oil drain pan nearby. Lift the front of your car high enough to get access under the engine.
Step #2
Now use the handbrake, put the car in gear, open the bonnet, and bring the dipstick out and remove the oil cap. Get yourself under the car.
Step #3
Remove any plastic covers beneath the engine. Now get to the oil sump right under the engine.
Place the drain pan beneath the sump plug. Undo the sump plug using a spanner and drain out the oil.
[efsbutton class=”btn” style=”” size=”” color_class=”” align=”left” type=”link” target=”false” title=”Join our FREE CAR GIVEAWAY Campaign here” link=”https://carfromjapan.com/campaign/car-from-japan-free-car-giveaway-2018″]

Step #4
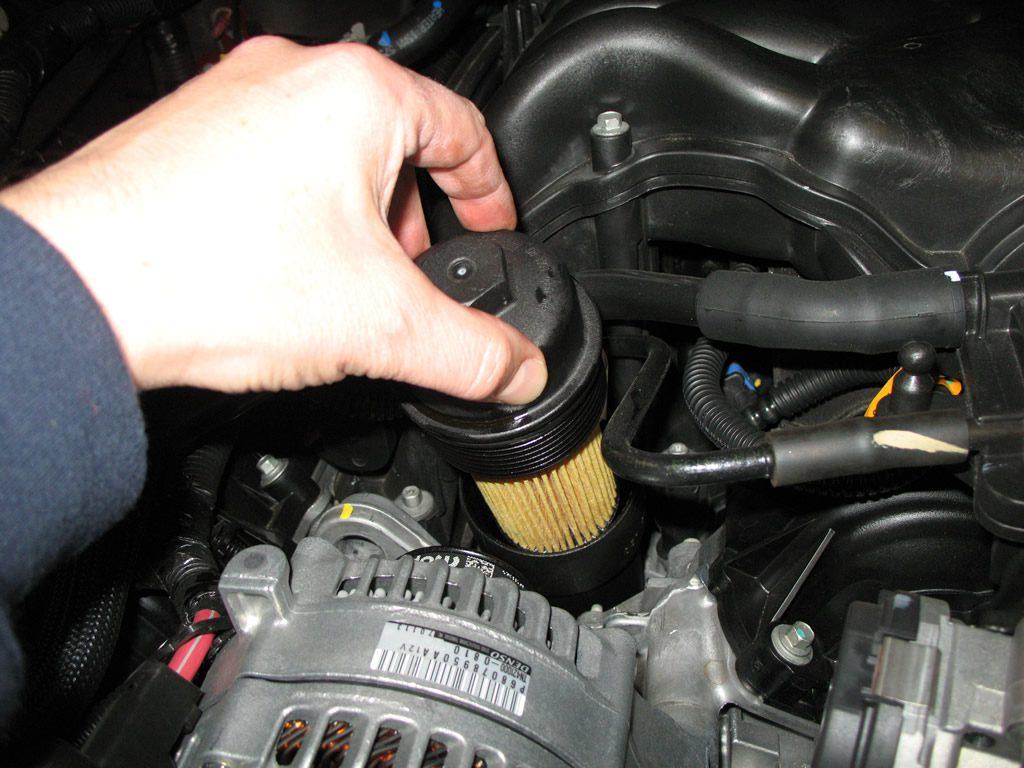
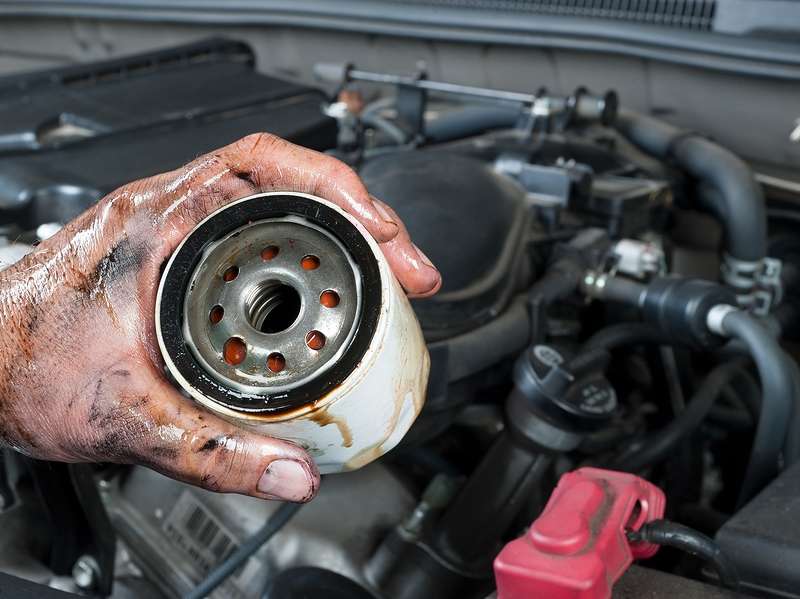
The oil filter is a round canister screwed against the engine, and it is about 4 inches long.
Step #5
Now unscrew it properly and put a new one in its place; smear fresh oil around the rubber seal before you reattach it.
Tightly screw the filter against the side of the engine block.
Step #6
Check to see if the oil has drained out completely, and clean the sump plug with a rag. Now reattach the sump plug and plastic cover and refill your car with new oil.
Make sure you check the dipstick for oil level
As soon as you start the engine, make sure the oil warning light goes off in a second or two. To include oil, expel the oil filler top, typically situated on top of the motor. Since over-loading with oil is awful for the motor, you should include oil a little at any given moment. Begin by including about a large portion of a quart. Utilizing a pipe maintains a strategic distance from spills. Hold up a moment or something like that and check the dipstick once more. On the off chance that the level is still underneath or close to the base check, include whatever remains of the quart. Unless your motor is spilling or consuming oil (or on the off chance that you haven’t checked it in temporarily) you will once in a while need to include more than a quart. In any case, if a moment quart is required, include that in gradually also, checking as you go.


