You have decided to paint the car yourself, that is great! Unfortunately, a paint job is not as simple as just pick up the spray gun and spray the paint on your car. There are steps to follow to ensure your paint job won’t look worst off than before. Here I give 6 tips for prepping a car for painting, these are information about what you should do and what you need to pay attention to.
Contents
1. Deconstruction
In this step, you will remove the non-painted parts that are removable like trims, emblems, etc. Yes, you can just cover them with tape and paper, but you may risk having tapelines on your car. Besides, taping around bumpers, emblems, and door handles is a silly thing to do. Take the time to remove these items before you spray paint will make your final product look substantially better.
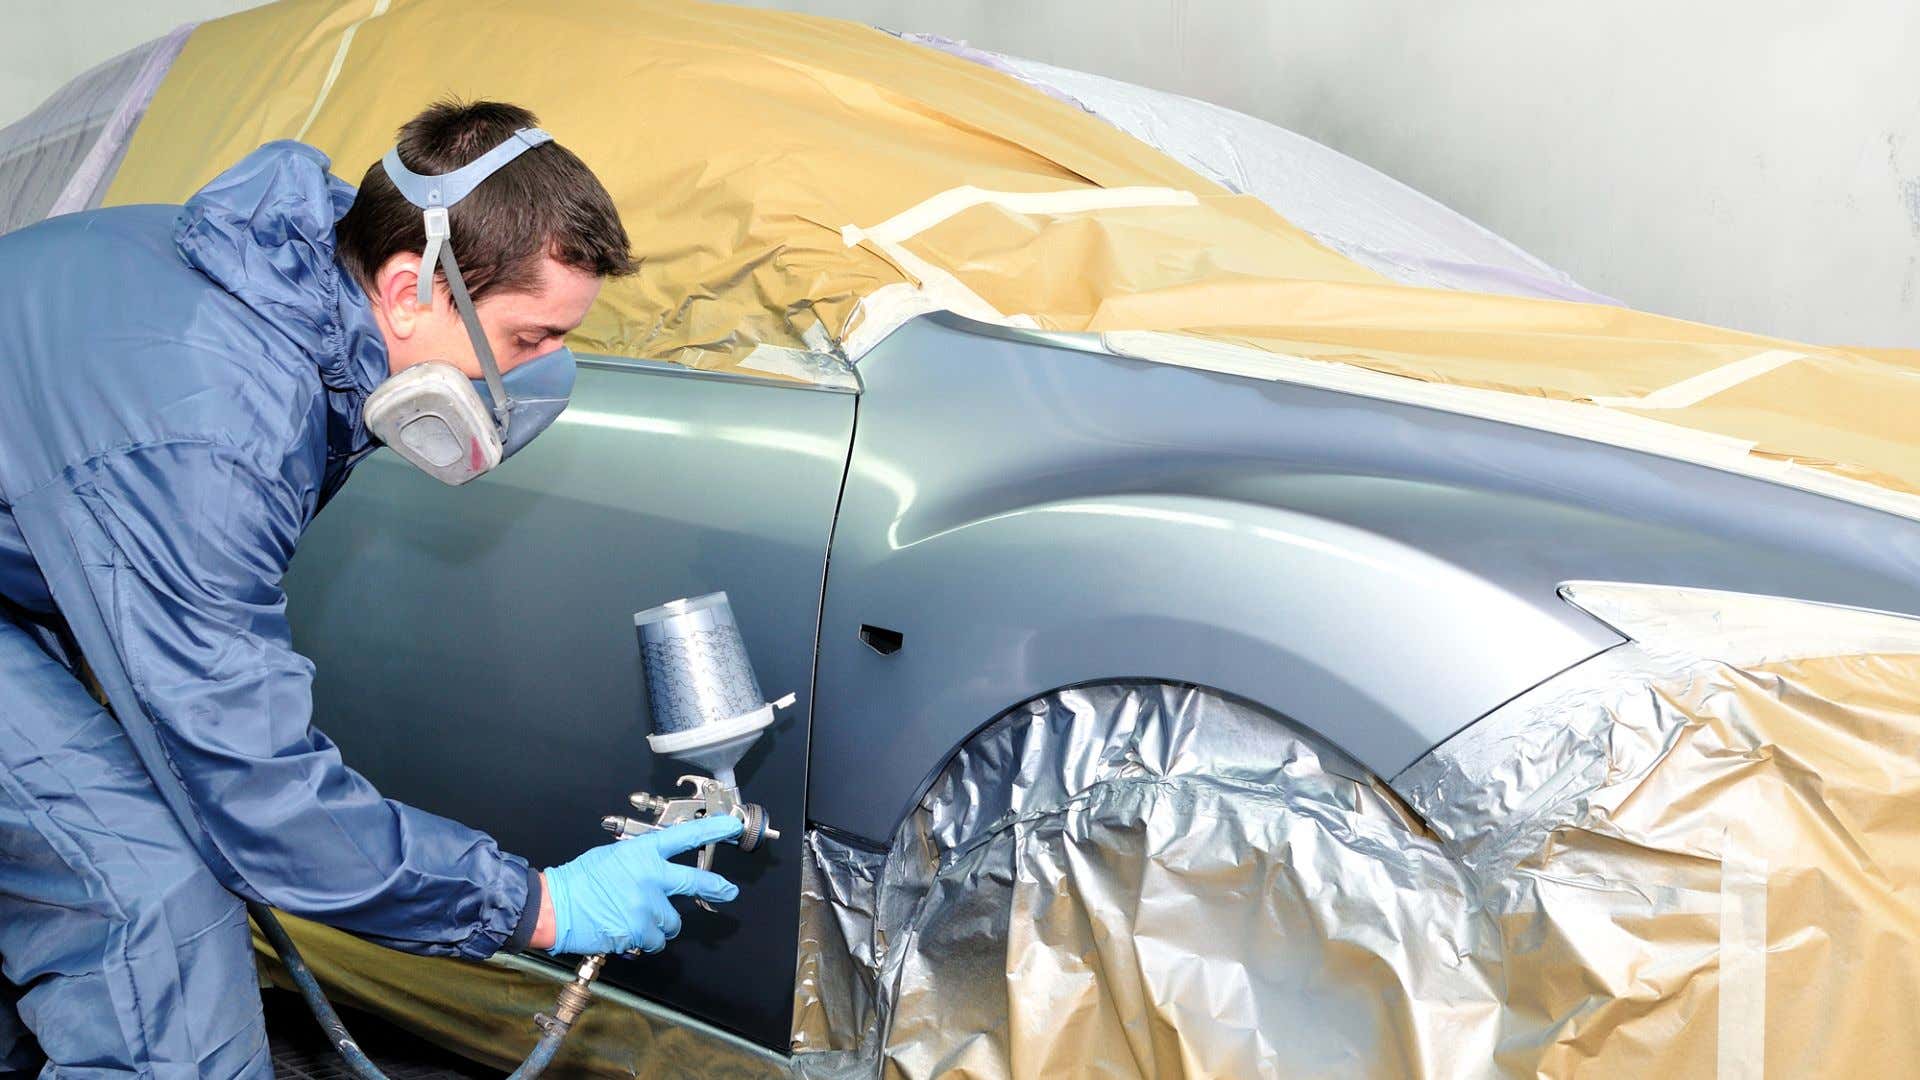
With the parts that you can’t remove, you can cover them up. However, normal masking tape is not ideal for this job, you should use automotive tape instead. It has higher heat resistance, higher adhesion power, and higher tensile strength. The same can be said for covering up large parts, don’t use newspaper or paper with patterns, the ink can bleed through during the painting process. Automotive masking paper is a better choice.
2. Sanding
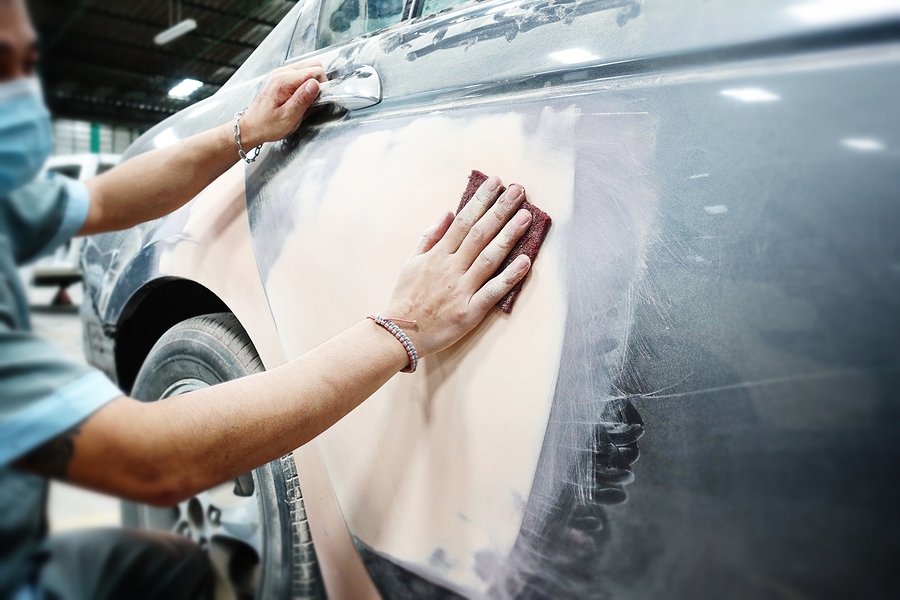
Sanding is an important process that you have to do a lot. Really, you will do that between almost every step to properly prep your car for painting, so prepare for the bodywork. You have to be patient if you want a great result, right? Luckily, you can use a DA sander to speed up your work greatly. Sand the flat surface with a DA sander, then do it by hand on curves and irregular surfaces. It’s best that you sand and strip off old paint, down to the bare metal.
Rust is one of the things you may have to deal with while sanding. Leaving the rust alone will ruin your paint job, it won’t go away but keep eating at the metal instead. You can just sand it off with paint and other damages if it is light. But if the rust is too heavy, use rust killer, in this case, you will have to wait for 48 hours before continuing with the work.
Before you start sanding, use wax and grease remover to clean the surface first. You don’t want dirt and debris to get sand down into the car surface. Start with 180 grit sandpaper to remove rust and damages, gradually work up to 220, and then 320 to remove the scratches. You can start from lower grit if you want to have finer sanding. Then depending on whether you want a solid color paint or metallic color paint that you choose use 400 or 600 grit. Metallic color will show more than a solid color, so finer sanding is needed.
You don’t want to move the sandpaper in one direction only. Moving in a crosshatch pattern will make the sanding more even and level. You can use a guide coat in the process, it shows the high and low in the surface, you can check the scratches on your car surface. After you finish one time, instead of blowing off the sanding, consider using a vacuum instead. That way, it will suck up all the sanding instead of letting them fly around and be breathed into your lungs. Also, it helps avoid the sanding get into tiny holes and scratches, makes it harder to detect when you do body filler. Wipe clean the surface before getting to the next sanding.
3. Surface Preparation

The paint will show everything, remember that. Don’t hope that the paint can cover everything up, no, it will make it worse. With large dent, you can try to pull them out with heat and tools. With smaller dents and other imperfections, you can use body filler to fix them. Mix body filler with a hardener, put it in spots that need to be filled, and wait for it to dry. You have to sand it down until it is even to the surface around. For tiny holes and tiny scratches that are hard for body filler to get in, there is glaze and spot putty. It can fill them easily and give you a perfect surface. During this process, you have to do a lot of sanding and cleaning and have an eye for little details to make sure you don’t miss a spot. Using a guide coat also helps you see the surface better.
4. Primer
This is an essential part of prepping a car for painting. Primer will act as a bond between the bare metal surface and the paint on it. It’s not that you have to use primer for every paint job, like when you only fix paint in one spot and you don’t sand it down to the bare metal, or when you fix some parts that aren’t metal. But generally, primer is a must if you want to paint your car properly. Without primer, the bare metal surface will reject the paint and eventually rust away quickly.
You usually need 2-3 layers of primer on your car before painting. Make sure the primer and paint are compatible with each other. There are many different types and brands of primer and paint and they may work in different systems. Incompatible primer and paint will absolutely result in a nasty outcome for your car because the paint not sticking, checking, and crazing instead. Spray one layer of primer, wait for it to dry, sand it down, clean, spray and sand again and again.
You should wear gloves because the oil on your hand may get on the primer. You have to make sure the surface is even and level, so look for the highs and lows. Each time you do this is a chance to get rid of any imperfections left from previous steps. The last surface coat before painting is the sealer, which seals all the primer and provides a uniform coat for the paint. This does not get scuffed or sanded. Leave it out, and you will get rings around your body works.
SEE MORE:
- How To Fix Faded Car Paint: An Easy-To-Follow Guide
- How To Touch Up Car Paint: Three Effective Methods
5. Cleaning
You have to do surface cleaning as much as sanding. Blowing, sucking, normal wiping with water only just won’t do. I will give you a four-step cleaning procedure to make sure the best surface for you. Prepare lint-free cloth for the cleaning, you will need a lot of them.
In the first step, you will use glass cleaner. Spray it on the surface and wipe it clean like normal. You will see the dirt on the cloth immediately even though the surface may seem clean before. Only wipe in one direction, you don’t want to swirl the dirt around your whole car. Only use the clean surface of cloth too, just throw it out and use a new one when it gets dirty on all sides.
The second step will be a pre-painting prep cleaner. You will see the cloth continue to pick up dirt. Keep wiping in only one direction.
In the third step, you can use isopropyl alcohol, with 75% alcohol and 25% water, it is available in drug stores, or you can make it yourself.
The last step will be the tack rag. Take it out and leave it there for a few minutes to reduce the stickiness a little and wipe your car with it. Tack rag will pick up any dirt and debris left. Then you ball them up and wipe your car one more final time for good measure.
6. Time And Location
Time and location for the paint job is a thing you need to consider carefully if you don’t have a booth to control temperature and other factors while painting. First is the time, when will you do your paint job in the day? Morning or afternoon? In the summer, it’s best you do it in the morning. There is a minimal amount of bugs at this time and the temperature is not too high. In the winter or cold months, you should choose the afternoon, however. There is no bug at this time, but it is warmer in the afternoon. The best temperature perfect for painting a car will be between 65-90 Fahrenheit degrees or 18-32 Celcius degrees.
For the location, will you do it inside your garage or outside? A lot of people choose to do it outside because it will be less of a hassle and better ventilation. However, there are many uncontrollable things outside that can affect your car painting: wind blow dust around, bugs and birds may land on your paint, etc. If you choose to paint inside your garage, then you have to seal the house door with tape and plastic sheets to prevent the fume get into your house. Crack the garage door open just enough to ensure ventilation. You will have to sweep the floor a lot, a vacuum cleaner can help you with this. You can mist the floor with water to keep the dust down, too. Wearing a respirator is a must to avoid breathing in the fume.
Conclusion
To paint a car, a lot of patience and effort are required. You can practice painting with your spray gun and try out many painting techniques to get the hang of it before actually paint your car. Follow these tips to give your car a gorgeous new look!


