
Let’s be honest, it is not a car without a car stereo. From the beginning of time, the stereo is the key feature in every automobile. A new head unit can upgrade your dashboard, as well as modernize the whole speaker system’s performance. Not only you can use all the media devices like satellite and HD radio, DVD player and Bluetooth Control. However, if you want to upgrade to a much better car stereo, you need to get rid of the old one. In this article, we will show you how to install a single din car stereo by yourself. But first, you need to know what a single DIN car stereo is.
The Definition of Single DIN Car Stereo
What is DIN?
DIN is short for Deutsches Institut für Normung, the German standards body, which has a specified width and height for car head units. With the DIN standard, car owners as well as car mechanics can understand when a unit is referred to as a single DIN or double DIN car stereo.
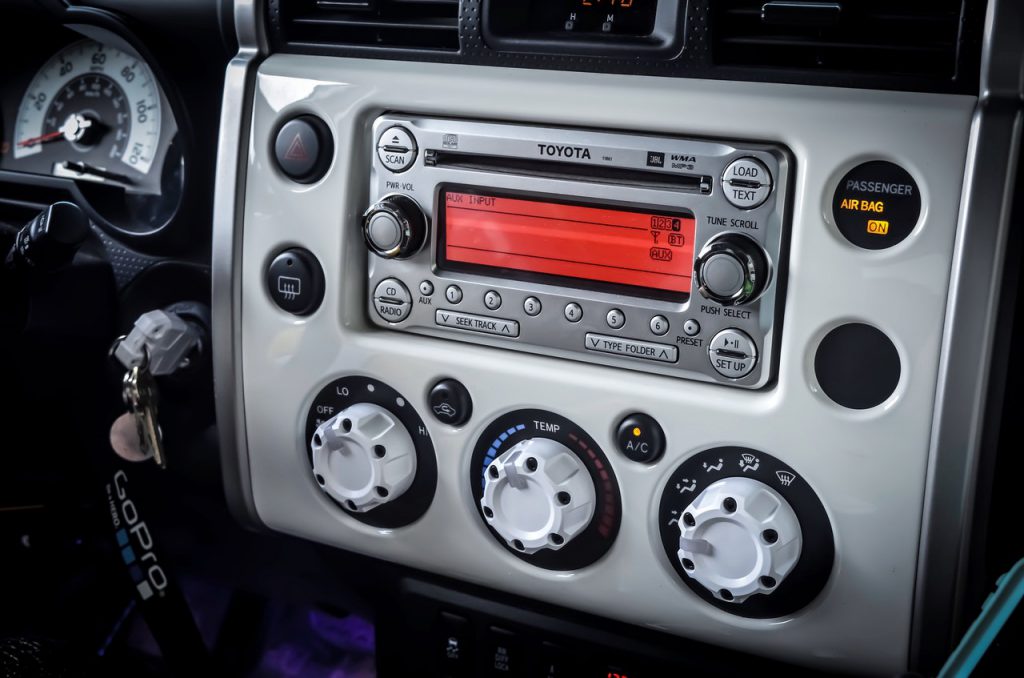
What is Single DIN?
Now that we know the definition of DIN, how do we tell if our car radio is single DIN? By measuring it. The height of the radio will help you distinguish the type of DIN.
If the radio is around two inches tall, it is a single DIN. If it is around four inches tall, it is double DIN. And if it is between two and four inches tall, it is a 1.5 DIN radio. Even though this type of radio is quite rare, we still have to count it in the list.
How to Install a Single Din Car Stereo
The Tools
In order to answer the question of how to install a single din car stereo, you need to have the right set of head unit installation tools. And if you have not bought a head unit, it is essential to do some research as well as measurements in order to purchase the one that fits the space in the dashboard. With the purpose of installing or replacing the head unit, there are some equipments and tools that cannot be missed:
- Torx drivers or Bits.
- Prying tool or Pry bar.
- Flat blade and Phillips head screwdrivers.
- Soldering iron or crimping tool.
- Wiring harness adapter. If you do not own any wiring harness adapter, you can use crimp connectors or solder as substitution.
The tool list might be different depending on each type of car radio, so if something does not fit, you might need to change to a different tool.
Assess the Situation
Firstly, we need to take off the fasteners of the radio. We cannot know how to install a single din car stereo if we still keep the fasteners on. In order for the car to look aesthetically and neat, the car makers design to hide it inside. So in order to access it, you will need to take off the trim piece.
Usually, car owners can pop the trim pieces off easily. However, some trim pieces have hidden screws behind the switches, plugs or ashtray, so always remember to bring the screwdriver. After the removal, you can insert the prying tool or a flat blade screwdriver with the purpose of popping off the trim piece. Also, be careful to not force the faceplate, trim piece or dash parts if they are not budge since there might be some place that is bounding together.
SEE MORE
Pull the Trim Back
When you have finished removing the fasteners, it is really easy to remove the trim piece. Also, there are many wire connectors, switches and wires, so be careful with those. Along with these parts, some cars also have climate controls connected to the head unit, so you need to avoid them as well. The reason to be careful is that these connections take responsibility for ventilation, air-conditioning as well as heating, and if you damage them, the climate controls might be broken.
Unbolt the Car Stereo
After that, we can finally remove the car radio from the dashboard. Remove the fasteners or the screws around and you can take off the stereo. Remember to place them in a safe location to put it back later.
Remove Any Additional Brackets
Normally, there are brackets that hold the factory car radios in place, and sometimes, you do not need to install the new head unit. And if car owners want to replace a single DIN head unit with a new single-DIN head unit, the bracket as well as the storage pocket can all be reused.
This is the time when we need the forehand research, since the new head unit might not need it.

Install a Universal Mounting Collar
The next step, which might not always be necessary, is to install a universal mounting collar. In most cases, aftermarket stereos come with a universal collar. This works in many situations. The metal tabs can be used to grip the sides of a dash receptacle for example.
Check the Plugs and Wired Connections
If you have the new head unit that fits completely with the existing wiring harness, that is the best. However, most of them do not match. So what do we need to do in this situation?
The first and easiest method is to buy an adapter harness. They are created specifically for fitting the head unit with the vehicle, so just purchase one, plug it in and there you go.
With new technology, car owners can just wire the harnesses directly into the pigtail with the new head unit.
On the other hand, if you do not have an adapter harness, you can cut off the harness connecting with the factory radio, then wire the aftermarket pigtail into it. If you want to do it this way, a solder or crimp connectors are required.
With the crimp connectors, car owners can strip two wires, then slide them into a connector to crimp it. One thing that you need to do is to connect each wire properly in order for them to work. Normally, every factory head unit has its own system for speaker wire colors, either has black tracer or single color, so it is helpful to follow the wiring diagram. And in case that you cannot find it, you can make use of a test light to identify the power and ground wires. Those two are the most crucial.
Another way to determine each speaker wire is to use a 1.5v battery. The method is to touch the positive and negative terminals of the battery to different combinations of wires. If you found both of the wires, there would be a slight pop of static.
Finish the Installation
The last step is to place everything back to its original. Car owners need to place it into the dash gently, then turn the ignition to the accessory position. You will be able to tell if the radio works or not. If it does not work, open and check the wiring job again. When you make sure the new radio works, you can now reverse the removal process, and there you have it. You now know how to install a single din car stereo.