
If your tire is consistently losing air and you’ve pinpointed the leak to be around the rim, you’re likely looking for more than just a quick top-up. You want a proper fix that lasts. Many bead leaks, as they’re often called, can be addressed with the right approach. This guide will teach you how to stop a tire from leaking around the rim, focusing on thorough cleaning and sealing techniques to ensure a reliable repair right in your garage.
Contents
How To Know Your Car Tire Is Leaking?
The tire does not work “alone,” so you may find that even if the tire is not leaking, it is still flat. So there is a really easy way for you to check if the tire is leaking around the rim or not. Let us show you how to do it!
Get yourself a generic spray bottle. Then make a mix of liquid, which includes the dish soap with water, mix well, and put it into the bottle. The ratio is about 1 soap and 4 cups of water.
The next step is to inflate the tire to the valve caps off and spray the solution on the end of the valve as well, so you can see if the valve itself is leaking.
If you see soap bubbles forming anywhere, there is a leak. For the small leak, it takes 10-20 minutes to see the change in the tire and the bubbles of the soap. This method is easy to check your tire at home, and you can do it without experience.
Besides this method above, here are the key indicators to help you know your car tire is leaking:
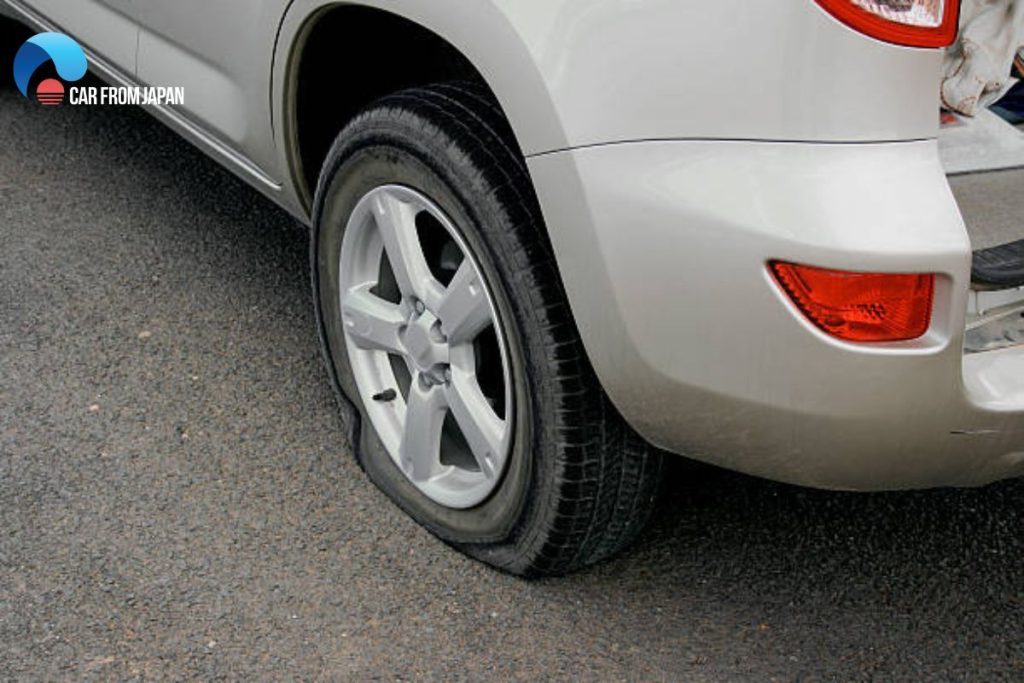
- Visually flat or low tire: The most obvious sign is seeing a tire that is clearly deflated or significantly lower than the others.
- Tire pressure monitoring system (TPMS) light: Most modern cars have a TPMS that will illuminate a warning light on your dashboard if one or more tires are significantly underinflated. This is a direct signal to check your pressures.
- Regular pressure checks: Even without a TPMS light, if you manually check your tire pressures (which you should do regularly, ideally monthly) and find one tire is consistently lower than the others or loses pressure faster over time, it’s a strong sign of a slow leak.
- Audible hissing: Sometimes, especially with larger punctures, you might hear air escaping from the tire, particularly if you’re close to it in a quiet environment.
Step-by-Step Process To Fix Tire Leaking Air Around Rim
Fixing the leaking tire is not as intricate as it may sound. The changing process is much easier if you have the appropriate equipment kit with you.
One might have to visit a mechanic to fix the inner-tube tires. Fixing tubeless tires is easy with special techniques and equipment.
Let’s go through the fixing process of how to stop a tire from leaking around the rim of a car.
1. Remove the tire & Start the procedure
The first step on how to stop a tire from leaking around the rim is removing the tire and placing it on a flat surface. Make sure the air inlet valve is not facing the ground.
Examine if there is any leak or hole visible. It will be easier to treat the leakage outside than that of the tire leaking around rim.
Fill the tire and rim attachment with water. The leak area will be identified with bubbles from leaking air. Check both sides of the tire with simple or soapy water.
2. Release the air from the valve
Spot the leakage area on the tire and mark it accordingly. Empty the tire air by pressing the valve inlet with a pin. It is essential to release the air from the tire before treating it.
There is a valve-removing tool in the car equipment kit as well. Make sure the leaking side of the tire and rim are visible to treat. That’s all you need to do for the second step of how to fix a rim leak.
3. Release the tire-rim attachment
The tire and rim are attached with a seal. The air inside the tire tightens the seal. You might need something heavy to release the attachment. According to expert maintenance tips, a heavy hammer and a wooden plank will do the job perfectly.
It is essential to remove the tire from the rim if the tires leaking around rim is the issue. Hit the plank with the hammer after putting it close to the tire-rim seal.
4. Clean the edges & repair
The final step on how to stop a tire from leaking around the rim is cleaning the edges of the tire with a cloth after releasing the seal. It is easy to press the removed tire with your hands and clean it accordingly.
Put some repair solution on the leakage and fill the air again. While the air flows into the tire, make sure to position the tire and rim appropriately. You can check the tire leakage again with water.
How Much Does It Cost For A Rim Leak Repair?
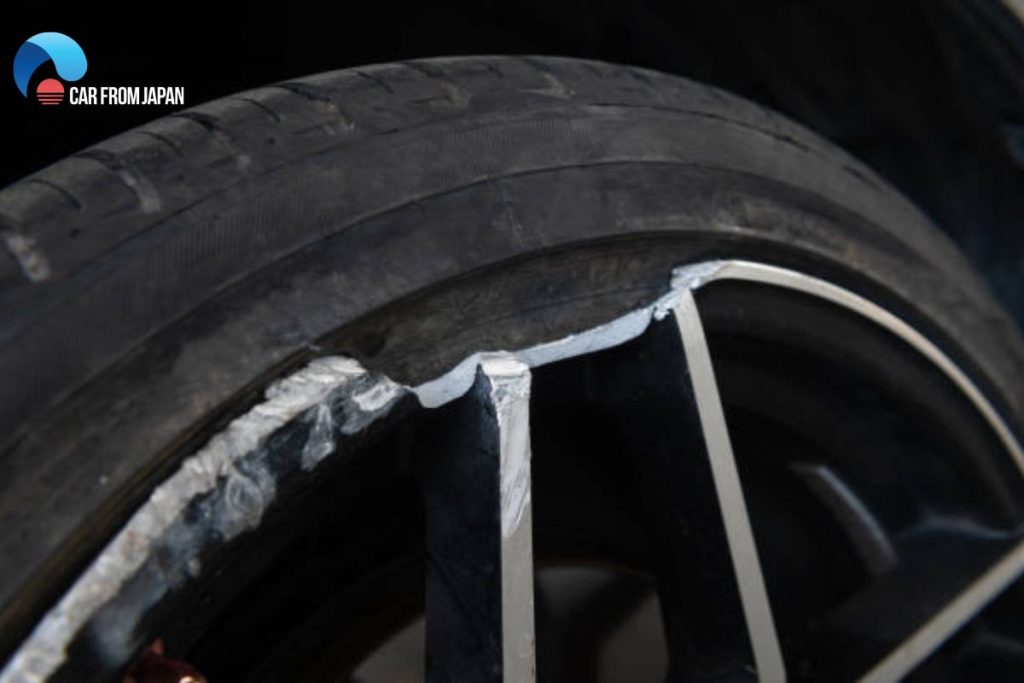
Most people who ask how to stop a tire from leaking around the rim wonder how much it costs to fix the leak. If it is the rims, then the wheels have trouble.
At the mechanic, the repairman will unmount the tire, clean the rim on the inside, then apply the bead sealer and the unmounted tire. He also changes the valve stem for you. The total cost is around $20 – 30 for one wheel.
The problem is, many shops, instead of fixing the problem from the root, write it off as a bad bead or something that will charge you a lot of money to throw the sealer at the issue.
Your car will be fine for one wee,k and the leak will come back to what they were before. Besides, some shops may just grab something around the shop and smooth it out.
They try to smooth out the surface where it was leaking, then slap on a bunch of bead sealers. So again, the problem is not completely solved.
The Final Words
That’s all about how to stop a tire from leaking around the rim. Follow these vital tips and continue your flawless journey on the roads. You can do it yourself at home, or if you are not sure whether you can do it or not.
Bring your car to the trustworthy garage, tell them that you have a slow leak on the tire, and ask them to check the rim. So everything will be on track!
Thank you so much for this meaningful post for us because tires are the basic and essential parts of any vehicles. this is very nice post about fix a tire leakage.