
Any stains or scratches on the car’s body can make you feel uncomfortable and reduce the beauty of the car, even if the scratch is in a place that few people care about – the wheel rim.
Therefore, the article below will show you how to fix a scratched rim in just a few simple steps using easy-to-find tools.
Contents
What Are The Common Cause Of Scratched Rims?
Because under the rim is a blind spot in the rearview mirror, the driver cannot see clearly, making it difficult to avoid collisions.
So the wheel rims are relatively prone to scratching due to a few reasons below:
Curb damage
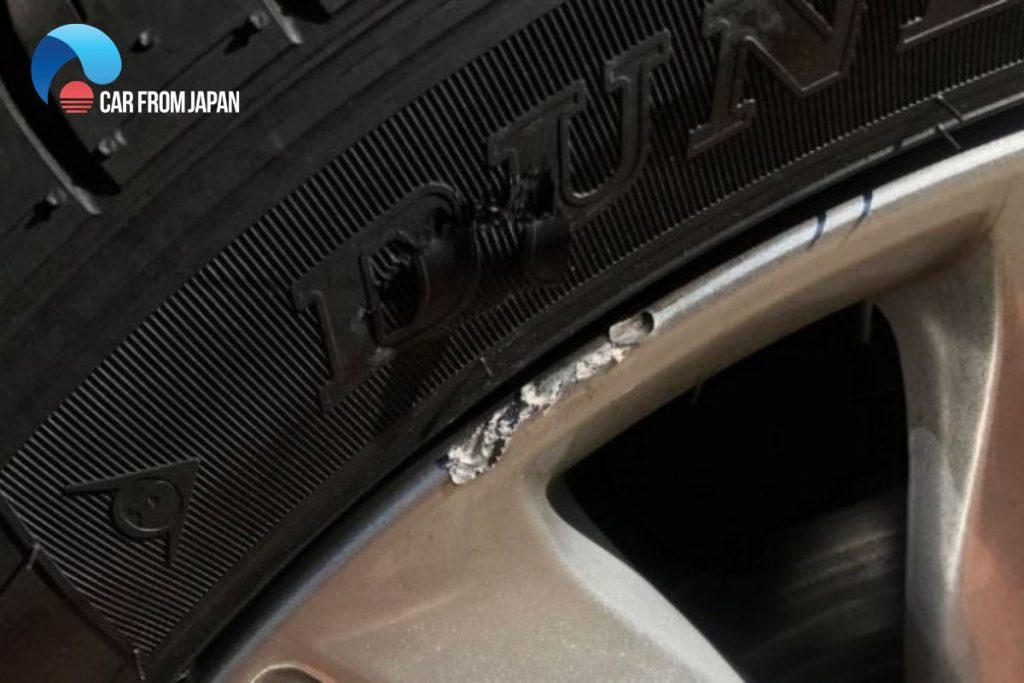
One of the most frequent causes of scratched rims is hitting curbs while parking or maneuvering the vehicle. Misjudging distances or turning too sharply can result in contact between the rim and the curb, leading to scratches or even dents.
Alternatively, everyday driving on potholes, debris, and collisions, all can leave their mark on the surface of the rims, from small scratches to large scratches.
For small scratches on the surface, it is easy to cover them with glazing paint, but for worse situations like deep scratches, you will need to replace them with a new rim.
Improper tire changing
When changing tires if the tools or equipment used are not handled carefully, they can inadvertently scratch or scrape the rim surface.
For example, using a tire iron or jack without proper padding or protection can cause damage.
Cleaning methods
Improper or abrasive cleaning methods, such as using harsh cleaning agents or rough brushes, can inadvertently cause scratches on the rim surface.
It’s important to use appropriate cleaning techniques and tools specifically designed for rims to avoid damaging the finish.
Watch more:
Understanding these common reasons can help car owners take precautions to minimize the risk of scratching wheel rims so how to remove scratches from rims? Let’s move to the next part:
How To Fix A Scratched Rim – Follow These Methods
Scratched rims are an eyesore and can diminish the value of your vehicle. Fortunately, depending on the severity of the damage, you can often fix them yourself or have them professionally repaired. Let’s look at the rim scratch repair process below to know more:
Tools needed for fixing a scratched rim
- Mild soap or rim cleaning solution: Used for cleaning the rim before and after the repair process.
- Soft brush or sponge: To clean the rim and remove dirt, grime, or brake dust.
- Clean cloths or microfiber towels: Used for drying the rim and applying the polishing compound.
- Fine-grit sandpaper (around 800 to 1000 grit): For sanding the scratched area.
- Touch-up paint or rim repair kit (optional): If the scratches are still visible after sanding, you may need touch-up paint or a specialized rim repair kit to fill the scratches.
- Polishing compound: Used to buff and polish the repaired area.
- Protective gloves and safety glasses to ensure your safety when making a process.
Can you fix the scratched rims by yourself? Fixing a scratched rim on a car typically involves a few steps. Here’s a general guide that can help you address minor rim scratches:
Step 1: Clean the wheel rim
Start by thoroughly cleaning the rim to remove any dirt, grime, or brake dust. Use a mild soap or rim cleaner and a soft brush or sponge. Rinse off the cleaner and dry the rim completely. Or you can use cleaning solutions and a soft towel to clean the scratched area on the wheel.
Additionally, in this step, you should examine the scratches to determine their depth. If the scratches are only superficial and have not penetrated the metal, you can proceed with the following steps.
However, if the scratches are deep or the rim is severely damaged, it may require professional repair or replacement.
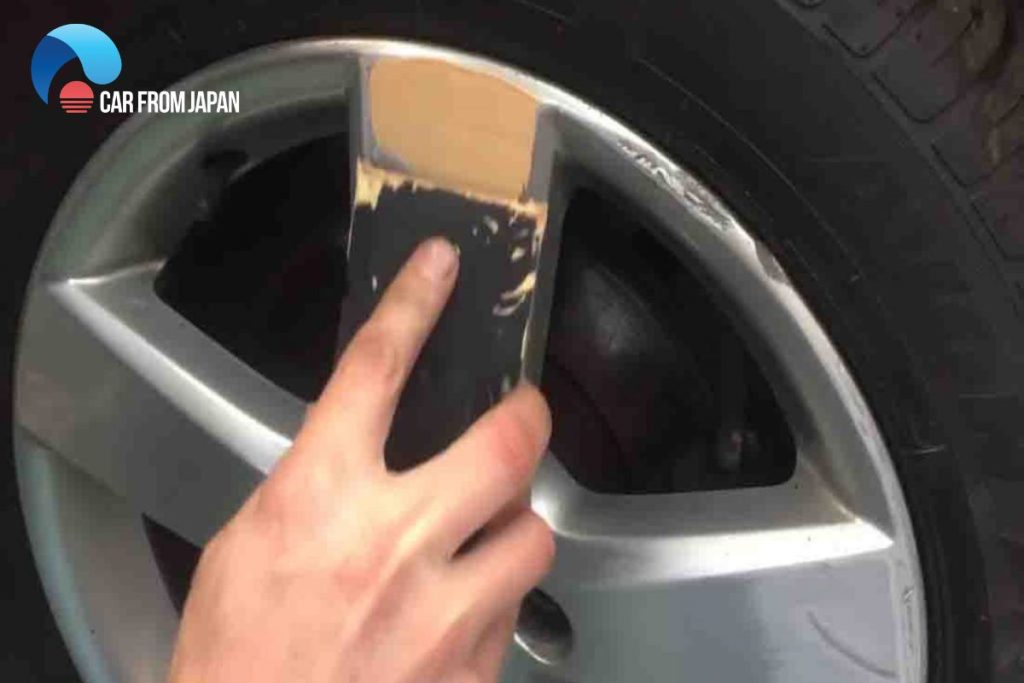
Step 2: Sanding
Use fine-grit sandpaper (around 800 to 1000 grit) and lightly sand the scratched area. Sand in a circular motion, focusing on the scratched portion of the rim.
Be careful not to apply excessive pressure as you don’t want to make the scratches worse. If the scratch is near the tire rim, you need to tape it around to avoid affecting the tire.
Step 3: Fill the scratches (optional)
If the scratches are still visible after sanding, you can use a touch-up paint or a specialized rim repair kit to fill them.
Follow the instructions provided with the product for the best results. Apply the touch-up paint or repair material carefully, ensuring that it covers the scratches evenly. Allow it to dry completely according to the product’s instructions.
Step 4: Buffing and polishing
Once the repair material is dry, you can use a polishing compound and a soft cloth to buff the repaired area.
Apply the compound to the cloth and gently rub it onto the rim in a circular motion. Continue buffing until the repaired area blends in with the surrounding rim surface.
Step 5: Final cleaning
After buffing, clean the rim once again to remove any residue from the repair process. Use a clean cloth and a mild soap or rim cleaner. Rinse off the cleaner and dry the rim thoroughly.
So, the wheel scratch repair process is quite simple, isn’t it? Try it if your wheel rims are having this problem, good luck!