Your car is a symbol of your pride and personality. And you may hate to see any extraneous labels attached to it by the manufacturer or the previous owner. Learning how to debadge a car is one way to reclaim your complete ownership of it. Most cars look amazing after getting rid off the terrible badges. Without them, a vehicle’s exterior becomes smoother, making it easier to clean and polish.
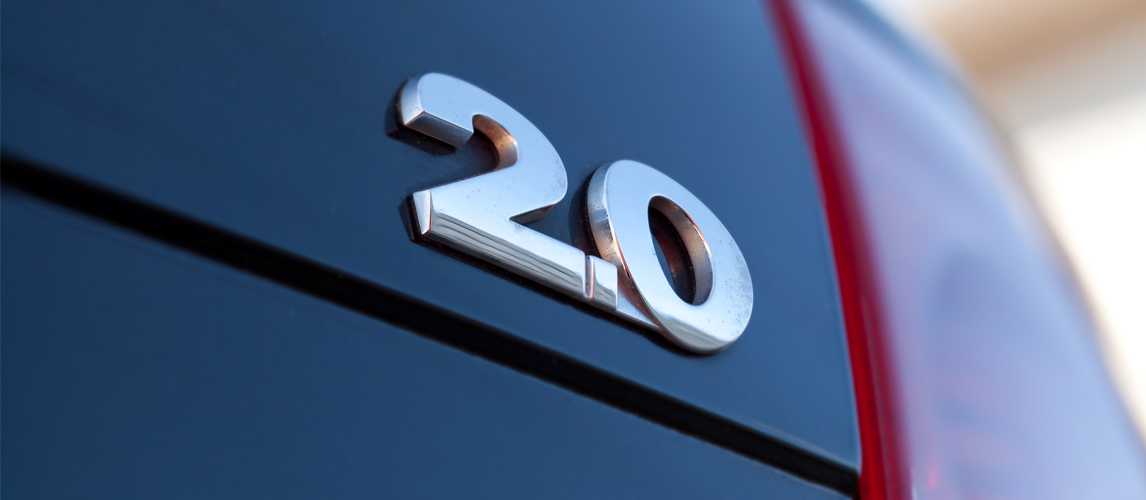
Debadging allows you to get rid of the emblems such as the manufacturer logo, car model, engine size, or any other labels. So, why wait any longer? If the fear of damaging the car paint is stopping you from debadging, it is time to cheer up. This guide will explain the best way to debadge a car without damaging the paint.
Contents
How to Debadge a Car without Spoiling the Car Paint
Debadging a car involves three main stages:
- Applying heat to detach the adhesive
- Removing the badge
- Cleaning the residual adhesive
Note: Most companies use glue to attach the badges, but the use of plastic and metal clips is not uncommon too. If your car’s badges are not stuck with adhesive, let a technician handle the debadging process.
Removing emblems attached with plastic or metal clips is a time-consuming process and requires professional expertise. Without the required skills, you may ruin the car’s paint, fixing of which will be an expensive business.
1. Applying Heat to Detach the Adhesive
Most automakers prefer the use of glue for attaching the badges. So, there’s a high chance that you can apply this procedure for debadging your vehicle.

To soften the high-quality car glue, you need to apply heat to the car surface. A heat gun is the best equipment for this task as it can quickly make the adhesive of the target area soft.
If you want to know how to remove car emblems without heat gun, a hairdryer or running hot water from a kettle could be a good alternative. Be careful though because heat gun alternatives may take a longer time to loosen the adhesive.
Use the heat gun or hairdryer to heat the whole badge area from edge to edge. It will soften all the glue. If you see no change, give it some more time, as the glue requires a certain level of heat to become loose.
If the badge is still hard to remove without damaging the paint, drip some glue remover to the badge edges that will soften the glue enough for badge removal.
SEE MORE
- Super Glue on the Car Paint? These Pro Tips will Help with the Removal
- Is there a Best Time to Wash a Car?
2. Removing the Badge
After working on the adhesive, move on to the next stage, which is removing the badge. Dental floss or fishing wire works best as a car badge removal tool. In the absence of these, you can use a professional trim removal tool. If nothing is available, use a credit card or something hard like that.
By using dental floss or wire, access the back of the badge and remove it through a flossing motion. This technique will leave the paint in an unharmed condition. If you use a screwdriver, trim remover, or any other sharp object, its edge will damage the paint.
Continue to apply the heat in every 30 seconds to keep the glue soft during the whole badge removal process. It will be great if you ask someone else to apply the heat while you work on taking the badge off.
3. Cleaning the Residual Adhesive
Now that you know how to debadge a car, let’s learn how to do the cleaning to wrap up the process. To remove badges from car, you have to deal with cleaning the remaining glue and other residuals at the end.
Apply an adhesive removing solvent on the affected area and wait for a while. Wipe it using a microfiber towel. Another option to remove leftover glue is to scrape the adhesive with a plastic razor cautiously while constantly applying heat on it. Be careful when doing these cleaning tasks as you can scratch your car during this process.

After removing the residual adhesive, rinse the area to get rid of the last trace of the leftover glue. Experts also recommend polishing those particular areas where you have removed the badges from. Apply some wax or sealant as protection if you want.
Final Words
Debadging is not difficult if you follow the correct procedures. You have to be careful during the entire process since a mistake can damage the paint of that area, leading to expensive paintwork repair. Following this guide on how to debadge a car will make the removal process a breeze and make sure your car’s paint is unblemished. However, carry on the DIY project only when the badges are attached with adhesive, not with plastic or metal clips.