
Dealing with a broken tail light can seem like a hassle, but often it’s a repair you can handle right in your driveway. Instead of heading straight to the shop and paying for labor, knowing how to fix a broken tail light at home can be a real money-saver. Many common tail light problems are surprisingly straightforward to address with basic tools. This guide will show you some easy steps for tail light repair, getting your car back in top shape.
Contents
- What Is a Tail Light: Everything To Know
- Tail Light Repair: Step by step
- FAQs on Tail Light Repair
- How important are functional tail lights?
- What are common reasons for tail light failure?
- Can I replace a tail light bulb myself?
- How do I troubleshoot a flickering tail light?
- Is condensation inside the tail light a cause for concern?
- Can I drive with a cracked tail light?
- How do I fix a broken tail light lens?
- Why do my tail lights stay on even when the car is turned off?
- Can I use tape to temporarily repair a broken tail light?
- What should I do if my tail lights are dim?
- Final Thoughts
What Is a Tail Light: Everything To Know
The tail light of any motorized vehicle is required to be red to distinguish it from the headlight in the front. In this way, it is always observed clearly by drivers whether the vehicle is moving or turning away from any side.
The tail light of the car can be easily repaired by replacing a new one. However, in many cases, the tail light can still be utilized and repaired.
This will save time as well as unreasonable costs for the car owner, especially in some cases where the light belongs to the classic or rare car line.
The type of repair needed for the tail light depends on the severity of the damage and the shape of the broken part. Let’s take a look at the specific repair steps below to address your trouble while this cracked tail light repair situation appears.

Tail Light Repair: Step by step
Below are 4 steps to repair a tail light if the question is: How to fix a broken tail light? raise. Read on to learn how to fix a broken tail light at home.
Step 1: Remove the part you want to fix
Start by removing the part you want to fix. Now, take your repair kit and discard the plastic film.
Apply the film on any crack or hole. The film works on a smooth surface, only. If the interior is rather bumpy or rough, use cellophane tape.
Step 2: Make the chemical mixture
A tail light lens repair kit usually has a material inside to mend the damage. To activate the chemical process, you need to blend the ingredients, like an epoxy. After the mixture is complete you have to apply it in the soonest to make sure its effectiveness has not gone away. However, in any situation, you don’t have to panic, since you will get enough time to apply the mixture. Follow the instructions in the tail light lens repair kit.
Step 3: Apply the chemical mixture to the fixed area
Use the syringe inside to apply the chemical compound. While applying, make sure you are not going beyond the area to cover. Small repairs should not take more than a few drops. You need to put the compound carefully since it is difficult to remove.
Step 4: Let the fixed area dry then re-install the tail light
Once you are done applying the material, wait for it to dry up. As it dries, it will appear darker than the rest of the glass. After a certain period, when you are sure that the material is completely dry, reinstall the tail light.
FAQs on Tail Light Repair
How important are functional tail lights?
Functional tail lights are essential for road safety. They signal your vehicle’s presence, intentions, and help prevent accidents, especially in low visibility conditions like nighttime or bad weather.
What are common reasons for tail light failure?
Tail light failure can result from burnt-out bulbs, damaged wiring, or a blown fuse. Moisture buildup and accidents can also lead to malfunctioning tail lights.
Can I replace a tail light bulb myself?
Yes, replacing a tail light bulb is usually straightforward. Refer to your vehicle’s manual for the correct bulb type and follow the instructions. Make sure to disconnect the battery and wear gloves for safety.
How do I troubleshoot a flickering tail light?
Flickering tail lights might indicate a loose bulb or wiring. Start by checking and securing the bulb. If the issue persists, inspect the wiring and connections for damage or corrosion.
Is condensation inside the tail light a cause for concern?
Condensation inside the tail light can lead to bulb failure and wiring damage. It’s recommended to address this promptly by checking for leaks, sealing gaps, and replacing any damaged components.
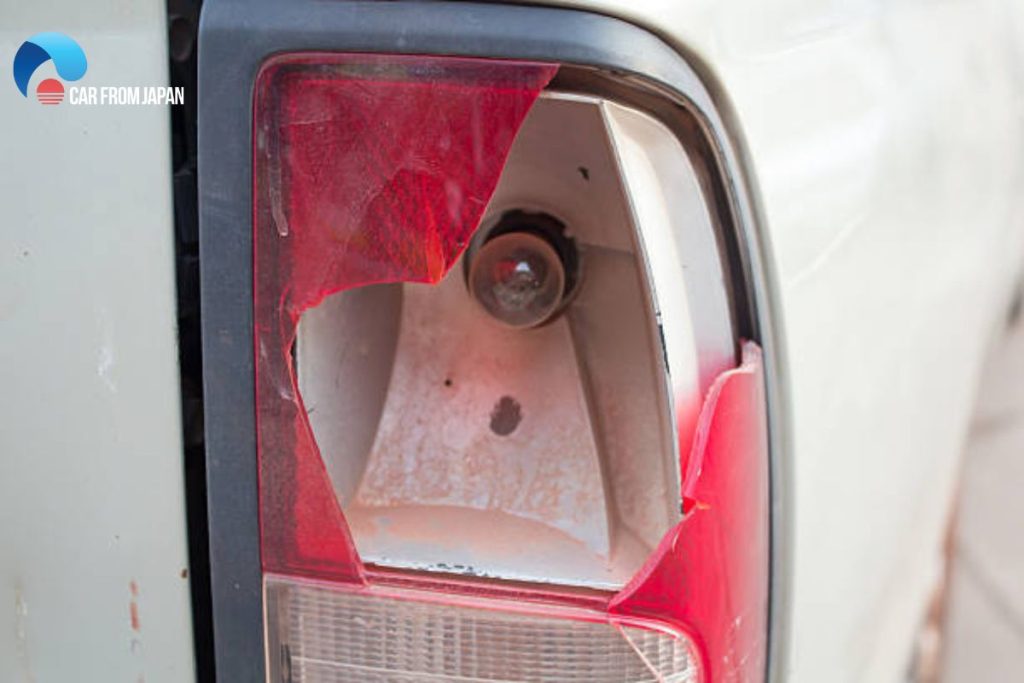
Can I drive with a cracked tail light?
Driving with a cracked tail light can result in moisture entering the housing and damaging the bulbs and wiring. It might also lead to legal issues if it affects the visibility of your vehicle’s signals. It’s best to repair or replace a cracked tail light promptly.
How do I fix a broken tail light lens?
If the tail light lens is cracked or broken, you can replace it with a new one. Most replacement lenses come with simple installation instructions, making it relatively easy to replace on your own.
Why do my tail lights stay on even when the car is turned off?
If your tail lights remain on after turning off the vehicle, it could indicate a problem with the switch or the wiring. Check the switch and inspect the wiring for any signs of damage or corrosion. If the issue persists, consult a mechanic.
Can I use tape to temporarily repair a broken tail light?
Using tape as a temporary fix for a broken tail light is possible, but it’s not a long-term solution. The tape might not provide a proper seal against moisture and debris, and it can also impact the effectiveness of the light’s signals.
What should I do if my tail lights are dim?
Dim tail lights could be caused by several factors, such as a weak electrical connection, a worn-out bulb, or a voltage issue. Start by checking and replacing the bulbs. If the problem persists, consult a professional to diagnose and address the underlying cause.
Check out this video below from Bondic for more details of another method to repair your tail light in a flash!
Final Thoughts
In conclusion, fixing a broken tail light at home is often simpler than you might imagine and a great way to save money. Whether it’s swapping out a burnt bulb or mending a cracked lens, these simple repairs ensure your car is safe and visible on the road. So, next time a tail light goes out, you’ll know you can likely handle it yourself with a little confidence and the right steps.
Hopefully, this article will be useful for you. In the next articles, we will show you many car maintenance tips so don’t forget to follow us on CAR FROM JAPAN to catch up with our interesting topics.