
Coolant leak is an unwanted situation that may come to haunt you. Maintaining a proper coolant level becomes essential when it comes to keeping your engine cool. That is why it becomes essential to detect and fix a coolant leak as soon as possible.
If the coolant leaking from bottom of car is a situation you are facing right now, reading through would be beneficial.
Contents
Coolant Leaking From Bottom Of Car: The 3 Major Locations To Look For
When your coolant level starts dropping, initially you would notice no change. The moment the coolant levels go too low, the engine would gradually begin to overheat.
It is the car’s components that start getting prone to damage next. This is why fixing antifreeze leak is one job that you can’t ignore.
1. Hoses
A car’s coolant system has at least four hoses or aptly the fluid pipes. The hoses are installed such that they carry the coolant to and fro the radiator.
Over time or due to immense heat, there may emerge a case where these hoses develop cracks. The cracks may further lead to the development of leak points.
When coolant leaking from bottom of car is witnessed, it could be because of the worn out hoses. Visit a mechanic for hose replacement and fixtures so that the appropriate coolant levels can be maintained.
SEE MORE:
2. The Radiator Cap
A bad radiator cap is another thing to look for when you find coolant leaking from the car’s bottom.
Whenever the coolant would heat up, it would overflow from the radiator’s end. The radiator works on the principle of pressure, and this pressure is stabilized with the help of a cap.
When the cap isn’t fit properly, the pressure will not build up thus the loss of coolant.

>> Looking for a car from Japan with good conditions, click here <<
One needs to keep in check the pressure when diagnosing the reason for the leak. You could do this either by going through the car’s user manual or through visiting a car expert. You could also refer to maintenance tips, for symptoms of a bad radiator cap.
3. The Blown Head Gasket
The head gasket is a part of the internal combustion engine. One of the functions that the head gasket is equipped with is resisting any coolant leaks.
Owing to the head gasket’s large surface area and due to exposure to temperature variations, they may develop leaks. If the coolant in car leaking from the exhaust or the intake manifold, a blown gasket head could be the reason.
One should know that treating head gasket leaks should be a priority as they may expand over time. You should check the engine temperature gauge of your car for checking the issue. In case you find that the temperature is abnormally rising, a blown head gasket could be the reason for the coolant leaking from car.

How To Fix A Coolant Leak: A Detailed Guide
We have just found out several major reasons why coolant leaking from bottom of car. To effectively fix and prevent things like this to happen, you can follow our following guides detailing each step.
Here is everything you will need to guarantee that you don’t get injured, or lose a finger while working on your car, and that you keep your skin, pants, and shirt clean.
- Engineer gloves
- Security lenses
So, the supplies you’ll need to fix a coolant or antifreeze leak are listed below.
Tool
- Screwdriver
- Wrenches
- Steel shears
- Container/bucket for used antifreeze/coolant
Car Parts
- Coolant/antifreeze
- Hose clamp
- Heater hoses
- Radiator
- Plaster tape
- Updated thermostat
By arranging your equipment and supplies such that everything is within easy reach, you may avoid wasting time waiting for your handy kid or four-legged assistant to bring you the sandpaper or blowtorch.
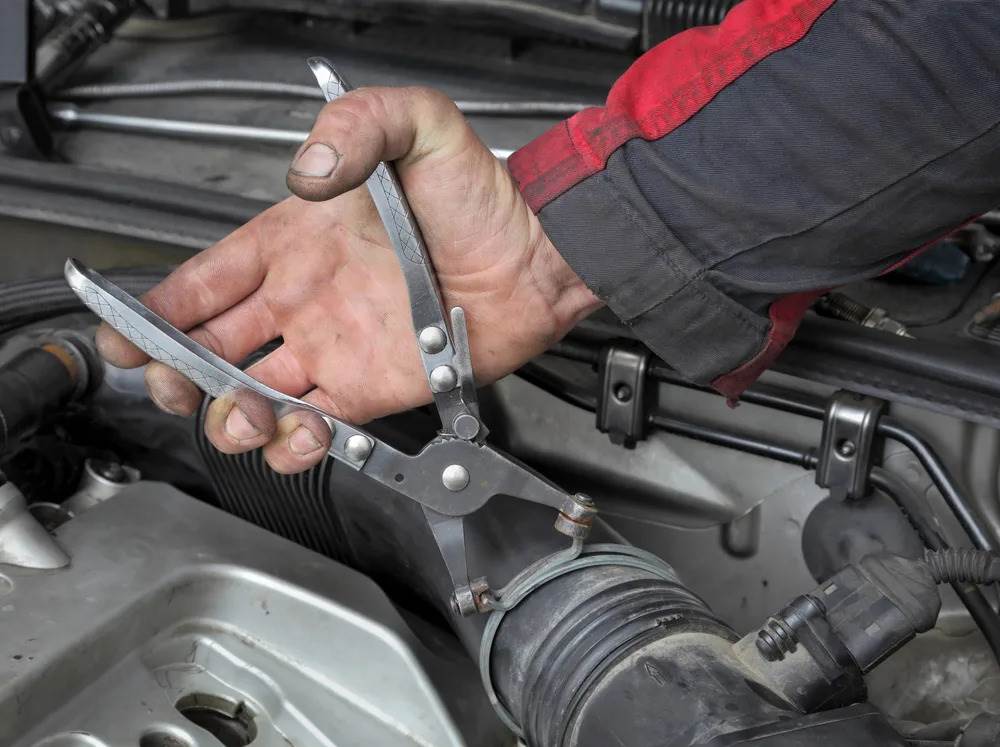
Repairing or Replacing Hose Clamps
Hose clamps, tiny metal rings with a screw or other mechanism to cinch them tight, are used to secure the hoses on an automobile.
Additionally, the hose clamps may break as the automobile ages or is utilized in an area where rust is virtually guaranteed by yearly application of road salt. When they do, follow these steps to replace them.
- Let the car cool down for about 10 minutes
- For five to ten minutes, let the automobile rest and cool.
- Open the hood, then take the radiator cap off.
- If the worn-out or damaged hose clamp is still present, find it.
- You might need to remove some coolant or antifreeze depending on where the hose clamp is. Drain as much liquid as necessary to reach the hose and clamp by placing the bucket below the hose.
- If you can, unscrew the broken or outdated hose clip; you might also need to cut it.
- Attach the fresh hose clamp on the unblocked hose.
- Reduce the hose clamp’s tension.
- Retighten the radiator cap after adding fresh fluid to the radiator.
- The automobile should be started and allowed to reach operating temperature. Now you can check for leaks in the new clamp. You’re done if everything looks okay!
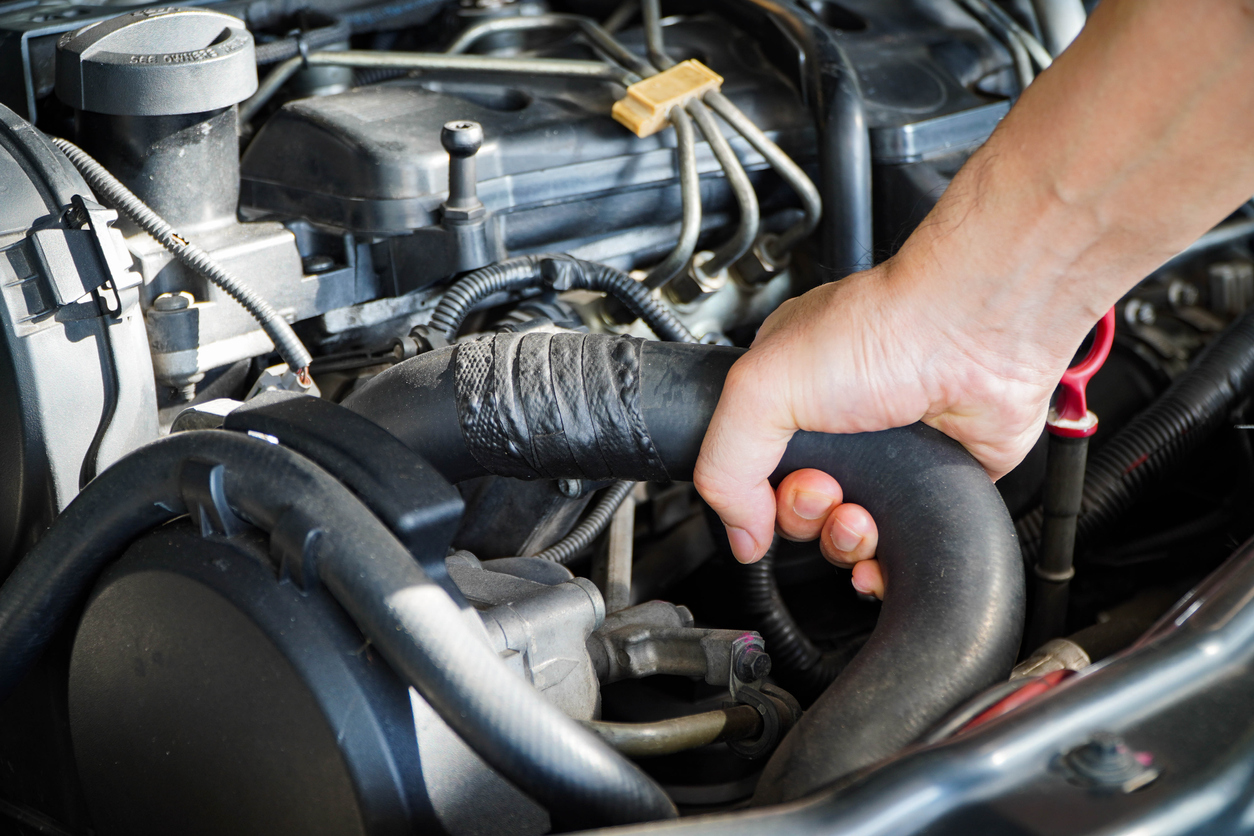
Radiator Hose Replacement
The rubber and plastic tubes that supply the engine with its essential fluids can crack, snap, and pop as a car ages.
A few coolant drips hitting the ground are probably what you’ll see, but they might rapidly turn into a deluge. When that happens, you’ll have to swap them out.
- For 5-10 minutes, let the automobile rest and cool.
- Open the hood, then take the radiator cap off.
- Find the hose that is broken.
- You might need to empty some coolant or antifreeze depending on where the hose is located. Drain any liquid required to reach the hose into the bucket, which should be positioned beneath the hose.
- The hose clamps on either side of the hose should be unscrewed. Examine the clamps to see if they require replacement.
- The two hose clamps should be slid onto the new hose and placed on either side in their proper locations.
- The two hose clamps should be tightened.
- Retighten the radiator cap after adding fresh fluid to the radiator.
- The automobile should be started and allowed to reach operating temperature. The new hose may now be checked for leakage. You’re done if everything looks okay!
Replacing a Radiator
You’ll need to reference your handy, and probably dusty, owner’s handbook to find out exactly how to repair your particular radiator because different vehicle manufacturers have different radiator mounting brackets and positions.
- Let the car rest and cool for 5-10 minutes
- Locate your radiator by lifting the hood.
- Cut the battery off
- By releasing the hose clamp close to the radiator’s base or removing the drain cap, you may empty the remaining coolant from the radiator into a bucket.
- After the radiator has been emptied, cut the hoses that link it to the remainder of the engine.
- Take away the outdated thermostat.
- Cover the outlets with tape to cover the holes.
- You’ll need to detach any fans that are affixed to the radiator in certain autos.
- Remove the bottom nuts and bolts from the bracketry holding the blown radiator in place after locating it.
- Remove the top nuts and bolts holding the radiator’s top in place while holding it in place.
- From the old radiator, remove the fan bracketry.
- On the new radiator, attach the fan bracketry.
- Reinstall the bolts after installing the new radiator.
- Install the fans again.
- The old thermostat was taped to the hose, so remove it and install the new one.
- Each hose should be reconnected to the new radiator.
- Add fluid to the new radiator.
- Replug the batteries in.
- While the radiator cap is still off, start the vehicle. As the car cycles the fresh fluid through the engine and radiator, you’ll probably need to compress and release the hoses to get rid of any trapped air bubbles.
- Once the bubbles have subsided, look for any leaks and give the vehicle a test drive. Because the liquid can get quite hot to the touch, use caution.
You succeed if everything appears to be in order and your car’s temperature remains stable.
Check out this video from Scotty Kilmer to have a more visual guide on how to replace a radiator in cars!
FAQs On Leaking Antifreeze
-
How dangerous is a car coolant leak?
As you drive, coolant (also known as antifreeze) is pumped through the engine of your car, absorbing extra heat and exchanging it with ambient air. Therefore, an antifreeze leak might result in the engine overheating, which could seriously harm the engine.
-
Can a coolant leak stop a car from operating?
You might be able to drive for a limited period of time with a radiator leak, depending on the source of the leaking.
Your car will eventually overheat due to the absence of coolant, which might lead to damage to numerous engine bay components.
Therefore, it’s a good idea to pause and assess the problem as soon as you become aware of it.
-
Is fixing a coolant leak expensive?
Radiator leak repairs typically cost between $125 and $600, with an average cost of $340. The sort of repair necessary, the kind of radiator you have, and the materials needed will all affect your final cost.
Conclusion
Whenever you notice coolant leaking from bottom of car, do not ignore the issue. Always stay aware of what is happening to your car. How you nurture your car today decides its life in the long run.