Whether you are a tuner-car enthusiast or want your car to perform better at the time of braking, the drum-to-disc brake conversion is the first upgrade that you should think about. Ditching the old-fashioned drum brakes for discs makes perfect sense since the former cannot deliver a high amount of stopping power and is highly susceptible to heat, moisture, and debris. These also demand regular maintenance and tune-up. But, whether the drum to disc brake conversion process a simple or laborious process? Does it cost too much? Find out detailed steps on this topic with Car From Japan:
Contents
Drum To Disc Brake Conversion Process
Drum to disc conversion is a challenging process and most brake shops don’t even have the expertise and engineering to handle the task. However, you can do it yourself given that you have solid knowledge and hands-on experience in the automotive mechanism.
The first step is to prepare everything and that includes draining half of the brake fluid from the master cylinder and loosening the lug nuts on the wheel where you will remove the brake drum from. Lift up the vehicle with a jack and remove the tire.

When you are prepared to convert drum brakes to disc, follow these next steps:
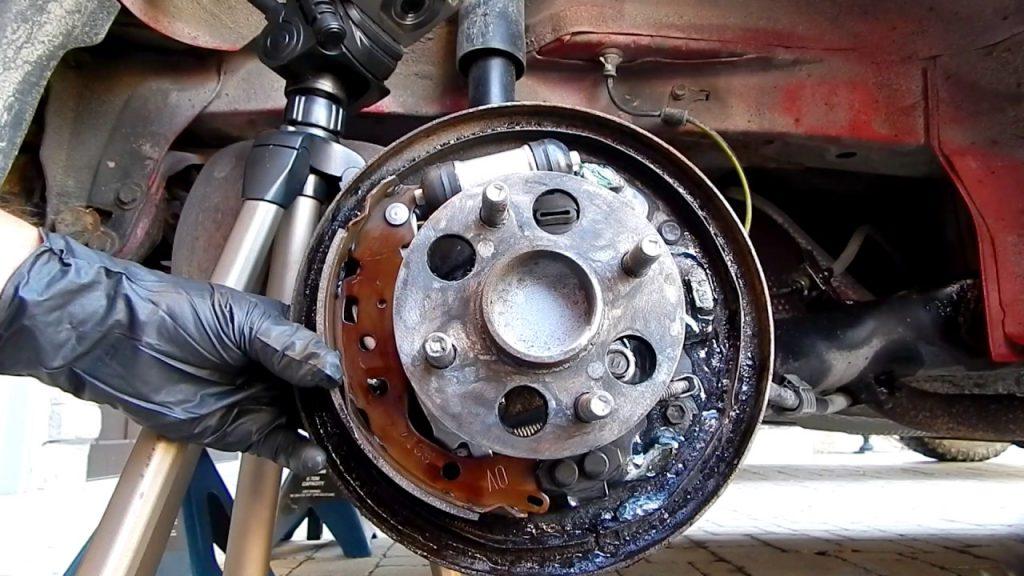
Step 1 – Find a small round clip on the wheel stud if the car is a rear-wheel drive and remove it. Turn the adjuster wheel inside the access hole, which must be on the backing plate or the brake drum, and loosen the drum. Finally, remove it from its socket.
If the vehicle is a front-wheel drive, detach the wheel bearings and the bearing cap in order to be able to disconnect the brake drum.
Read more:
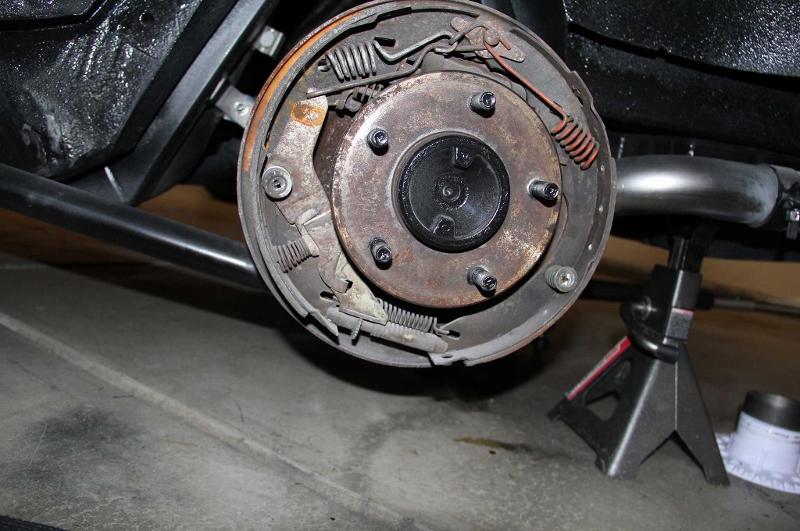
Step 2 – This step of the drum to disc conversion is about disconnecting the brake shoes. After the removal, unfasten all the hardware attached to the shoes including the screw assembly, springs, and retainer rings.
Examine closely the condition of the spindle. Clean the dirt and rust or replace if it is worn out.
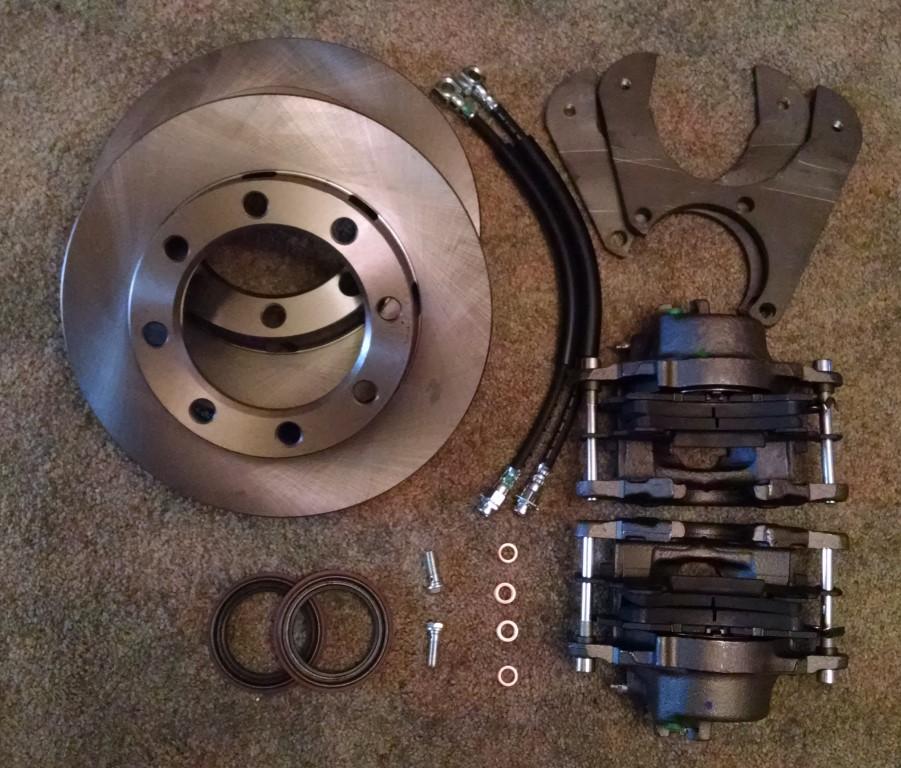
Step 3 – Now, it’s time to attach the disc brakes. But, you have to connect the rotor to the spindle first by fastening the nuts and bearings. Secure the brake pads by placing the caliper assembly on top of the rotor and fastening the brake lines. Wrap this step up by installing the parking brake cable inside the caliper piston.
When you are finished securing every last screw and bolt, refill the master cylinder with fresh brake fluid. You are done with the drum to disc brake conversion!

Should We Convert Drum To Disc Brakes?
As we all know, disc brakes have the advantages of simple structure and good braking sensitivity, but due to size limitations, they cannot create braking force greatly, and brake pads must be replaced more often.
In contrast, drum brakes have the advantage of being able to generate great braking force, and the pads last longer, but have a more complex structure and more difficult maintenance.
Choosing which brake system mainly depends on the structure of your vehicle, the components, and the technical calculation. For example, in the Toyota Sienna, if the vehicle is equipped with a VSC (Vehicle Stability Control) system, the front, and rear brakes are disc brakes (like the Sienna LE 4WD). For vehicles not equipped with VSC, the rear brake is selected as a drum brake.
If your Toyota Sienna LE is not equipped with VSC, it is normal to use front disc brakes and rear drum brakes, and you can be completely assured of the safety of the brakes.
The conversion of the drum to disc brakes sometimes is a quite complicated process so you need to consult an expert before doing this process.
Convert Drum Brakes to Disc – How Much Is the Cost
It is easier to carry out the conversion in old vehicles and the obvious candidates are the pre-1970 models because disc brakes were not standard until the ‘70s.
The cost actually depends on the make and model of the vehicle. The conversion kit for an old Camaro or Mustang is about $400 but it will be more for a Ford F100 because it has a larger axle.
Check out the video below to see Drum to Disc brake conversion DIY:
Did you enjoy our article? If you have any questions, feel free to leave us a comment below. Keep reading on us to read more up-to-date car articles written by auto experts every day.


What about the brake bias valve ? Drums and disc combination is totally different from Disc and disc. Without addressing this the car would be a poor braking vehicle.
what parts will i need to do the conversion