
Are your brakes squealing with a high-pitched, glassy sound, especially when you brake lightly? Do they feel less “grabby” and responsive than they used to? You might be dealing with glazed brakes. This is a common issue that can significantly reduce your stopping power.
Let’s cover what causes brake glazing and how you can fix it right in your garage.
Contents
- What Causes Brake Glazing?
- Brake Glazing Removal Guideline
- Step #1: Jack up and secure your car
- Step #2: Remove the wheels
- Step #3: Remove the brake caliper
- Step #4: Remove the brake rotor and brake caliper bracket
- Step #5: Resurface the rotor
- Step #6: Replace the brake caliper bracket and the rotor
- Step #7: Replace the Brake Pads and Brake Caliper
- Step #8: Replacing the Vehicle’s Wheels
- Step #9: Lowering the Vehicle
- Step #10: Brandish Rotor and Test Drive
What Causes Brake Glazing?
Glazing is always caused by excessive heat. Here are the most common reasons your brakes might be overheating:
- Constant light braking: “Riding the brakes” or lots of gentle, stop-and-go city driving heats up the pads but never gives them the firm pressure needed to properly clean themselves and bed in.
- Aggressive driving: Frequent, hard braking from high speeds (like you might do at a racetrack or coming down a long, steep mountain) can generate more heat than the pads were designed to handle.
- Towing heavy loads: The extra weight puts immense heat and stress on your car’s brakes, which can easily push them past their temperature limits.
- A sticking brake caliper: If a caliper fails to release properly, it keeps the brake pad in constant contact with the rotor, generating continuous heat and causing severe glazing.
Brake Glazing Removal Guideline
To properly fix glazing, you have to restore the friction surface on both the brake pads and the brake rotors. Just doing one without the other won’t solve the problem.
This is a straightforward job you can do yourself with basic tools.
Safety First: Always wear safety glasses, gloves, and a good dust mask. Brake dust is nasty stuff you do not want to breathe in.
Step #1: Jack up and secure your car
- Use a floor jack to lift the vehicle.
- Place the jack appropriately to secure parts of the car.
- Now, slowly lower the jack until the vehicle rests on the stands.
- Then, remove the jack below.
Step #2: Remove the wheels
- Use an impact gun to remove the lug nuts.
- Pull off the wheel.
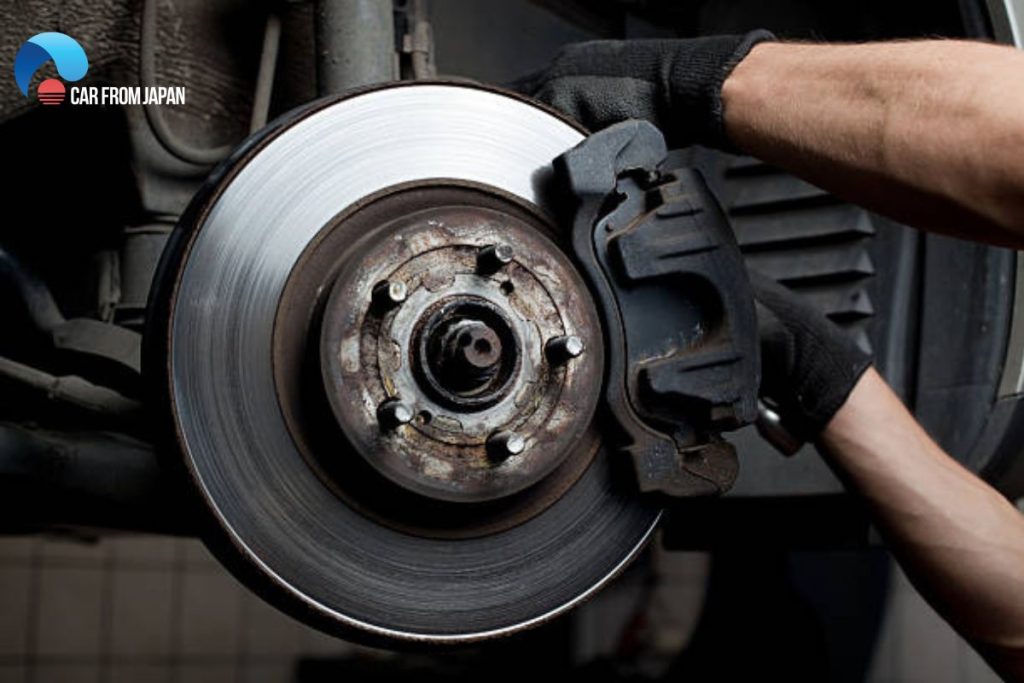
Step #3: Remove the brake caliper
- Dismantle the caliper pins that hold the caliper from the back.
- Pull the caliper away from the brake pads and the rotor.
- Take a bungee cord and use it to tie the caliper onto a fixed part of metal. This should keep it hanging.
Step #4: Remove the brake rotor and brake caliper bracket
- Pull out the brake pads of the bracket.
- There are two bolts on the back portion of the caliper bracket, remove them.
- Pull away the bracket.
- Pull off the brake rotor.
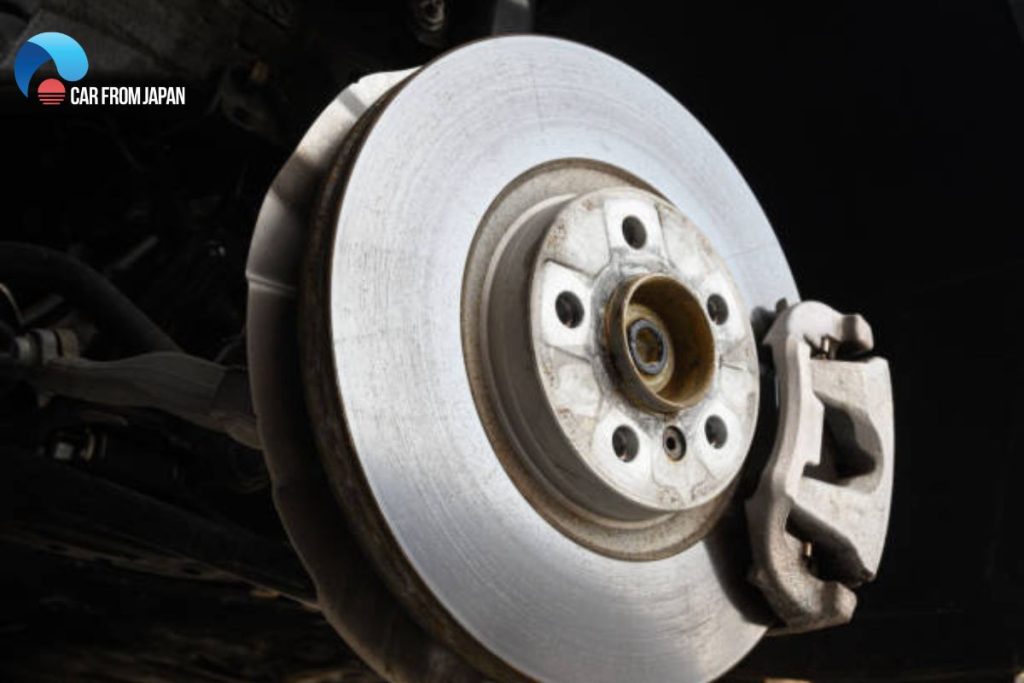
Step #5: Resurface the rotor
- Lay the rotor on the ground.
- Use an abrasive pad or a cookie to slowly rough up the surface of the rotor.
- The process is complete as soon as your reflection fades away from the rotor.
- Put the rotor back on the hub.
Step #6: Replace the brake caliper bracket and the rotor
- Place the rotor back in its due place on the hub.
- Place back the brake caliper bracket back around the hub.
- Use bolt holes to line up the bracket.
- Follow the manufacturer’s guidelines to place the bolt in the holes.
Step #7: Replace the Brake Pads and Brake Caliper
- Place the brake pads into the bracket.
- Clean and lubricate the side pins on the caliper.
- Follow the manufacturer’s instructions to tighten the caliper pins.
Step #8: Replacing the Vehicle’s Wheels
- Put the wheels back on the hub.
- Using your fingers, tighten the lug nuts to ensure that the wheel is tightened properly.
- Torque down the wheels following the manufacturer’s specifications.
Step #9: Lowering the Vehicle
- Now, move the jack stands underneath the vehicle away.
- Lower the jack until the vehicle touches the ground.
- Double-check the torque using a torque wrench.
Step #10: Brandish Rotor and Test Drive
- Pump the brake pedal until it gets firm.
- Go for a test drive.
- Perform several hard stops to brandish the rotor.
- The job is done when the vehicle is operating properly.
Now grab your tools and get to work to perform brake pad glazing.
Greetings from California! I’m bored to death at work so I decided
to browse your site on my iphone during lunch break.
I really like the knowledge you present here and can’t wait to
take a look when I get home. I’m shocked at how quick your blog loaded on my phone ..
I’m not even using WIFI, just 3G .. Anyways, fantastic site!
Arigatou. Thank you. Your comments encourage us a lot.
Hi there, this weekend is pleasant designed for me, since this occasion i am reading this great educational post here at my residence.
Arigatou. Thank you. Your comments encourage us a lot.