Detecting Head Gasket Issues And The Solution
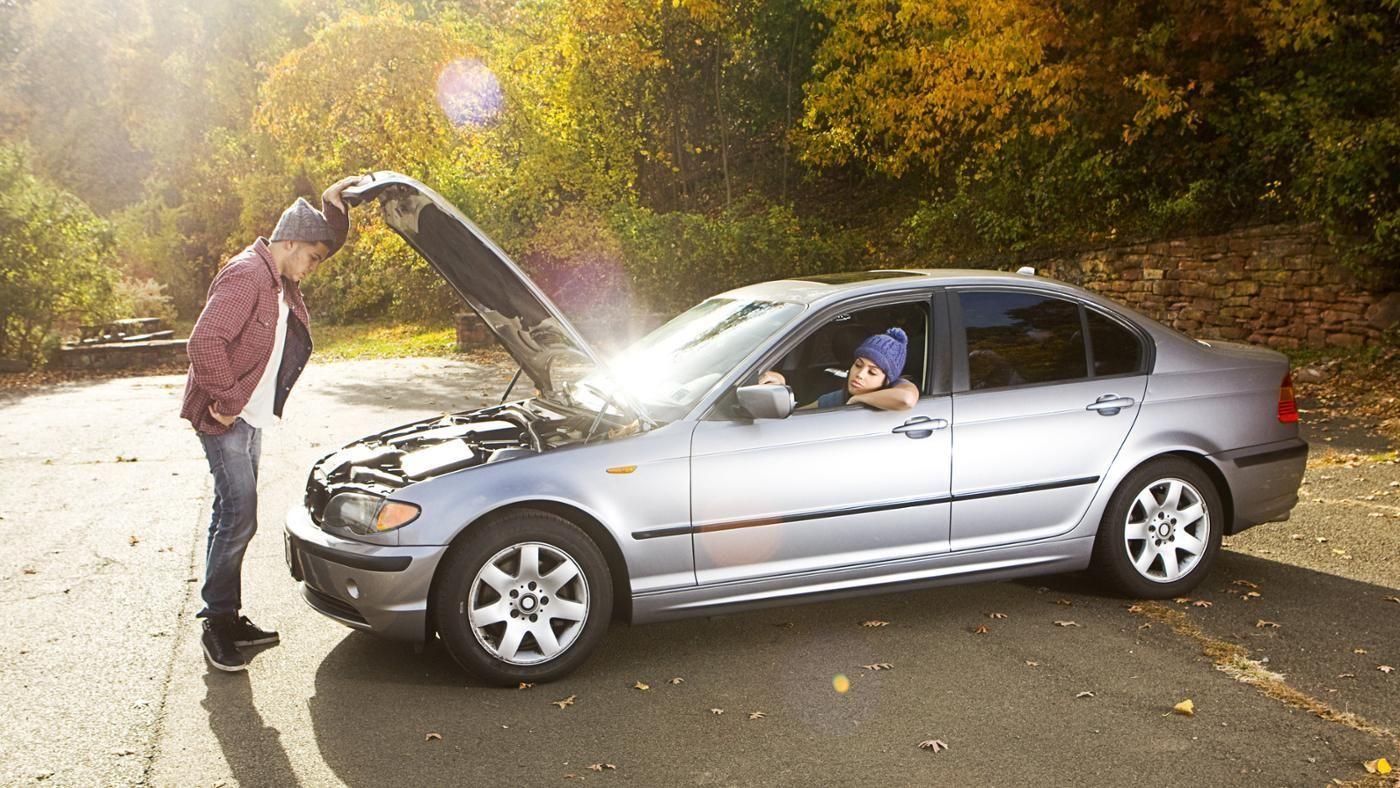
The standard practice for replacing a faulty head gasket is taking the service of a mechanic. But, it doesn’t mean that you can’t trace out any issues and fix them at home.
In any engine, the head gasket is an important component. Any problem with the head gasket could be of two types: minor and major. If there is a minor issue or leak, then the engine can take more oil or coolant. In a more severe case, the coolant and oil may get mixed up. There is a fixed set of techniques to detect if there is a problem with your head gasket. Generally, it takes a compression test to diagnose an engine for blown head gasket.
Issues With Head Gasket
Coolant Consumption
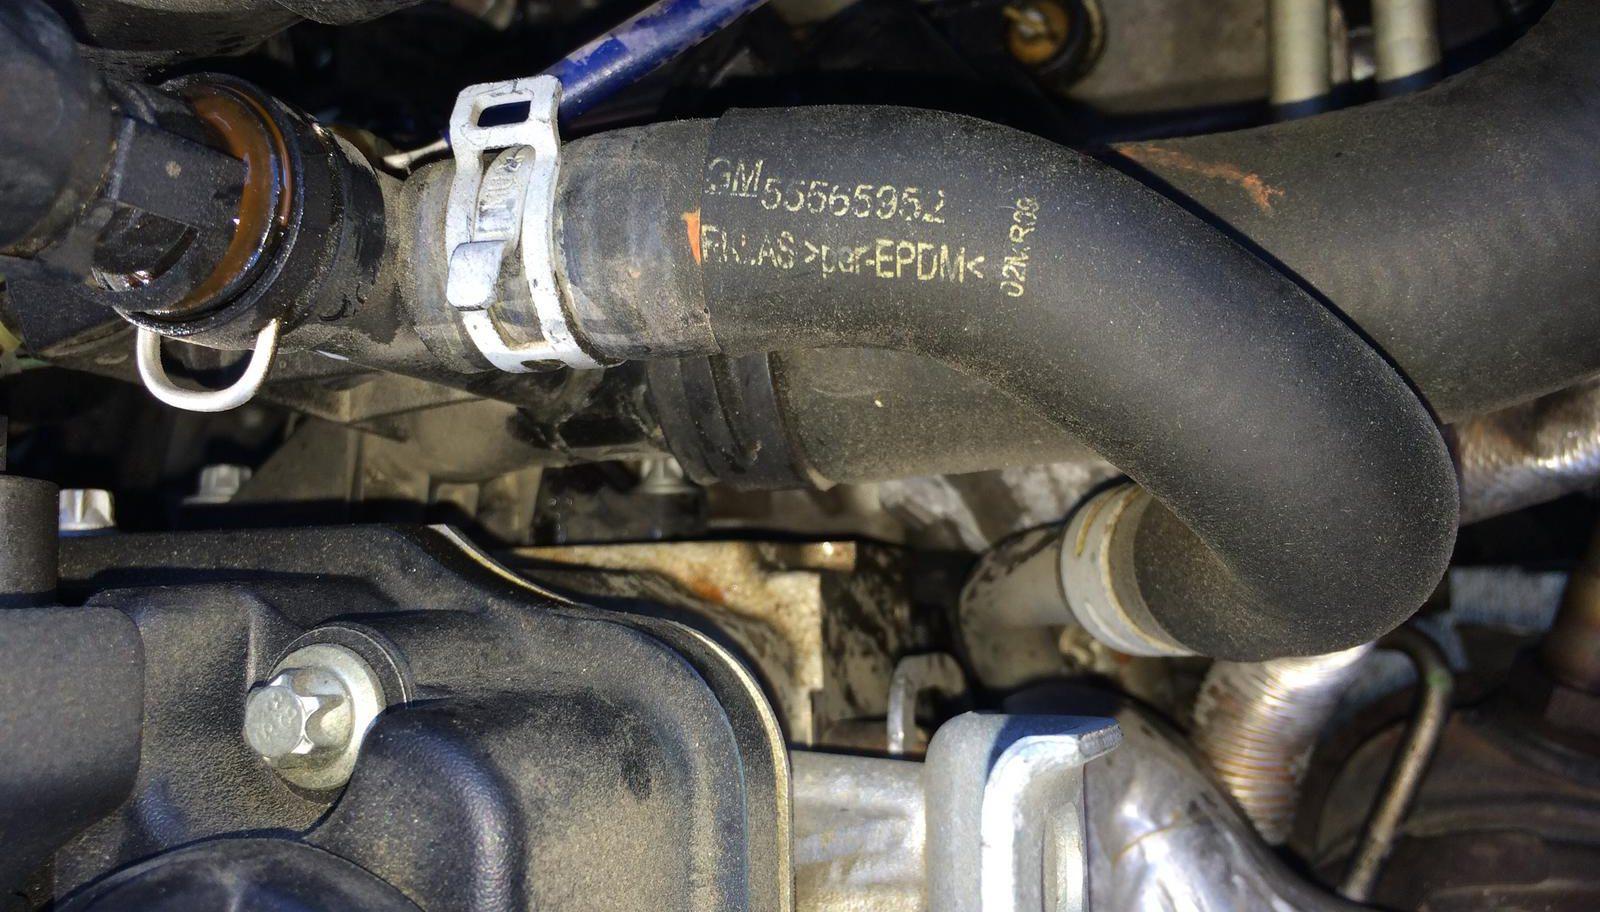
In modern cars, the number of coolant passages is numerous. Through these passages, coolants pass to rid the engine of excessive heat. The head gasket prevents the coolants from getting away from the passages. When the head gasket is ruptured, the coolants reach the combustion chamber and the engine consumes them. Check the exhaust pipe when the engine is running to detect a problem. If you notice excessive water or steam coming out from the exhaust pipe, then, there might be a problem. Or, you can simply put your hand in front of the outlet to see if it’s too steamy or wet. After that, check under the hood while the engine is still running to see if there are accumulated bubbles. One or more of these precisely indicates that you have a faulty gasket.
Oil Consumption
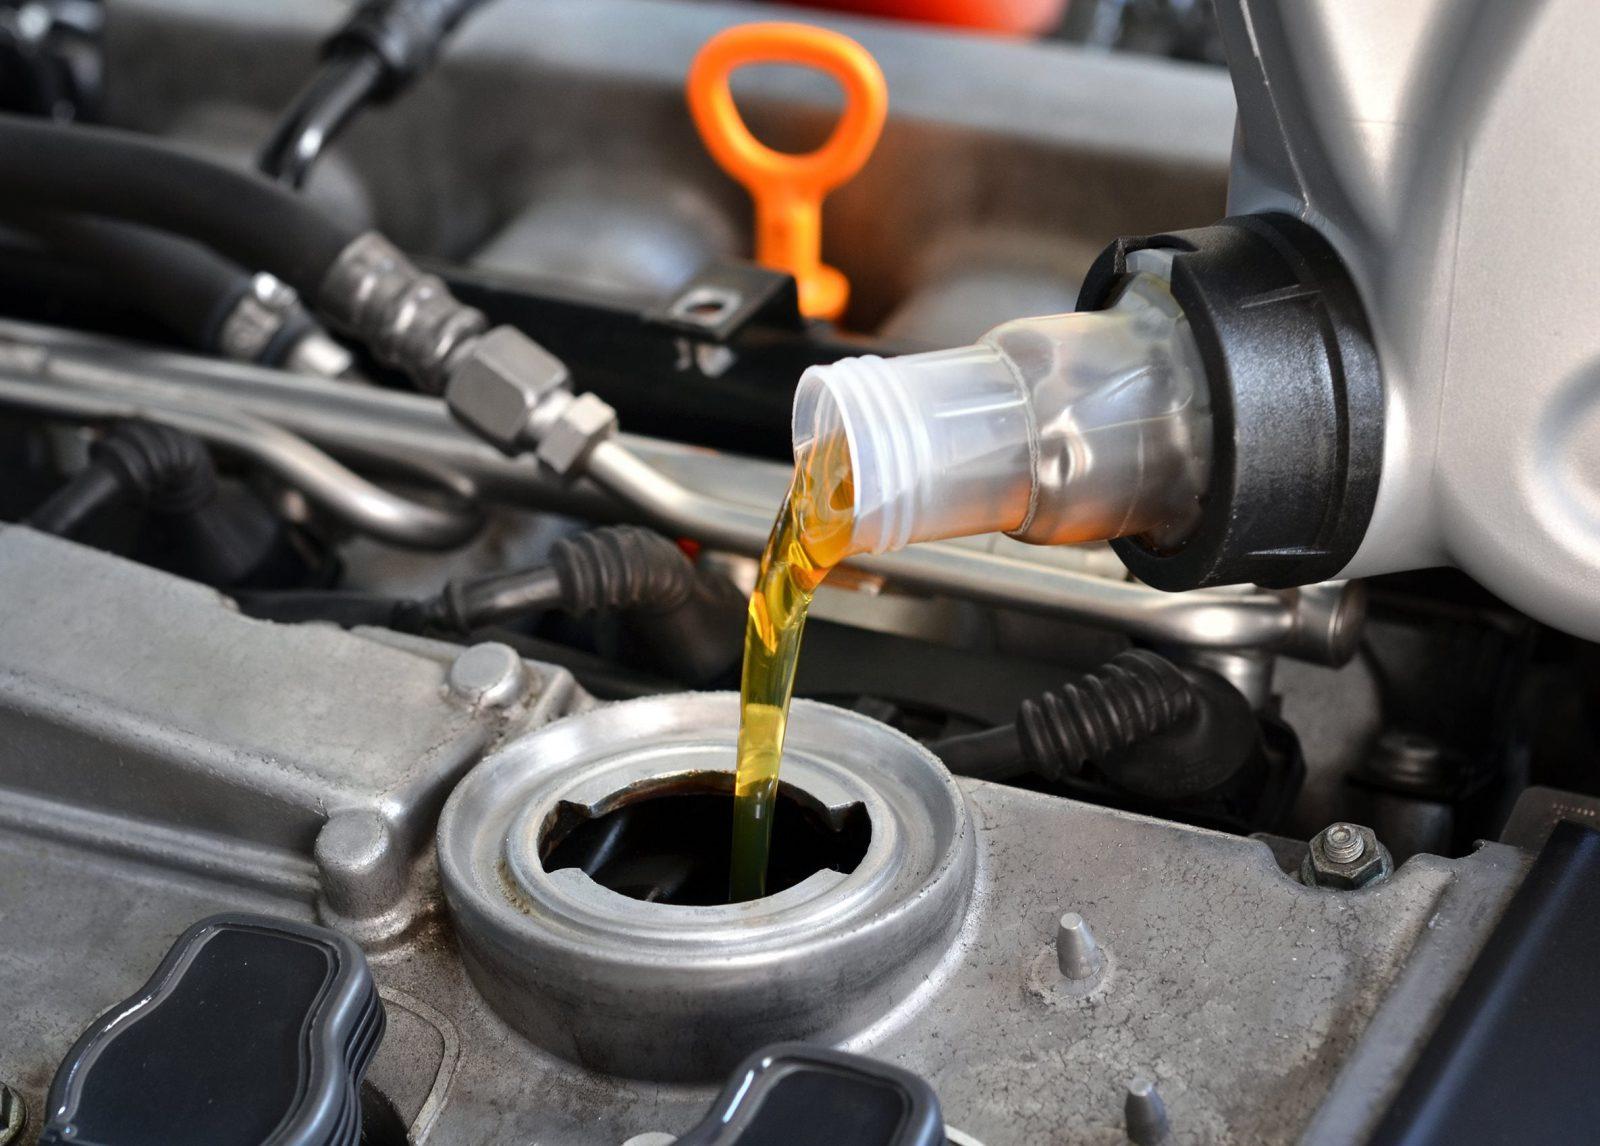
In any engine, the number of coolant passage is same to the number of cylinder heads. The purpose of oil passage is to transport oil. As the oil moves between cylinder head and engine block, the head gasket shuts up these passages. A faulty head gasket can cause excessive oil consumption. The common symptom is white-bluish exhaust. Upon finding any of these signs, you should check for a blown head gasket.
Oil Mixing With Coolant
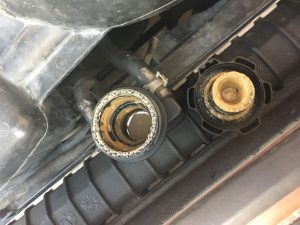
Many people underestimate this problem, and this is one of the most common mistakes: A mix up between coolant and oil means your car is in deep trouble. When coolants get mixed up, it causes significant damages to the properties of the oil. Gradually, it defects bearings and other parts of the engine.
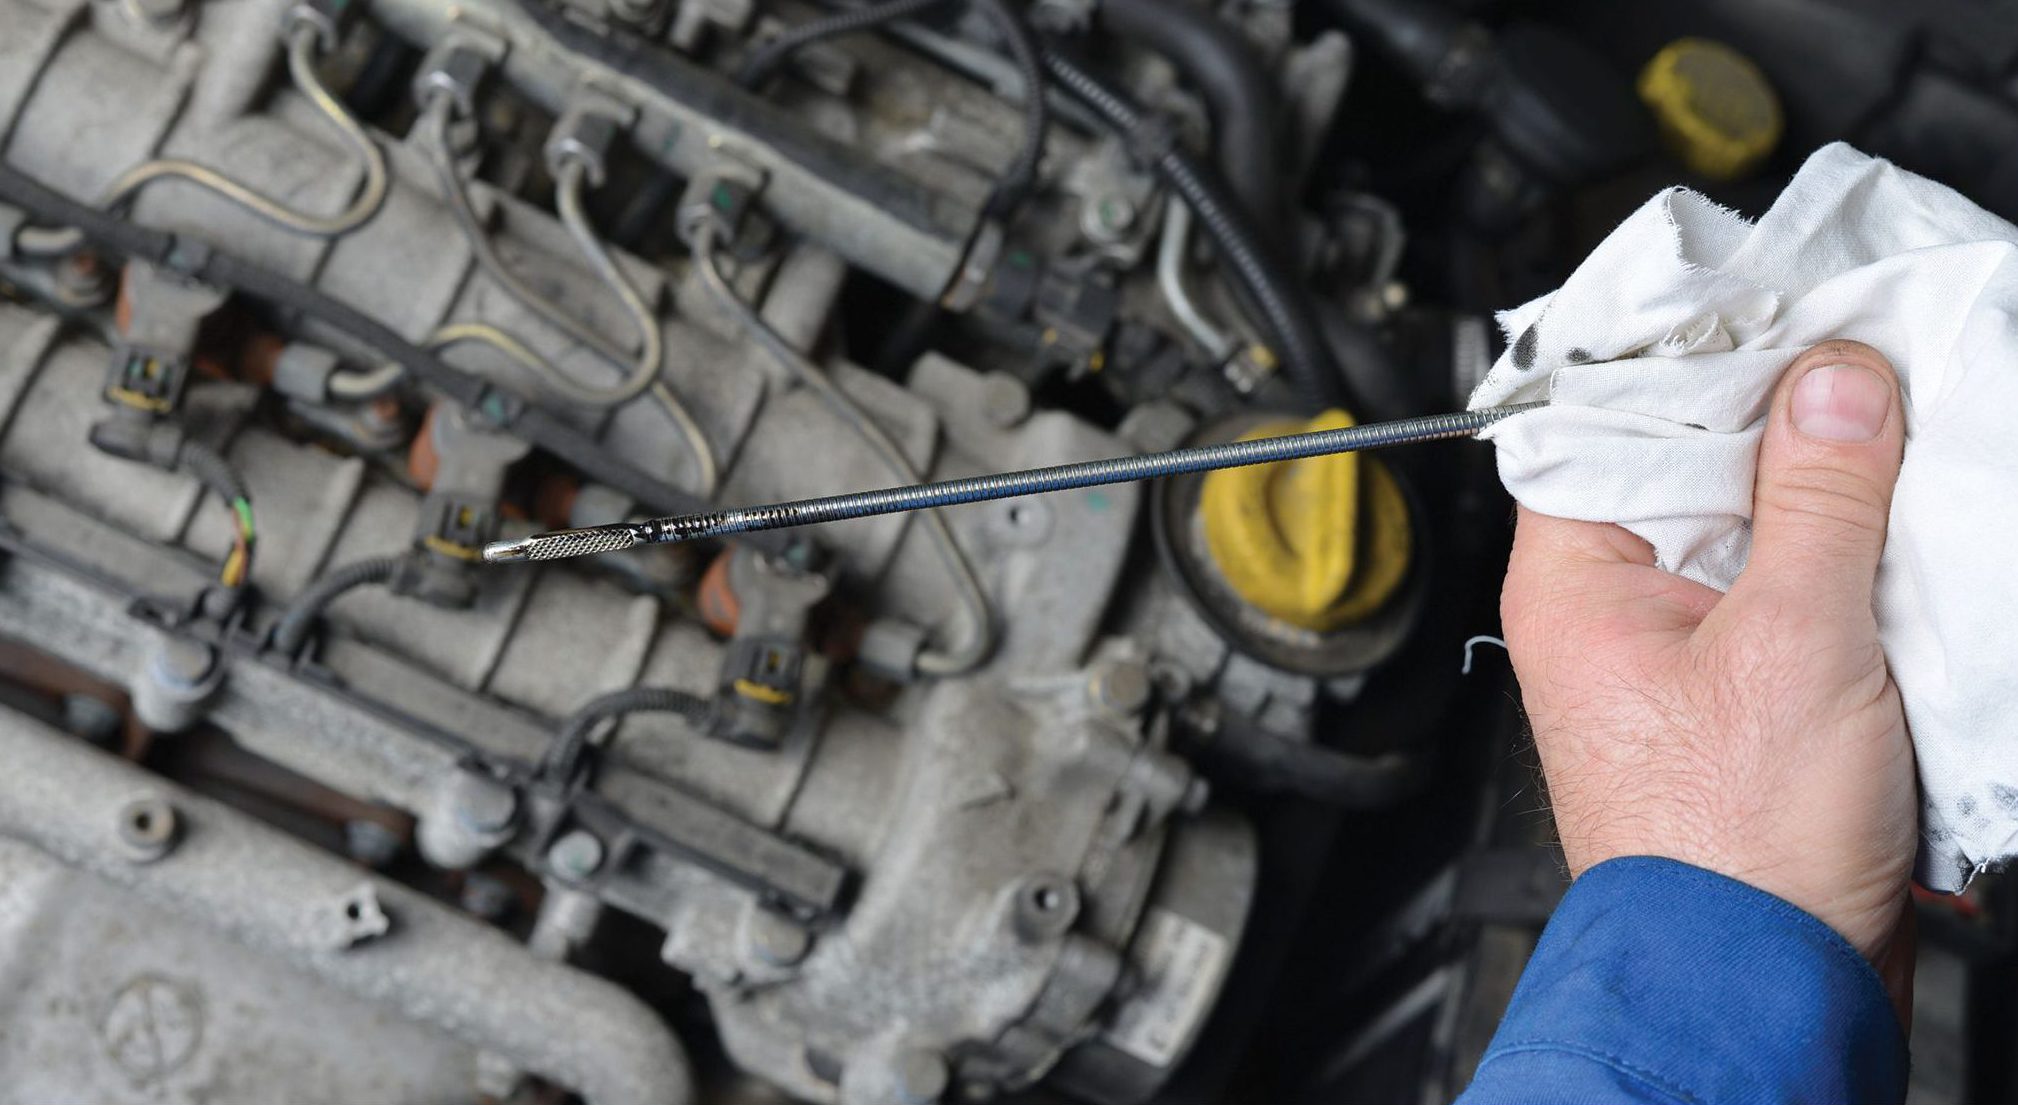
Any sign of irregularities in the oil dipstick means there is a severe gasket problem.
>>To avoid these issues, buying a good car from the beginning is a good choice. You can check the car list here <<
Replacing Blown Head Gasket With A New One
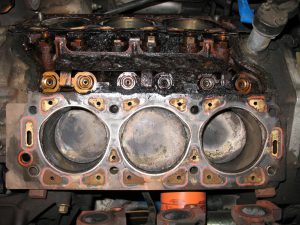
The installation process may vary depending on the specifications of the car you own. But in general it takes the following process to replace a head gasket.
Tools And Materials
- A head gasket that matches your older one
- The owner’s manual for the vehicle
- A wrench set
- A prybar
- An applicator and RTV
Accessing The Head Gasket
Accessing the head gasket is the toughest task in this process. To do so, you need to have a sound knowledge of the engine and its components. First thing to remember is that, the head gasket’s location is in the deepest part of the engine framework. This is where the owner’s manual will come handy. Go over the manual thoroughly to know how to access the gasket. Extra caution is necessary when you remove the components, since they are fragile. Also keep them in an order so you don’t have a problem reattaching them later.
SEE MORE:
Remove The Old Gasket
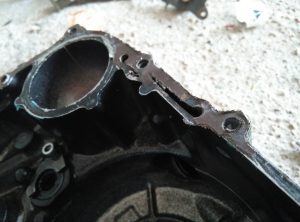
At first use a wrench to loosen the bolts and then, put away the head off. Now, take the pry bar to dismantle the faulty gasket. Wipe the head underneath carefully (the location of the discarded gasket). In that way, the seals will be a better fit for a new gasket.
Check The Head And Replace The Gasket
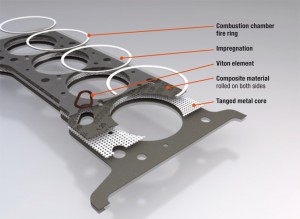
A visual inspection is well-enough to trace any kind of tear, damage, and wear. If everything seems alright, adjust the new gasket carefully to ensure the seal is tightened. Make sure the new gasket and the head are set properly, without any gap. Now, press the corners with the head with a firm press. If any area remains unsealed, use the RTV to tighten it up. When it’s all done, put together all the components carefully and try to start the engine, to see if the problem has been solved.


