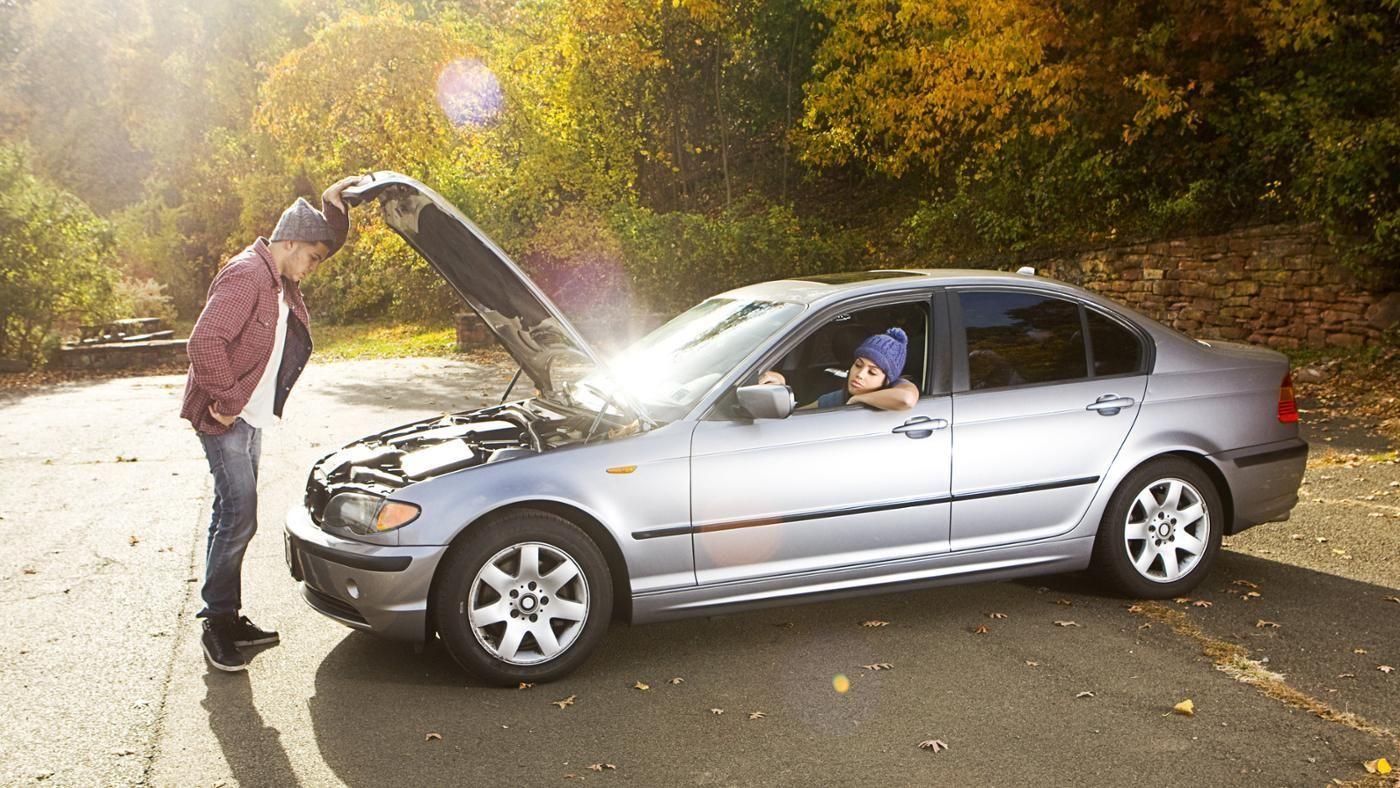


Brake Master Cylinder Replacement in Easy Steps

Without having proper knowledge, it is hard to perform a brake master cylinder replacement. Here in this article, we have focused on the steps of brake master cylinder replacement.
Step 1: Remove Old Fluid
The first step in brake master cylinder repair is removing the existing from the old master cylinder. For this purpose, you have to use a tool called vacula. The tool has a plastic container and a vacuum machine with a small tube. After draining out the fluid from the old master cylinder, also clean all the remaining fluid from the brake lines to avoid possible contamination of the new fluid.
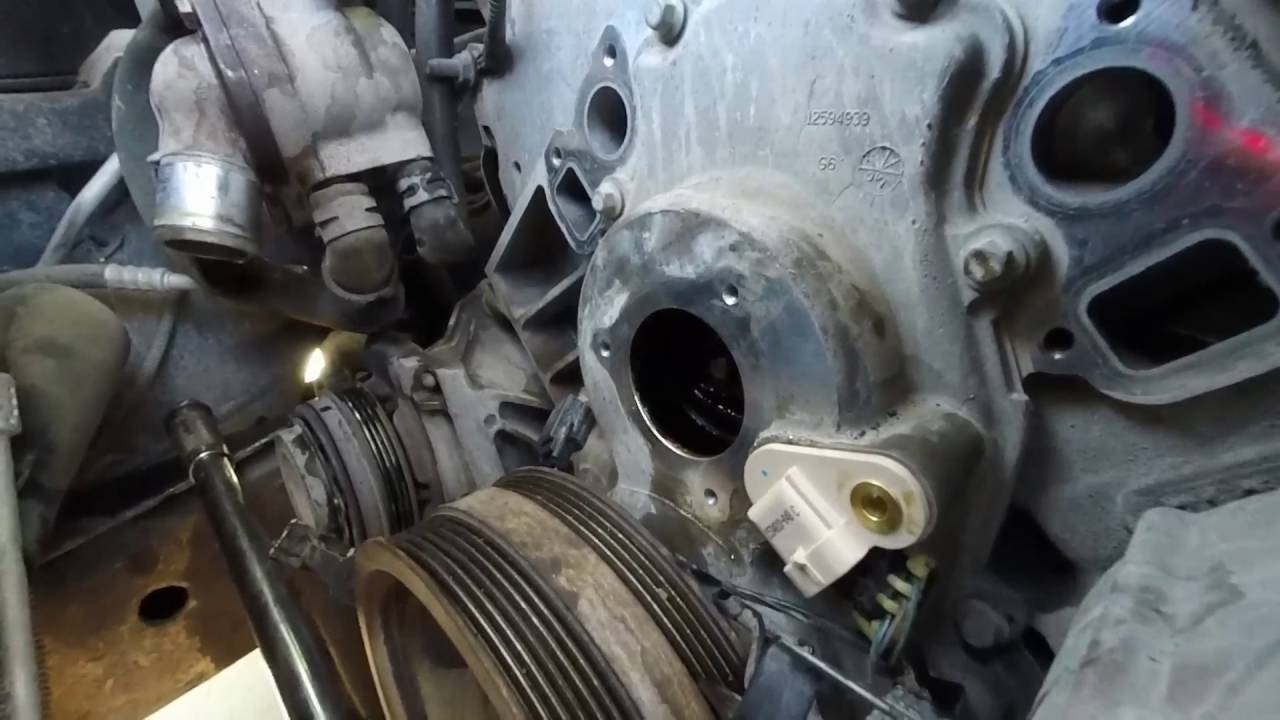
Step 2: Remove Master Cylinder
This step in master brake cylinder replacement begins with loosening the brake lines that lie throughout to the master cylinder. As you make sure that the lines are out of the way without any disruption, get rid of the 2-4 bolts that keep the master cylinder attached to the brake booster. Once you are done removing the bolts, the master cylinder pulls out the engine compartment.
Join our FREE CAR GIVEAWAY Campaign here
Step 3: Clean and Transfer the Parts
The new master cylinder you are going to use may or may not come with a reservoir. You can simply detach the one from the old master cylinder. In most of the cases, you can easily pull it off. After removing the reservoir, clean it properly to make it debris free. Just press it on the new part, and there begins the installation process for a master brake cylinder repair.
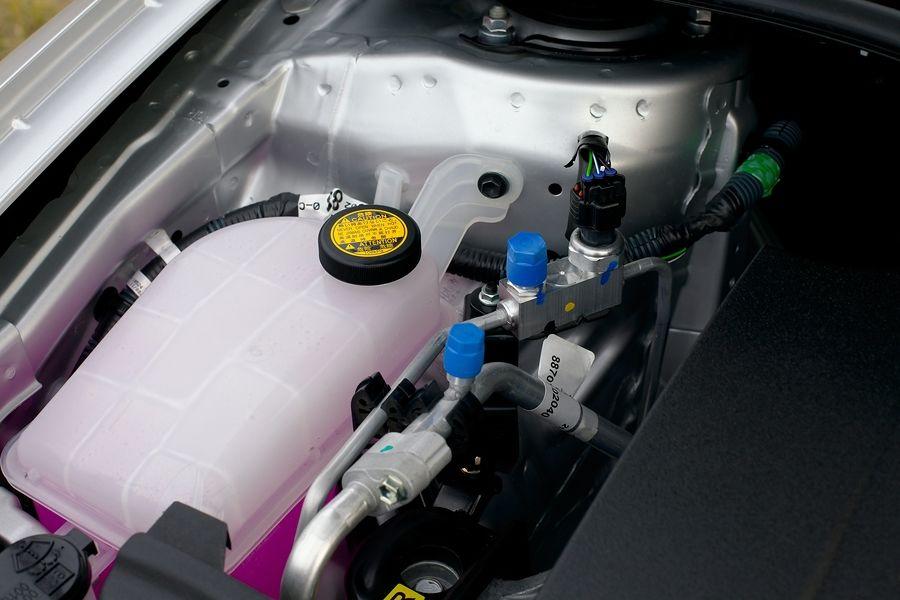
Step 4: Master Brake Cylinder Replacement
Line up the new master cylinder on the brake booster and make sure to place a new gasket. Afterward, tighten the bolts following manufacturer guideline. Now, reinstall the brake lines. Try not to cross the thread by any mean. Then, tighten them accordingly.
Step 5: Fill and Bleed the Master Cylinder
Now it’s time to add DOT 3 brake fluid to the newly replaced master cylinder. Primarily, you can fill the master cylinder completely. Until the brake pedal stiffens, keep pressing the brakes. Loosen the bleeder screw on each caliper, and keep it in that way for 15 minutes to ensure gravity bleeding.
In order to perform a total bleed, you will require an extra pair of hands. Let your friend pump the brakes until they get stiff, and hold them afterward. As your friend holds the brakes, slowly loosen the bleeder screw. Keep doing this until brake fluid starts to flow from the bleeder screw.
Final Check and Test Drive
The last step in master brake cylinder repair is carefully checking the fluid level. You would not want to add more fluid than the remaining brake pad. If the remaining brake pad stands at 50% only, then don’t fill more than the middle line dividing between the “low” and “full” touchline. It specifically indicates when the pads are below.
Now, test drive your vehicle to see if everything is working correctly.